Docker VPS и Portainer
In the service activation email, copy the server's IP address.
Paste the IP address into your browser and press Enter.
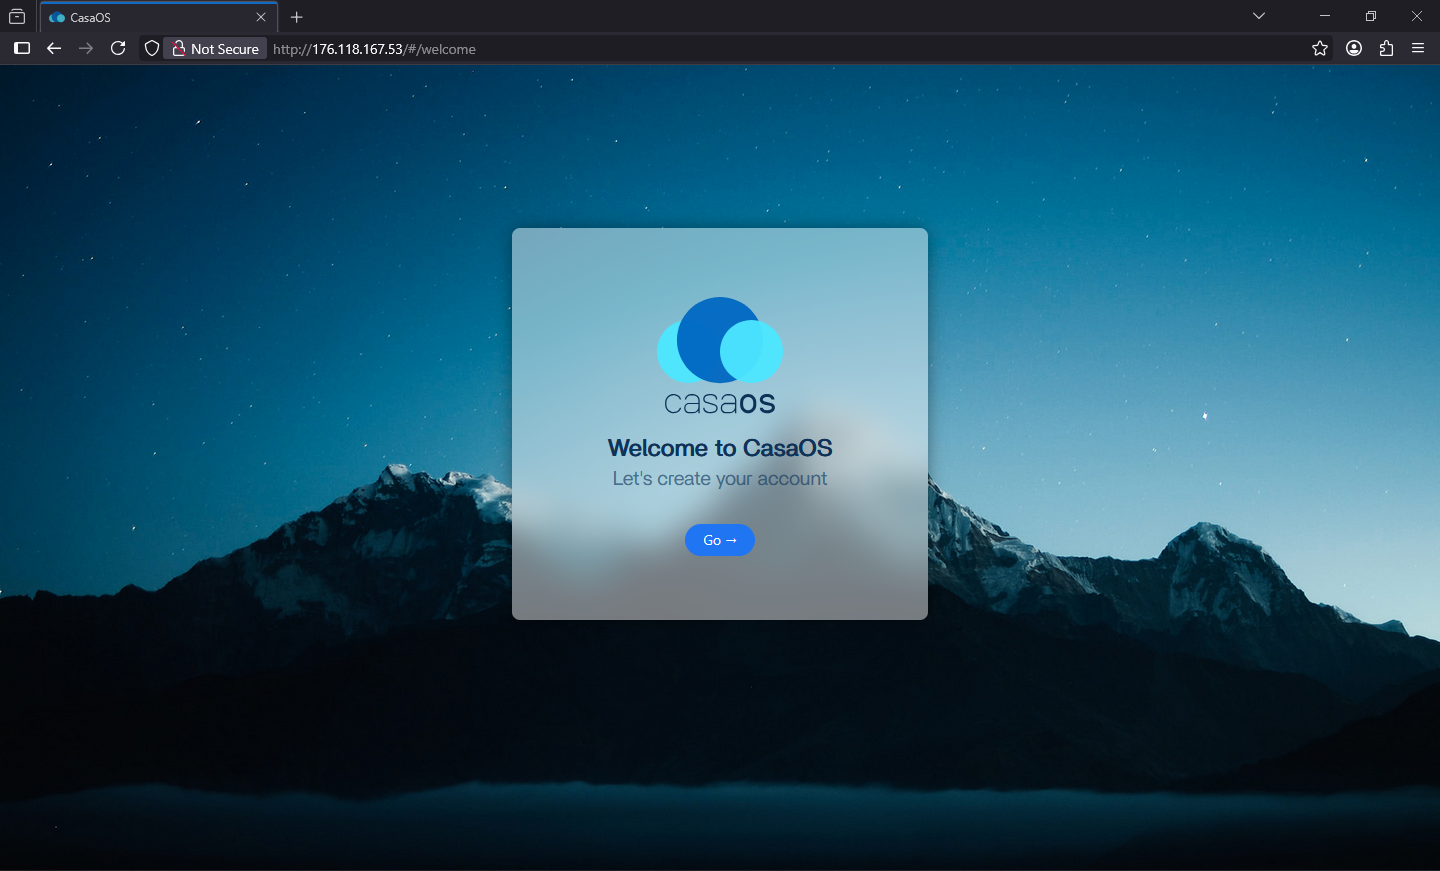
On the welcome page, confirm the start of work and click the "Go" button.
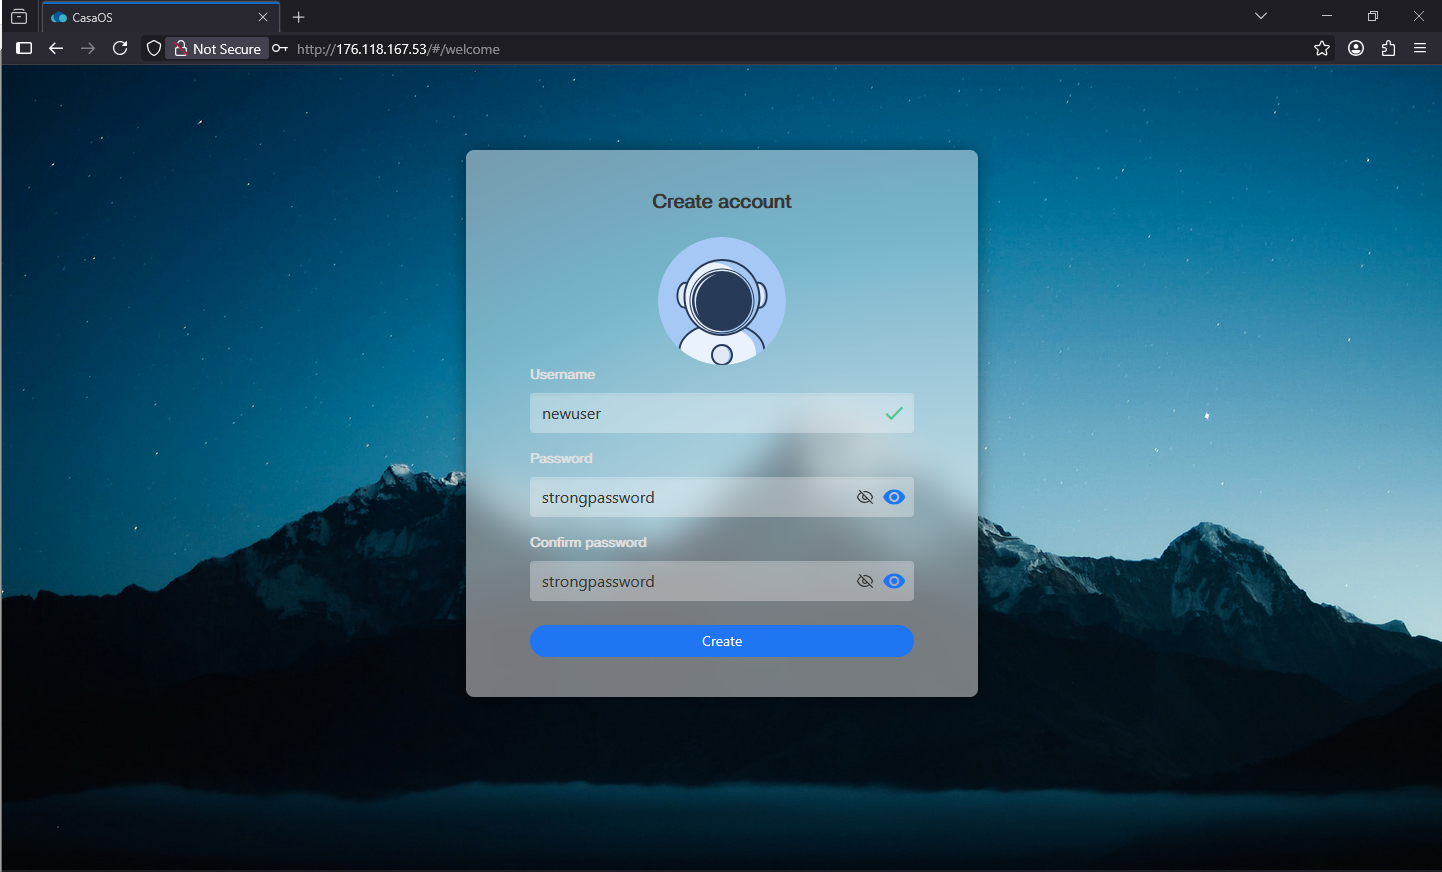
Enter a username and a complex password (twice) to register in the workspace and click the Create button.
Be sure to remember, write down, or save the authorization data in your browser.
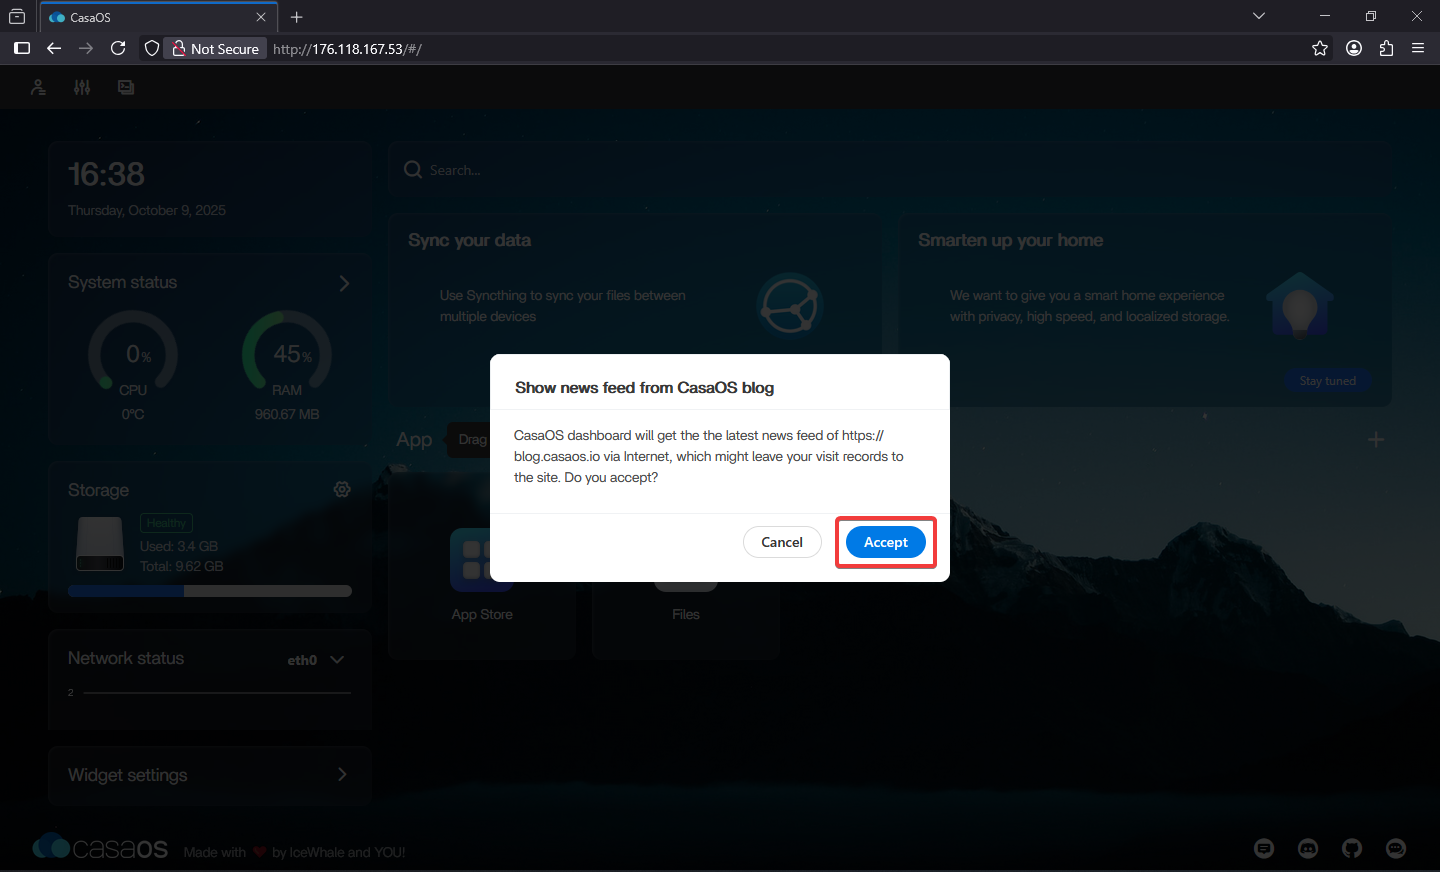
Upon successful user creation, the system will start and you can accept the platform update.
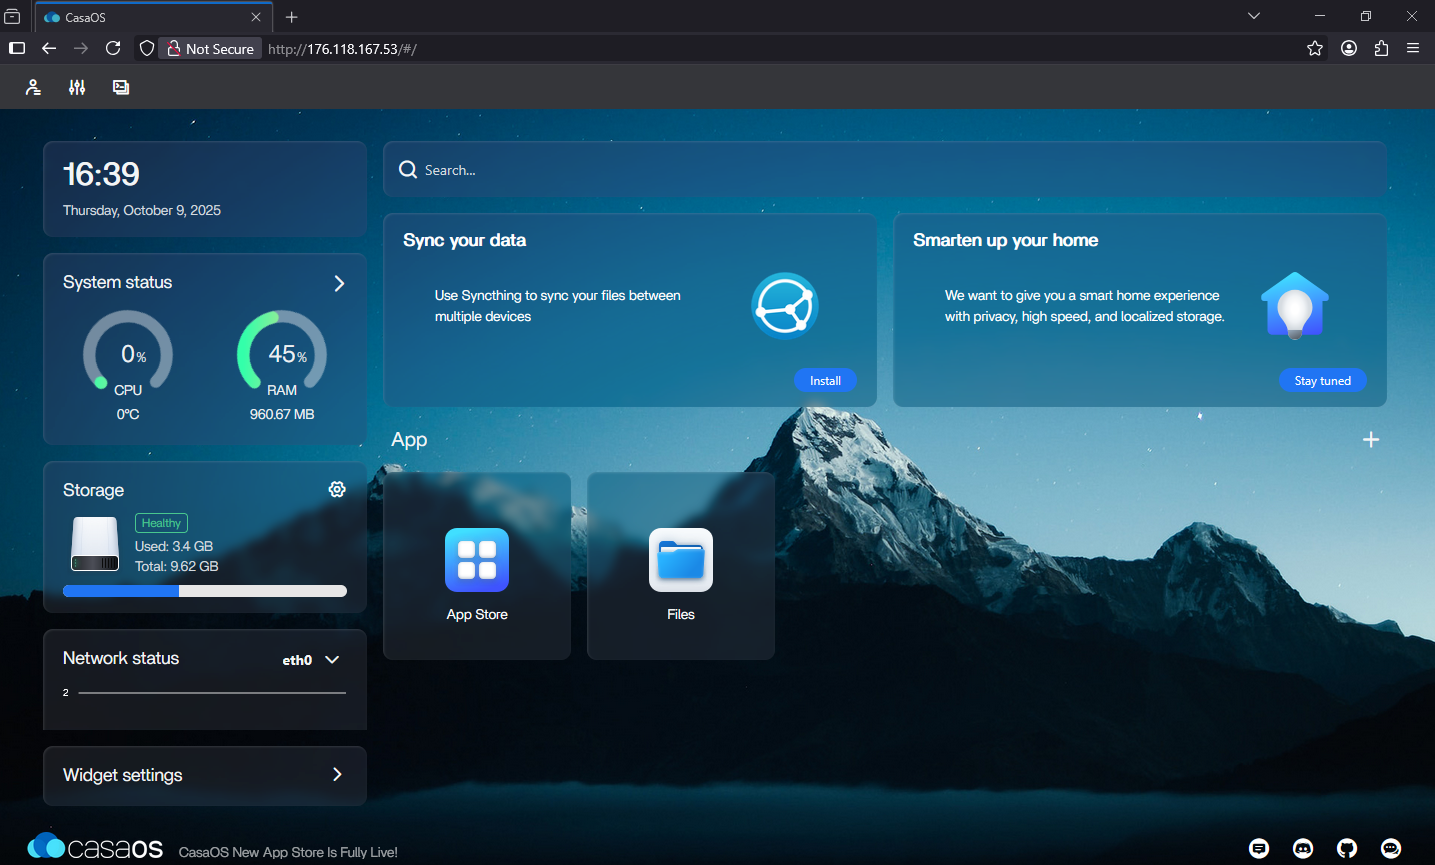
The platform is set up and ready to use.
The server provides access to:
- An informative dashboard with detailed information about the system status.
- A convenient file manager with the ability to create network storage via SAMBA.
- A store of free ready-to-use applications that are installed in Docker.
- Panel settings, language, access to the server shell.
Installing Portainer
Portainer offers an enterprise-grade container management platform, simplified and designed for everyone. From the flexibility of multi-cluster infrastructure to the efficiency of working at remote sites, it provides IT departments with transparency, control, and return on investment — without unnecessary complexity and vendor lock-in.
Portainer provides convenience in working with Docker containers. It enables the development of complex projects in a convenient web interface.
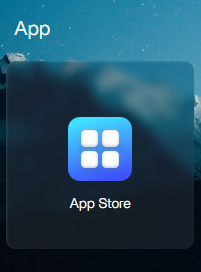
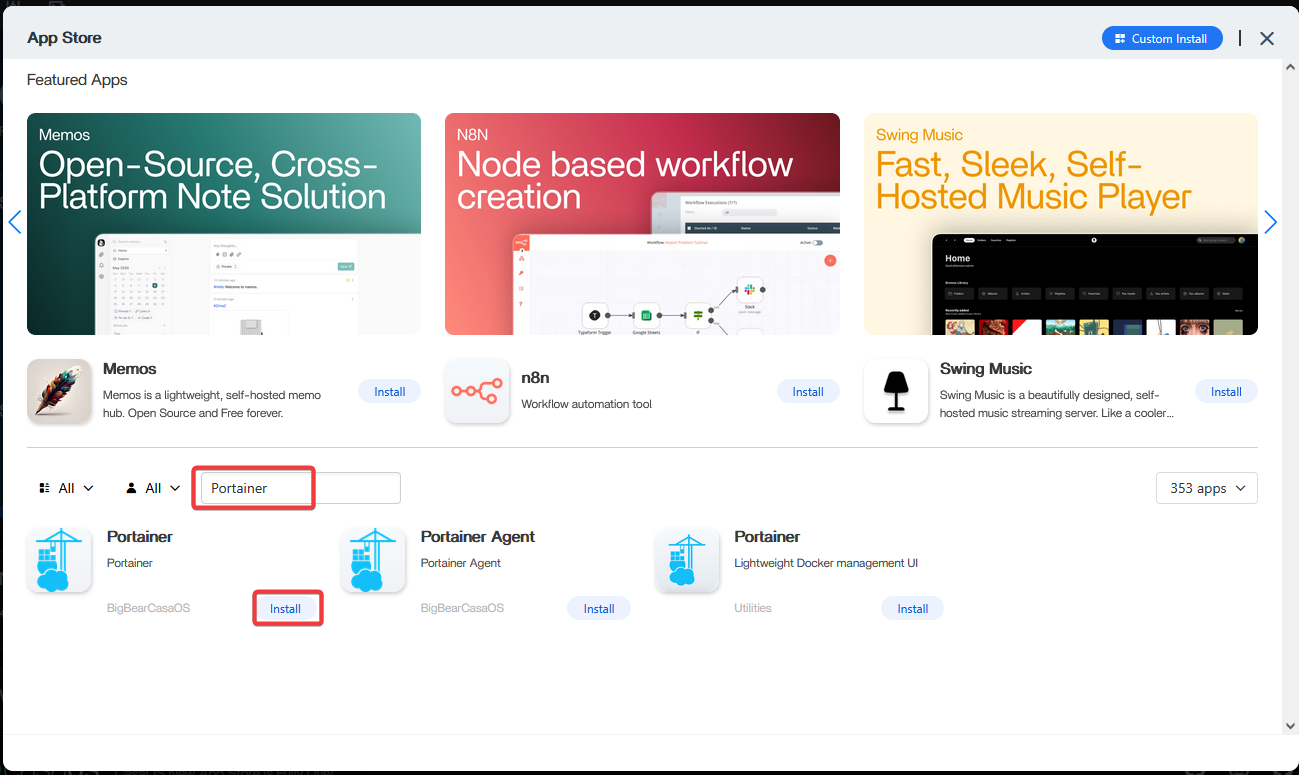
To install Portainer, open the application store
and in the search, enter:
Portainer
Click the install button and wait for the process to complete.
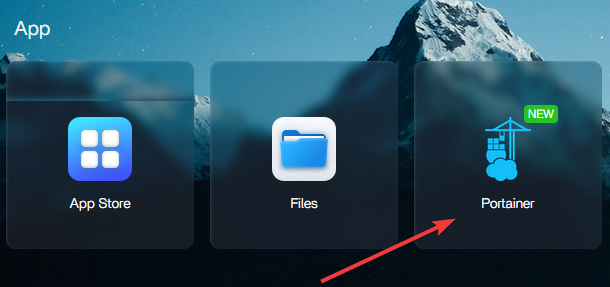
After successful installation, the new application will be available on the main screen.
Open Portainer by clicking.
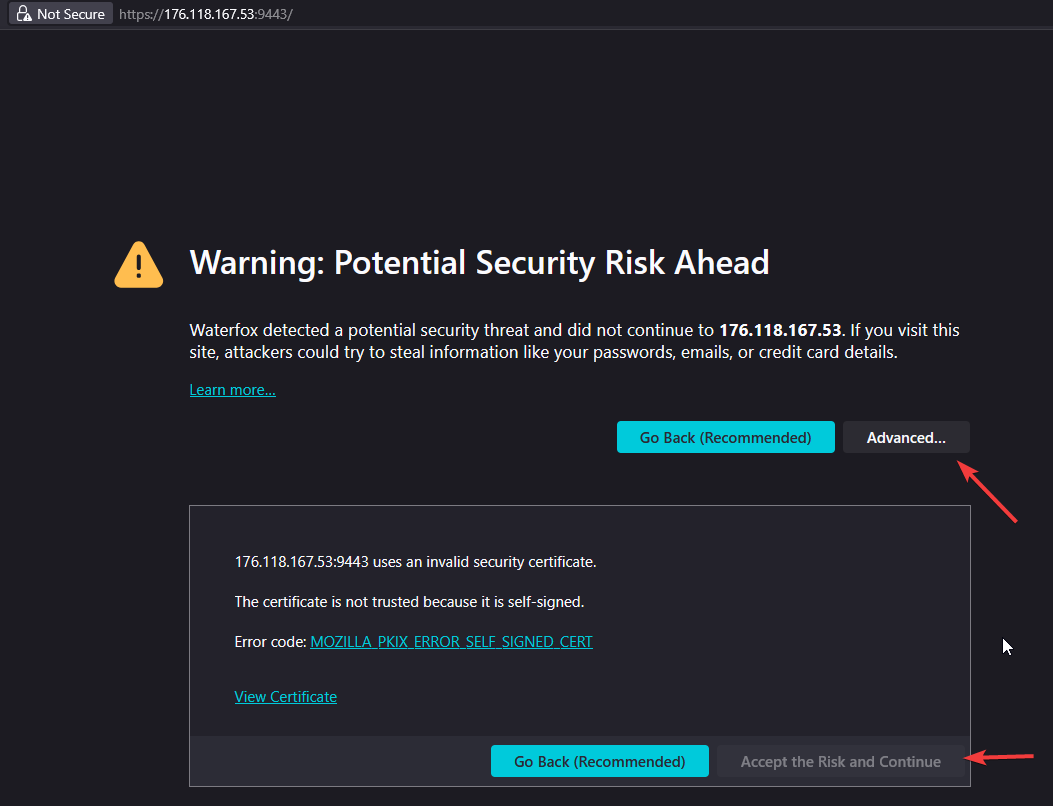
When entering, you will see a warning page that the connection is not secure.
This is not a problem. The system works via HTTPS protocol, but the transition is performed via IP. On the page, click "Advanced" and "Proceed unsafely".
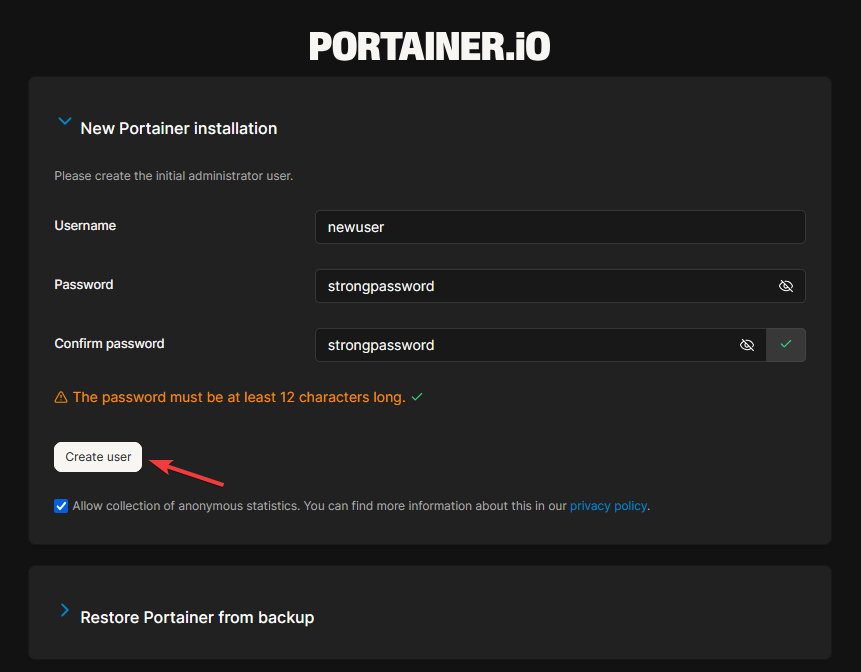
On the Portainer page, you need to create a user and password.
Enter new data and click the "Create user" button
The system for managing Docker containers is installed and ready for use.
Working with Docker Containers
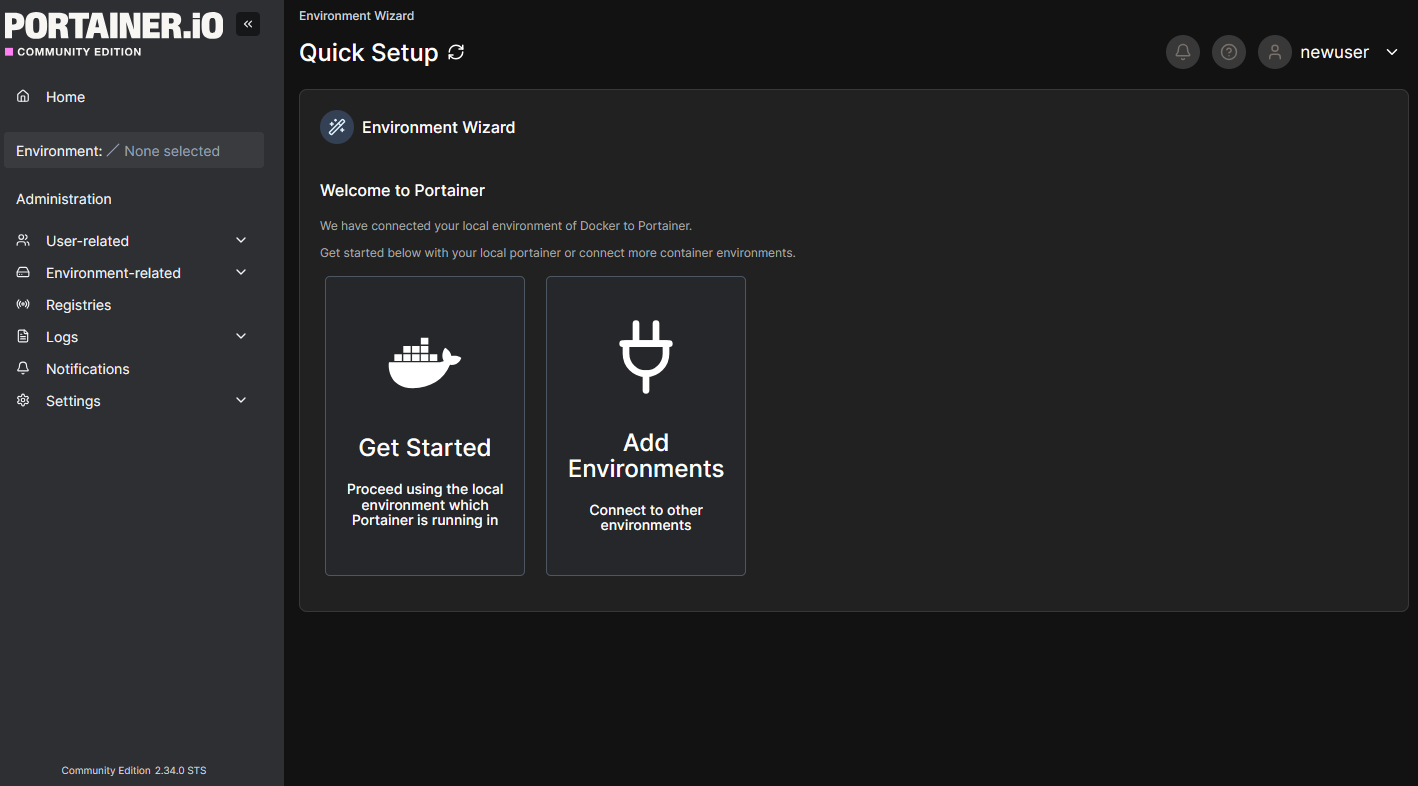
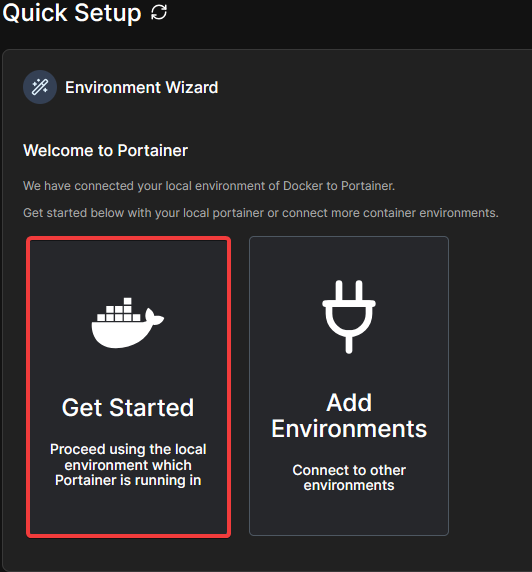
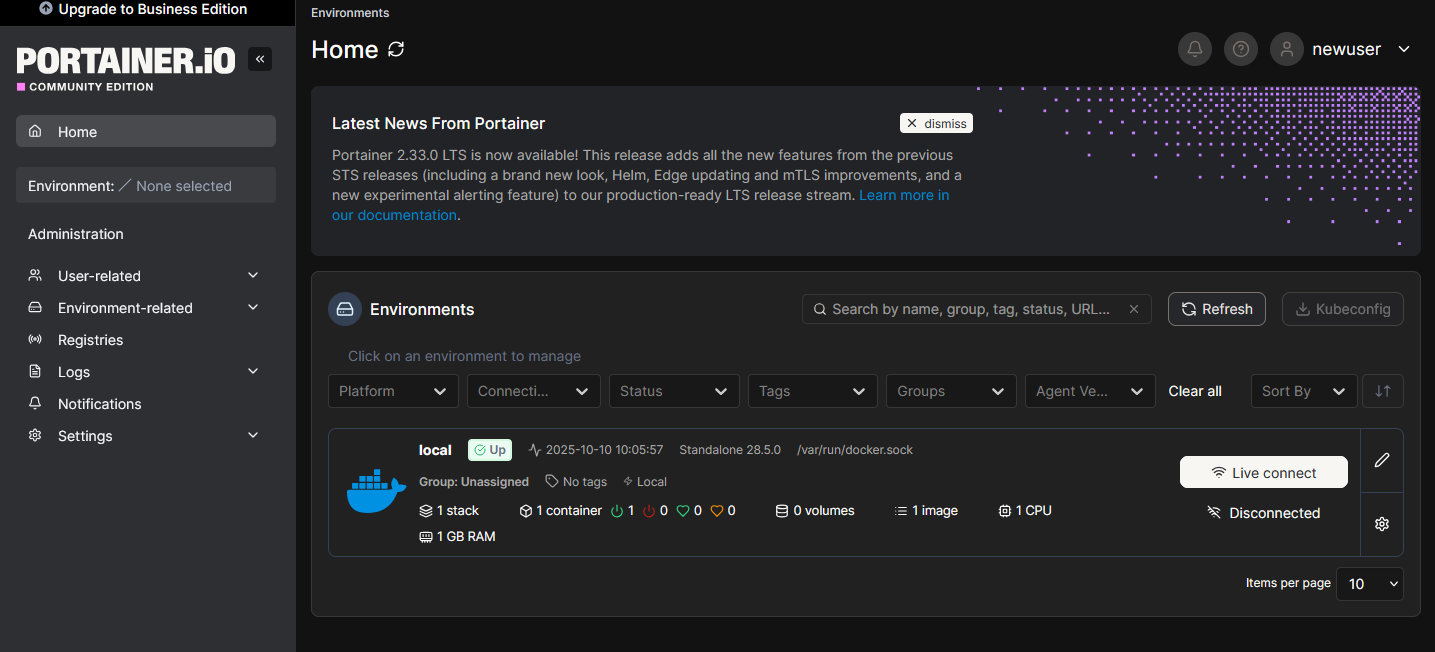
In Portainer, log in to the local server and start working.
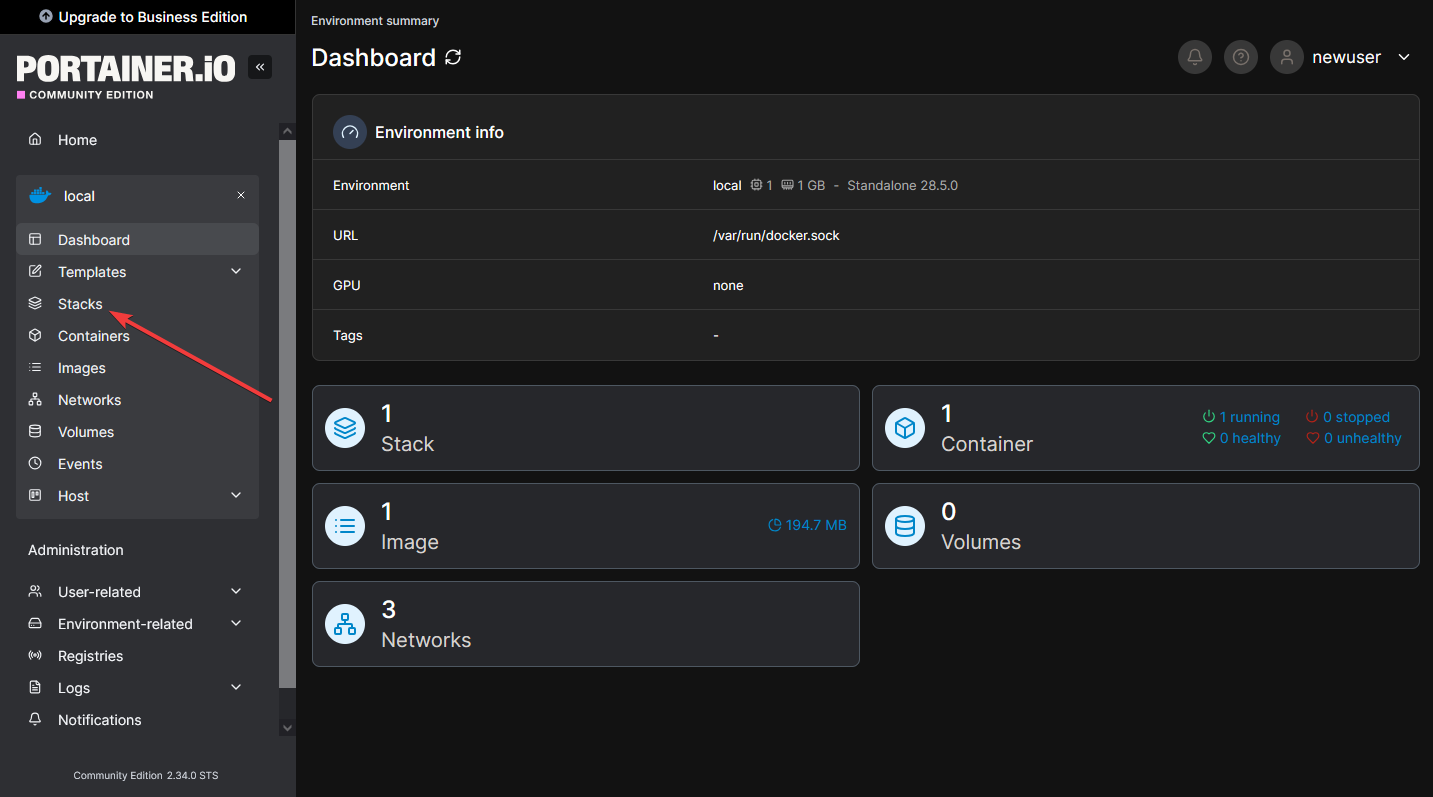
Enter the local server node by clicking on local.
To create a new container, go to the Stacks menu.
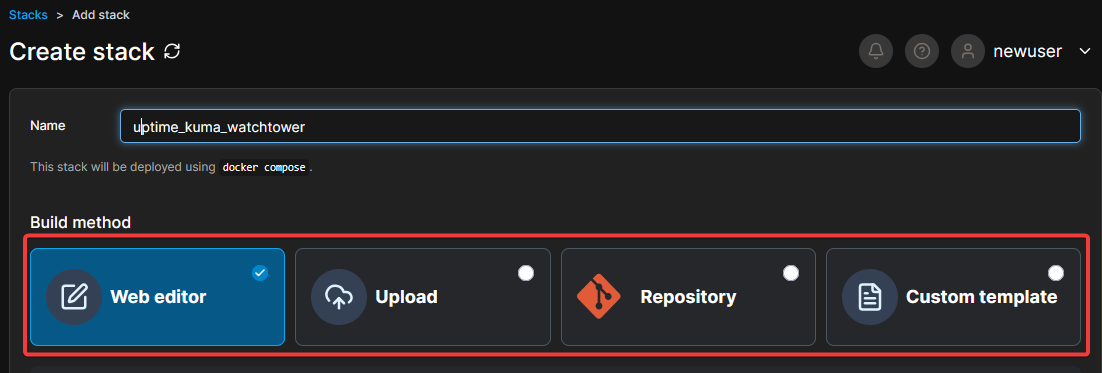
Create a stack.
You have the ability to:
- Enter the docker-compose.yml code manually via Web editor.
- Upload a file from your local computer.
- Connect from a repository.
- Create a personal template.
The example considers code input.
Enter the stack (container) name.
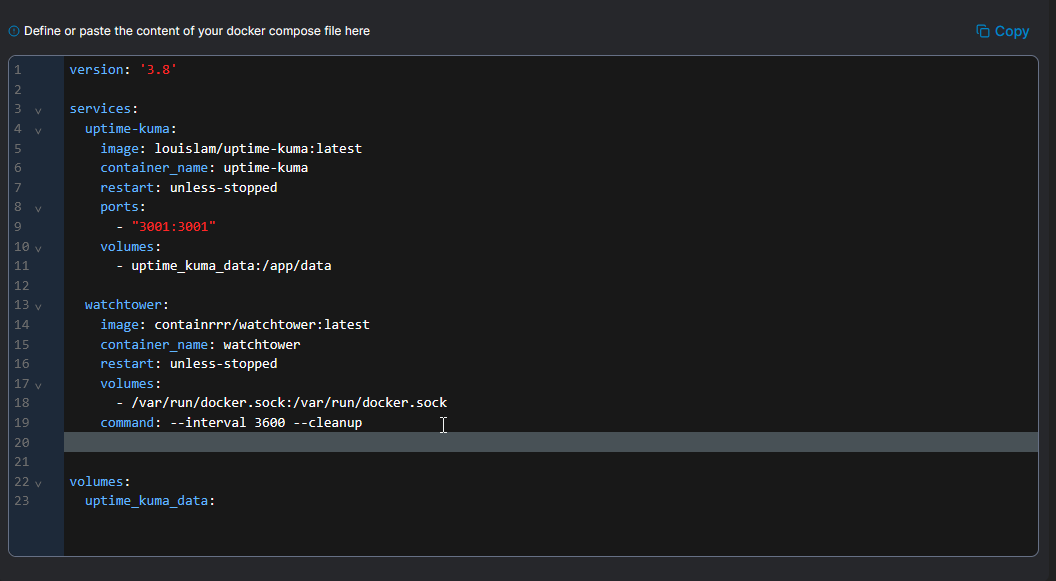
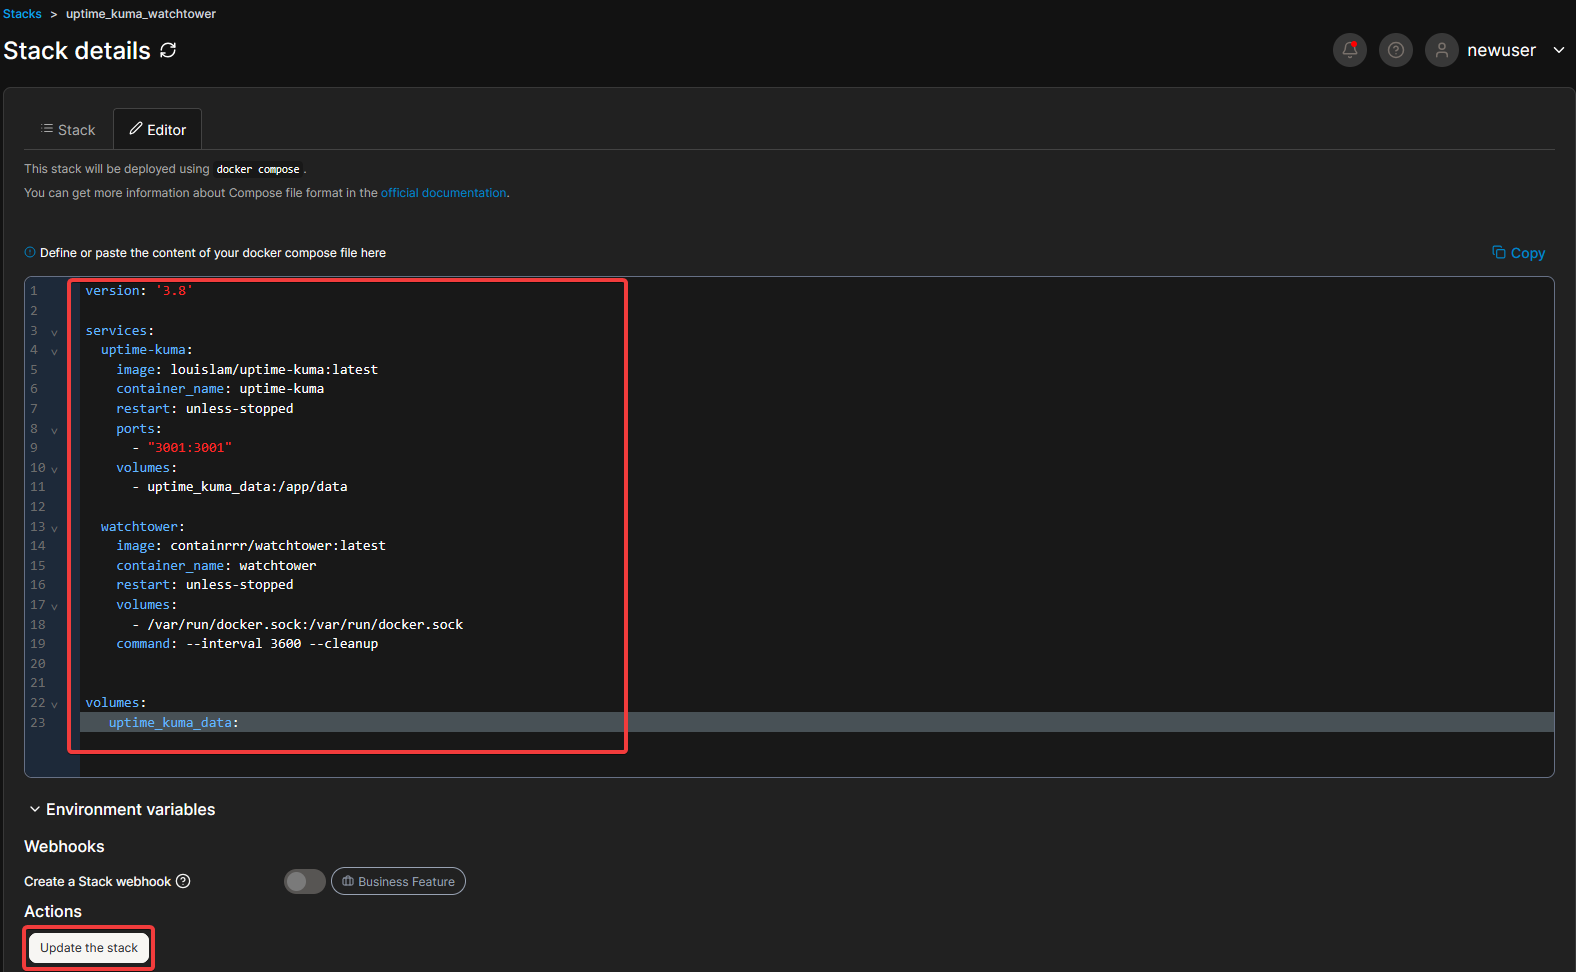
Insert your docker-compose.yml via Web editor.
Using Uptime Kuma + Watchtower - Monitoring + auto-update.
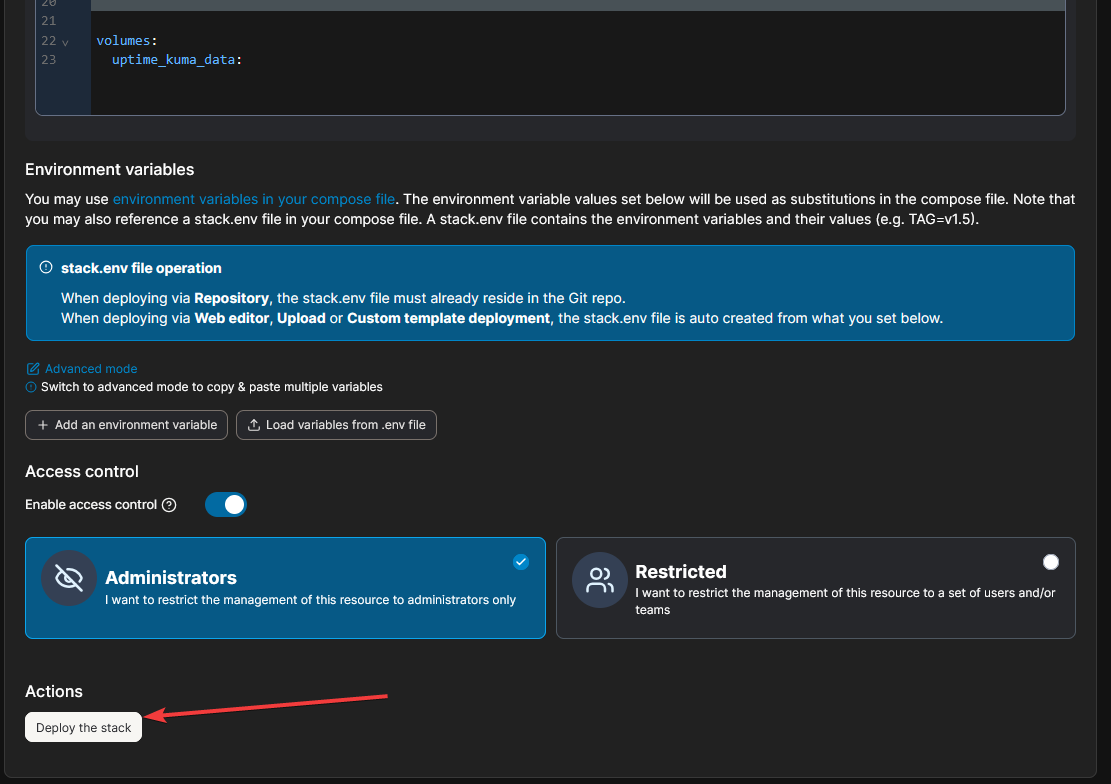
And click create container.
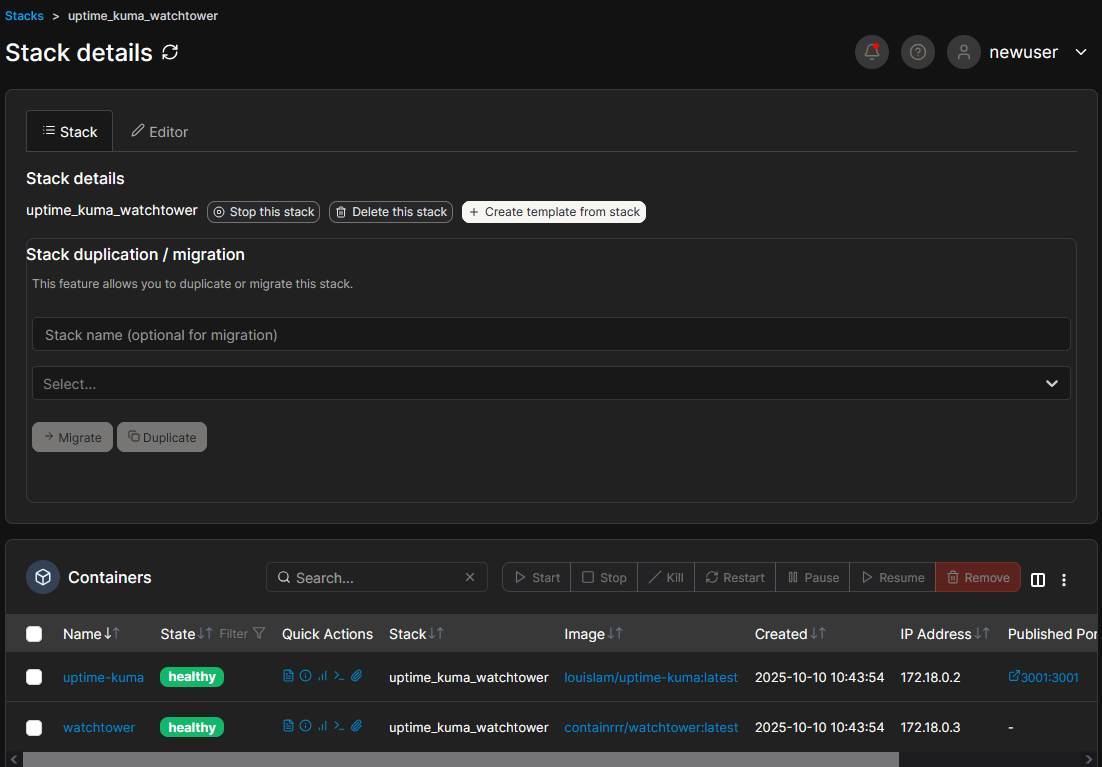
Wait for the stack with containers to be created. After completion, you can enter the stack.
Inside the stack, you have the ability to:
- Edit the code via Web editor.
- Create a duplicate for a new project.
- Manage the stack containers. (view logs, view statistics, connect to the container via shell)
- Edit access rights if you have multiple users in Portainer.
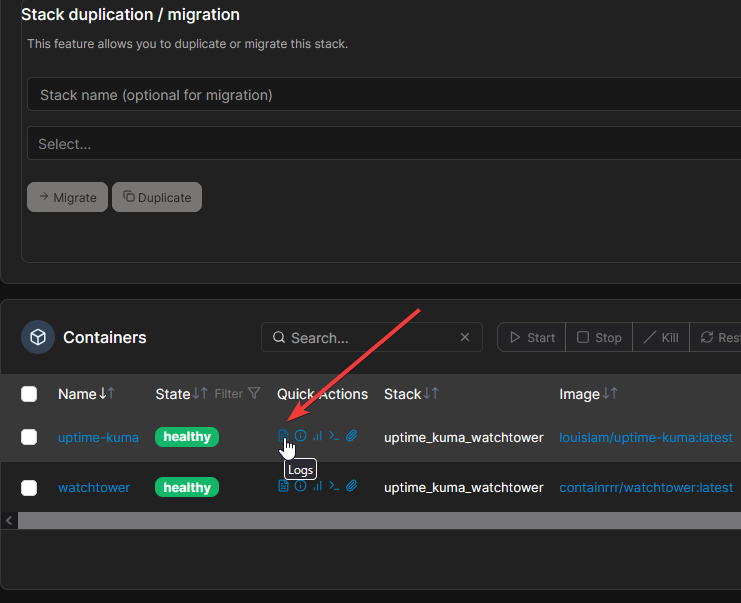
At the container debugging stage, it is necessary to view the log. This can be done inside the stack by clicking the button near the container.
To recreate the container with new data - insert new compose code in the stack properties in the Editor menu, and click Update stack
These are the basics of working in Portainer.
You can create any application in docker and manage it through a convenient web interface. You can connect multiple containers to each other and separate them by network.

