Email Configuration in the BrainyCP Control Panel (SPF, DKIM, DMARC)
To ensure that your emails reach the recipient's inbox and avoid the «Spam» folder, you need to configure additional settings in the Brainy control panel and DNSmanager.
Here’s how: Log in to your Brainy control panel as the user who owns the account where the domain used for email is parked.
For this example, we’ll use the domain mobilka.com.ua.
To access the control panel, enter the IP address of your VPS server in your browser:
http://ip_address:8002
Navigate to the «Mail / SPF» section.
Click the toggle switch in the «Action» column.
Wait a few seconds for the information in the column to update.
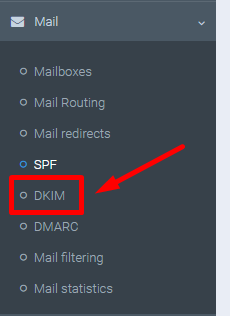
Next, navigate to the «DKIM» section:
Click the toggle switch in the row with the domain name and the row with the «www» prefix.
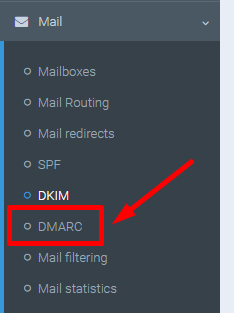
Navigate to the «DMARC» section:
Toggle the switch in the «Activation» column for the row containing your domain name.
Wait for the information to appear in the «Record» column:
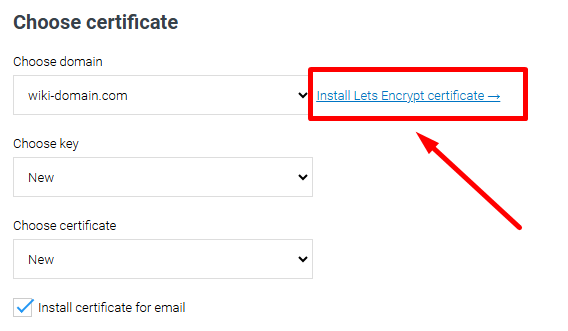
To ensure everything functions correctly, an SSL certificate must be installed on the domain.
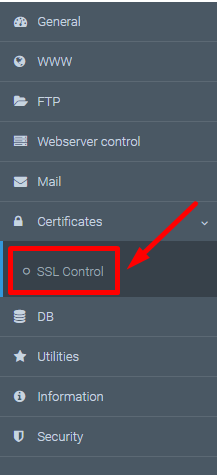
If it hasn’t been installed yet, go to the «Certificates / SSL Control» section.
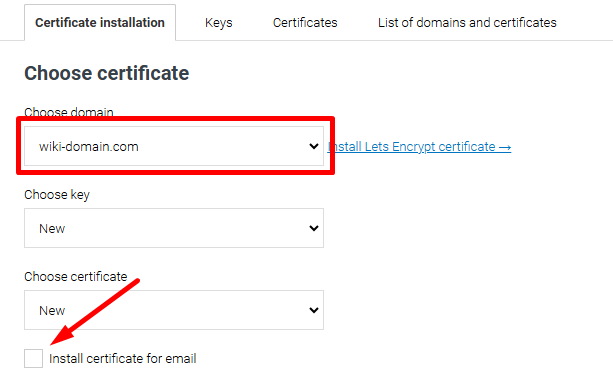
From the dropdown menu, select the desired domain and check the box for «Certificate Installation».
Click the «Install Let's Encrypt certificate» link.
On the next page, ensure that the boxes for «Install Certificate for Email» and «Auto-Renew Certificate» are checked, then click the «Save» button.
Wait for the SSL certificate to be generated.
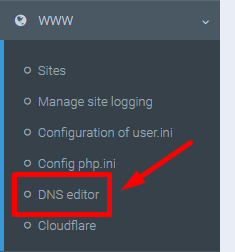
Next, navigate to the «WWW / DNS Editor» section:
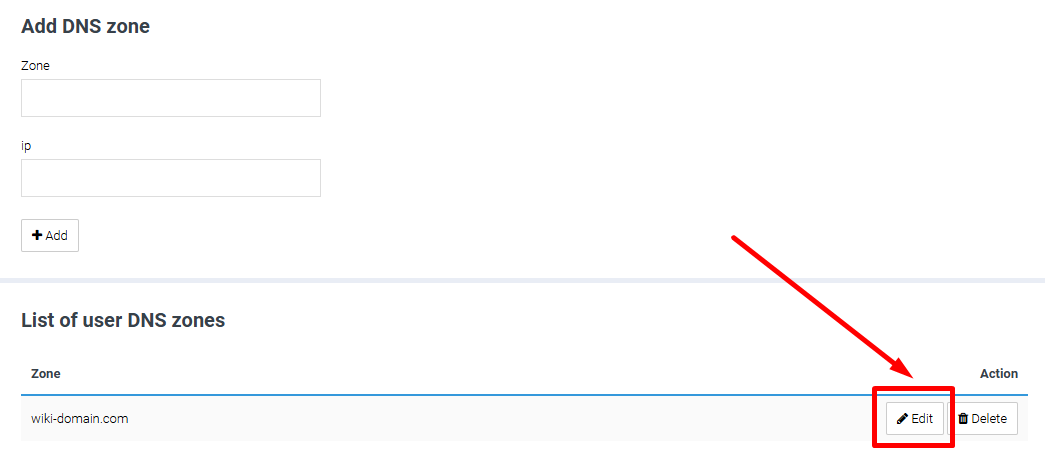
Click the «Edit» button:
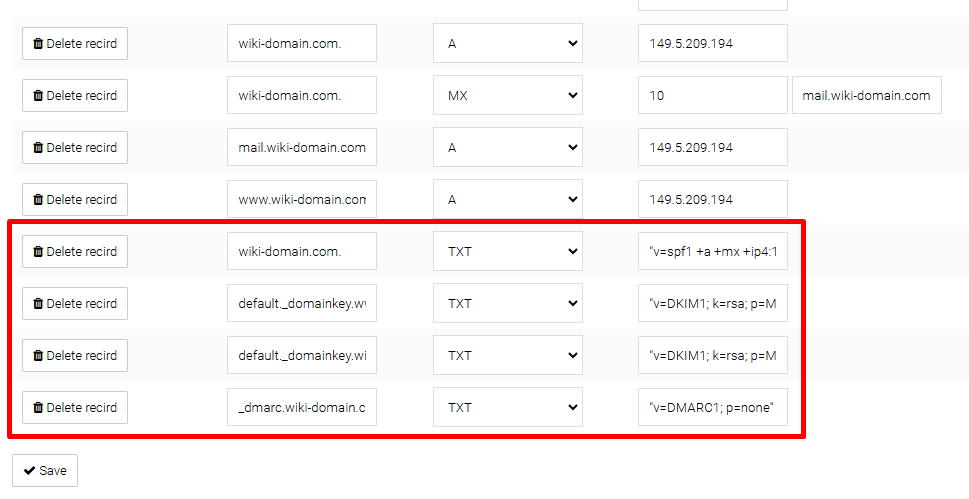
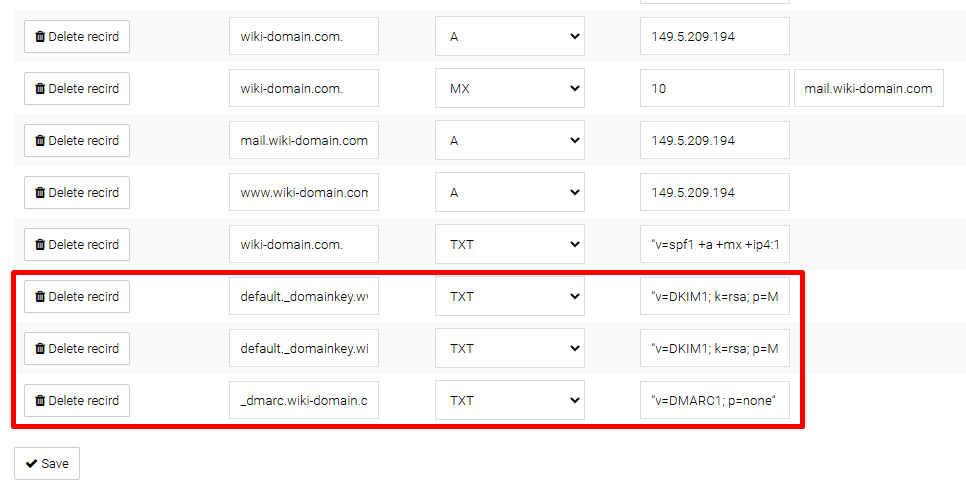
For the next steps, we will need the «TXT» records.
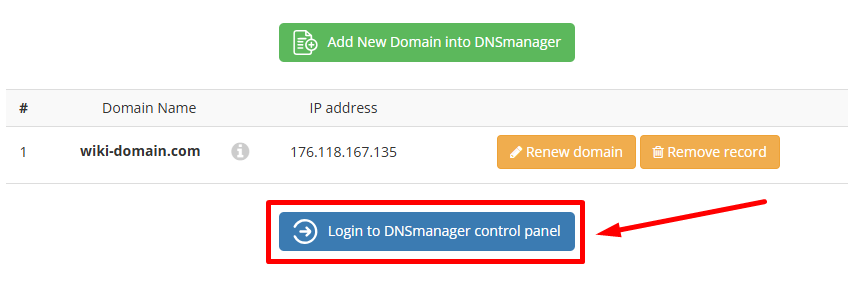
Next, log in to your Client Area and navigate to the «Manage Domains in VDS DNS Manager» section:
Click the «Add New Domain into DNSmanager» button if your domain name is not listed. If the domain name is already in the list, click the «Log in to DNSmanager Control Panel» button.
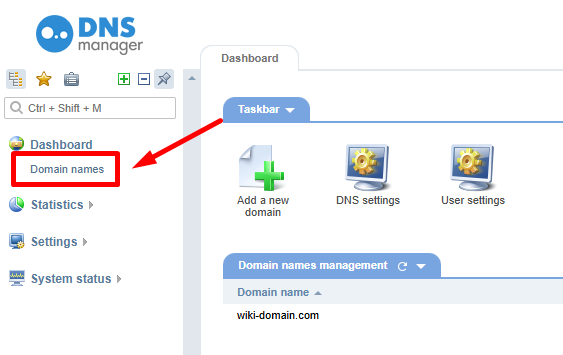
Navigate to the «Domain Names» section.
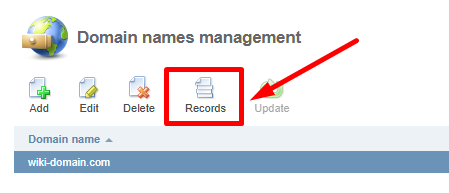
Select the domain name and click the «Records» button:
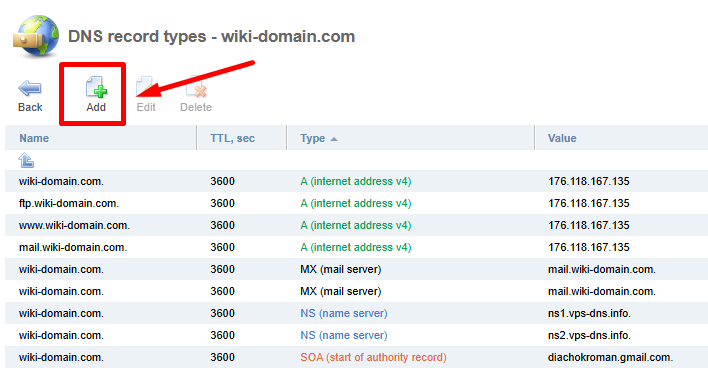
Click the «Add» button
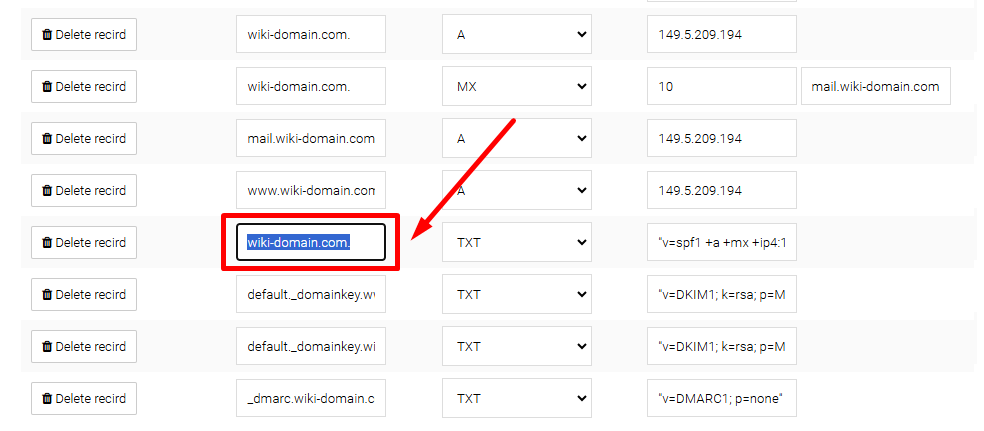
In the «DNS Editor» section of the «Brainy» control panel, copy the content from the first field containing the «TXT» record:
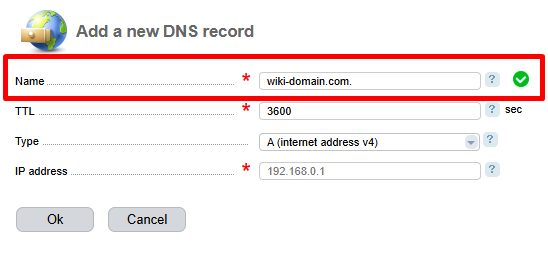
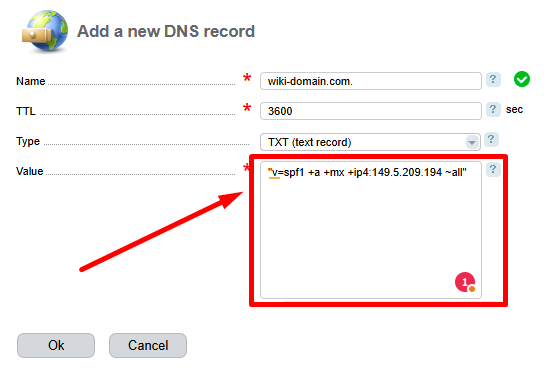
Paste it into the «Name» field:
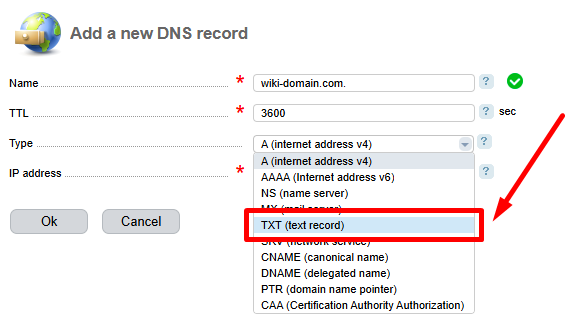
In the «Type» field, select «TXT (text record)» from the dropdown menu:
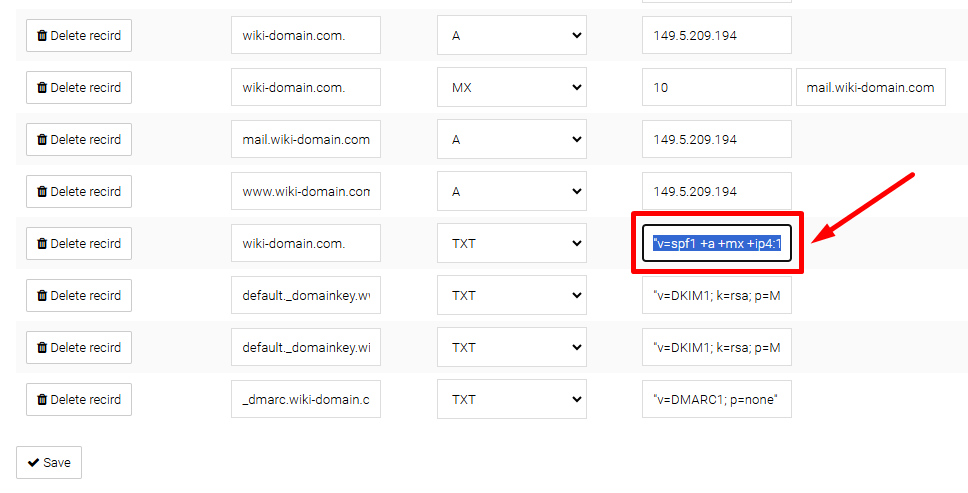
Copy the TXT record:
Paste the copied record into the «Value» field, then click «OK»:
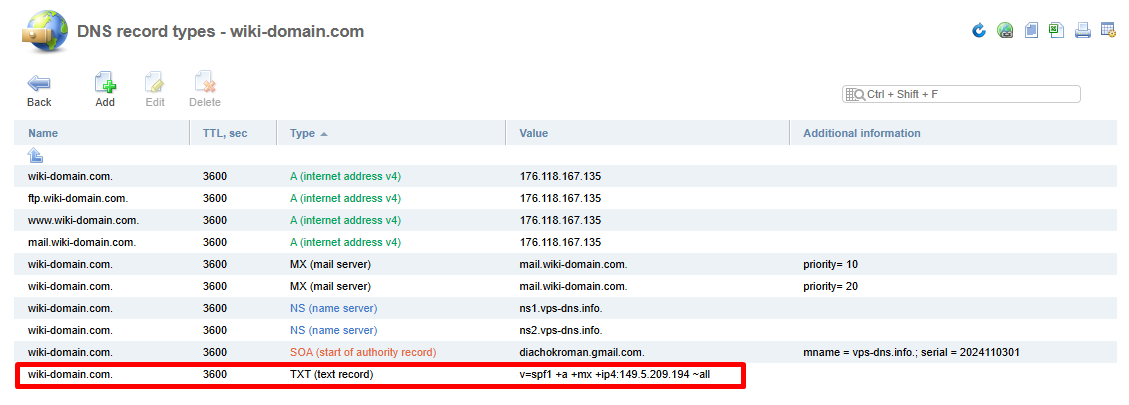
The record has been added:
Repeat the same steps for the remaining three records:
Once all the records have been added, the setup is complete.


