Adding a New Domain (Website) in the BrainyCP Control Panel
To add a new domain to your server, you’ll need to complete two steps: add the domain to the BrainyCP control panel and configure it in DNSmanager through your account.
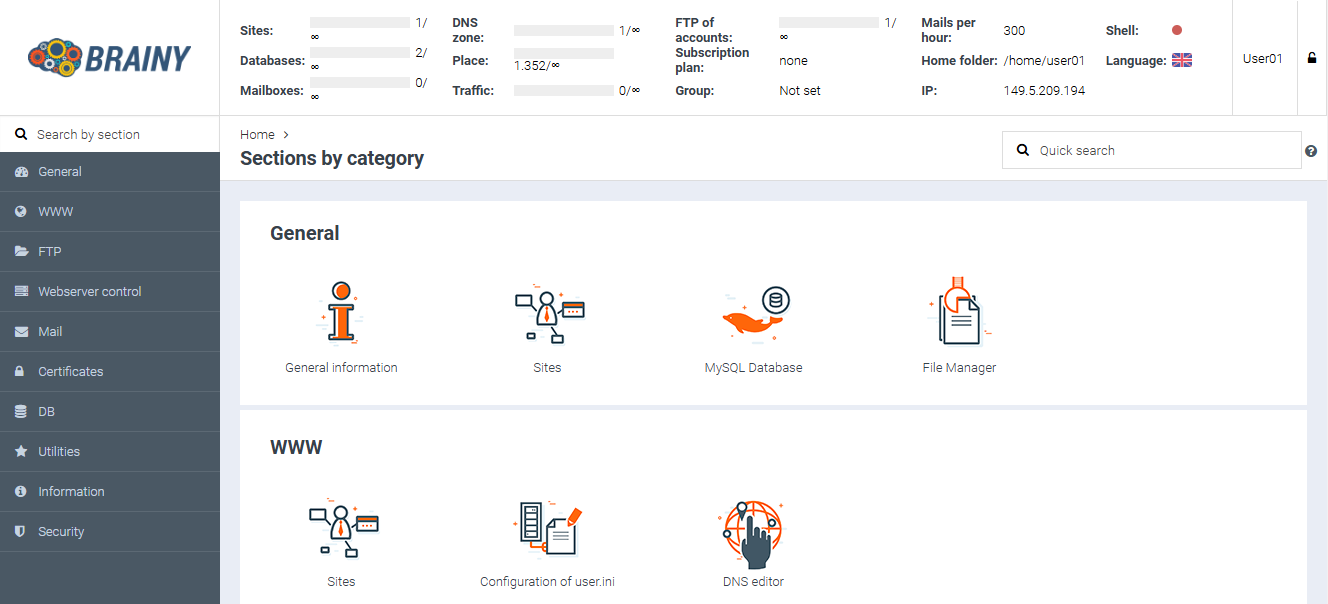
Log in to the BrainyCP control panel under the account where the domain will be managed.
You can find your login credentials in the email received during server activation or in your Client Area under «VPS Settings».
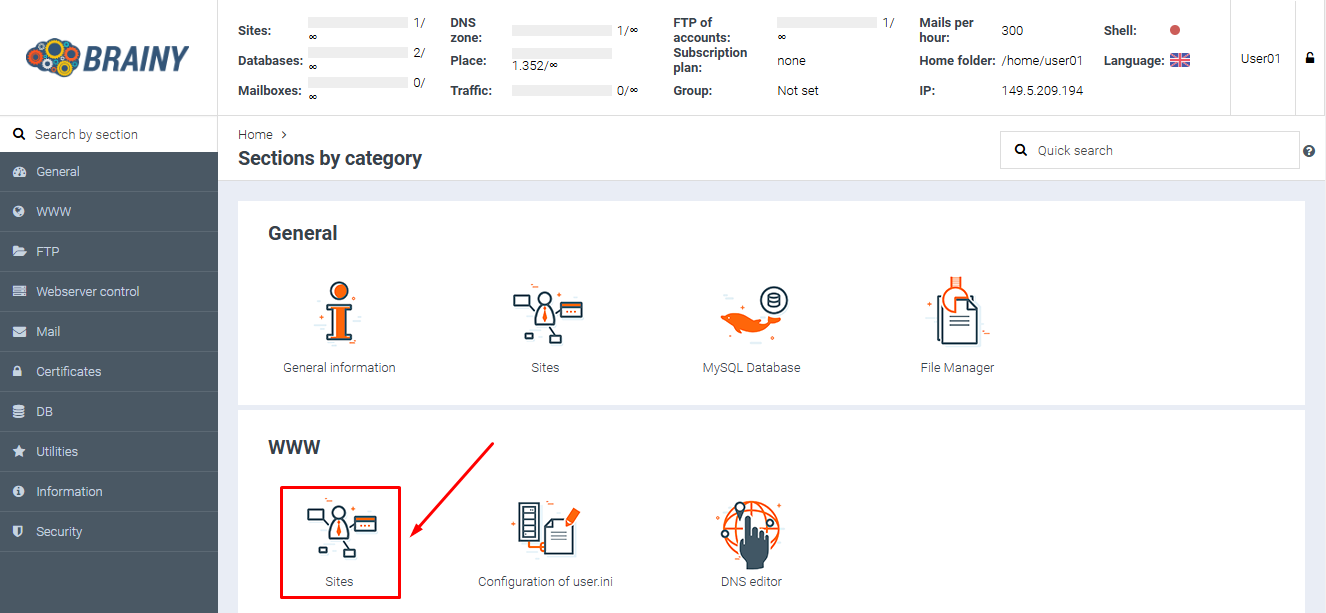
Navigate to the «Sites» section
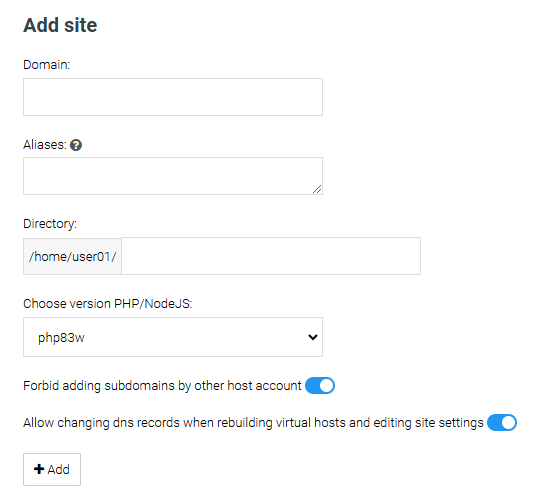
Complete the form to add a new domain (website)
Enter the domain you want to add in the «Domain» field.
The «Aliases» field is automatically populated with the domain and the «www» prefix as an alias.
You can also add additional aliases by entering them, separated by commas.
The «Directory» field is automatically populated. You can modify the path and folder name where the domain will be hosted, if necessary
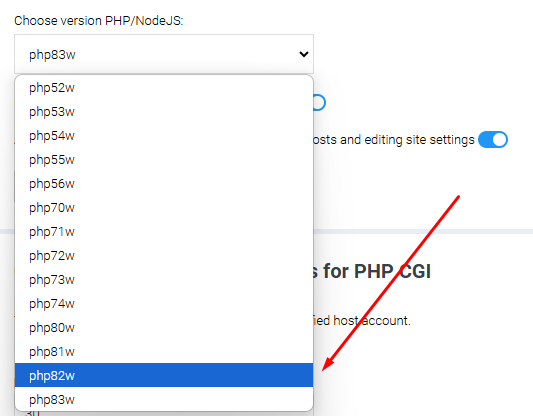
In the «Choose version PHP/NodeJS» field, select the desired PHP version for your website from the dropdown menu. You can update the PHP version later if needed
Click «Add»
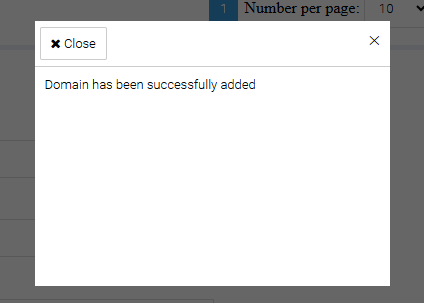
The domain has been successfully added to the BrainyCP control panel.
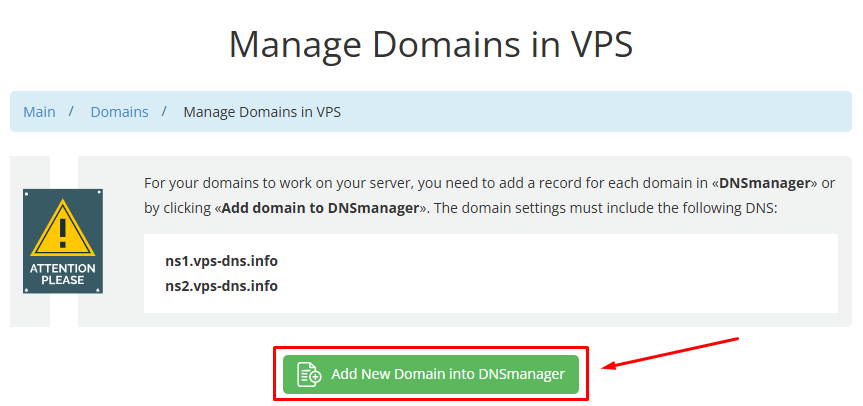
After adding the domain, you need to configure it in DNSmanager. Log in to your Client Area and navigate to the «Manage Domains in VDS DNS Manager» section.
Click «Add New Domain into DNSmanager»
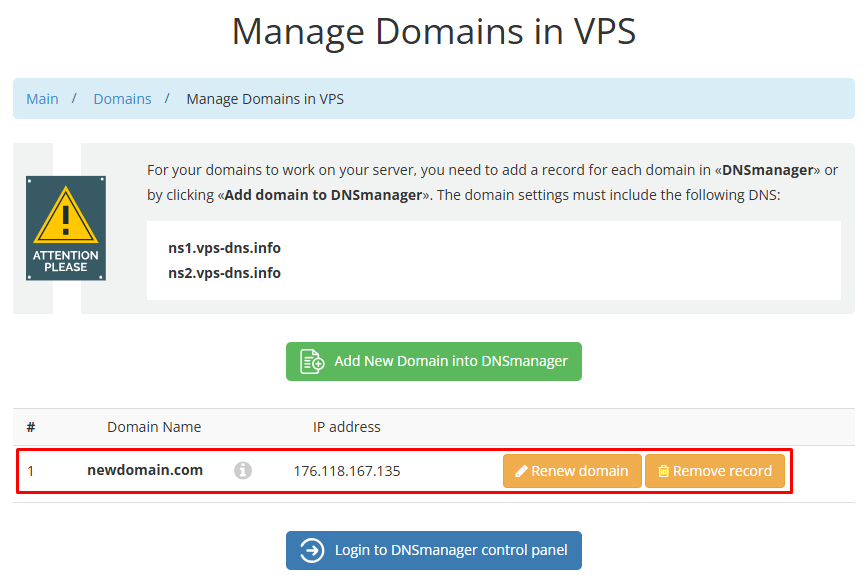
In the pop-up window, enter the domain you want to add and click «Add»
The domain has been added!

