Cloudflare
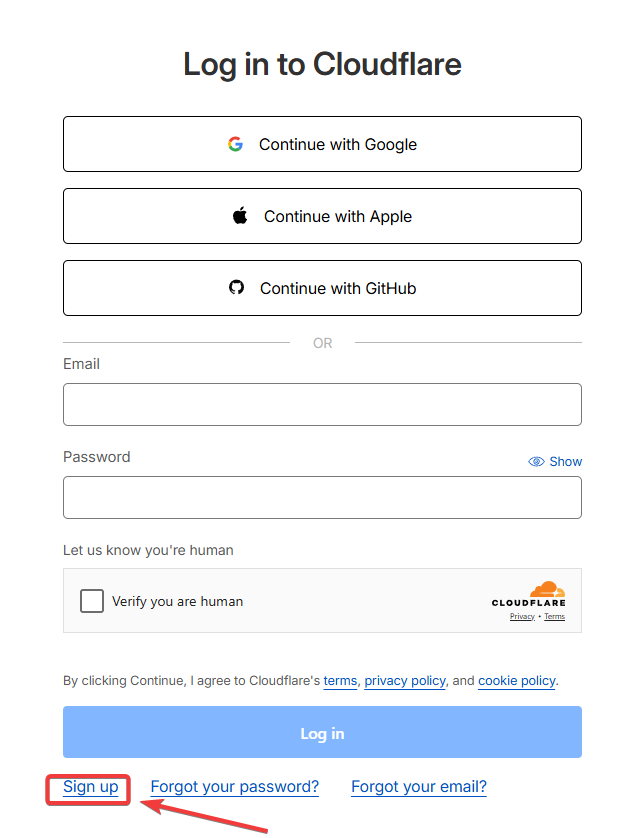
Register with Cloudflare using the link https://dash.cloudflare.com/login
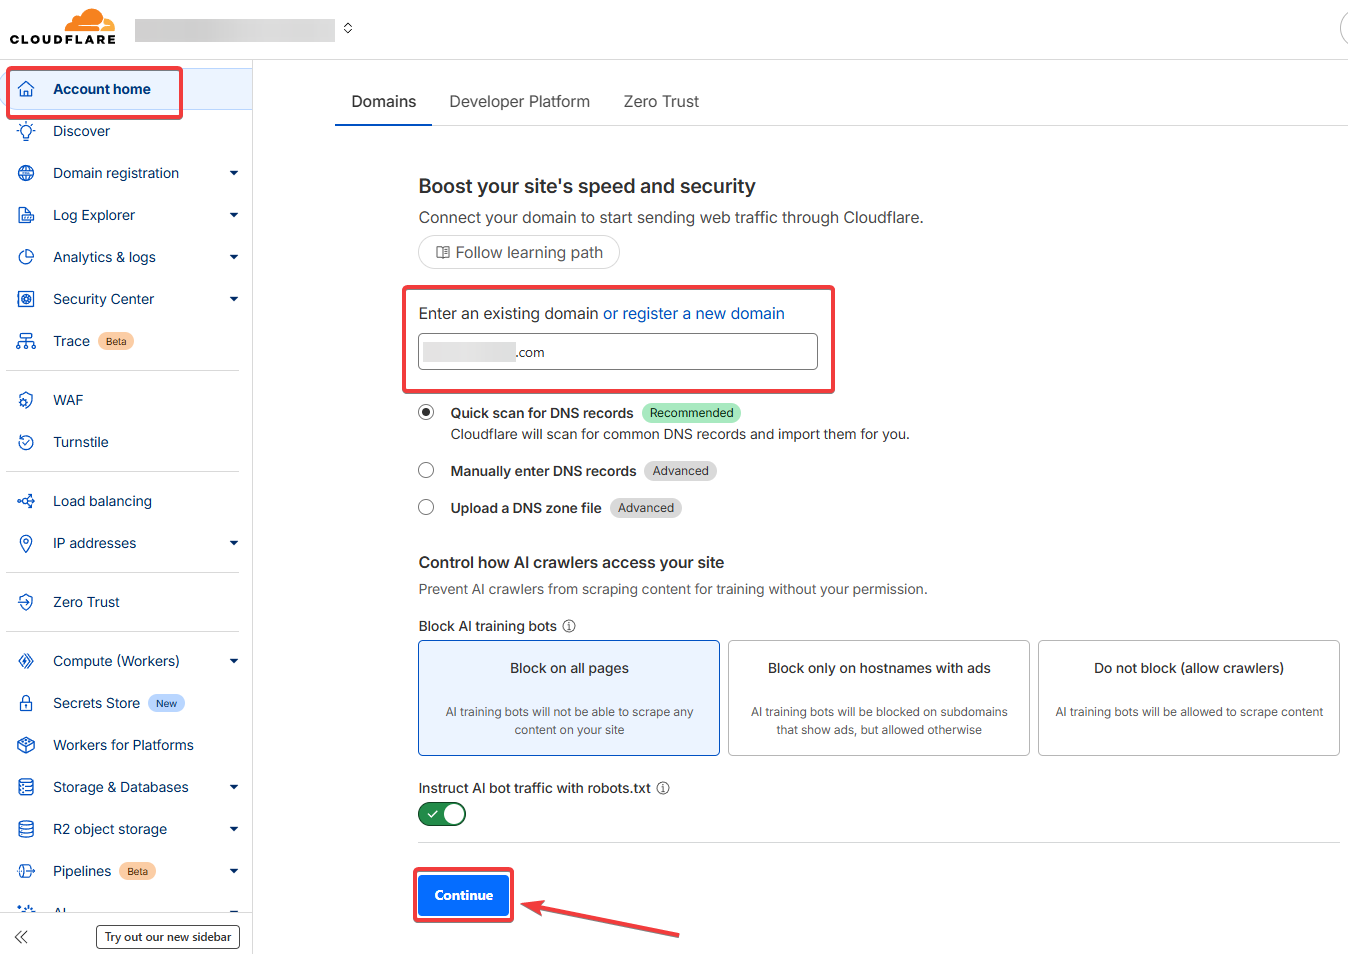
On the main page, enter your domain and click Continue
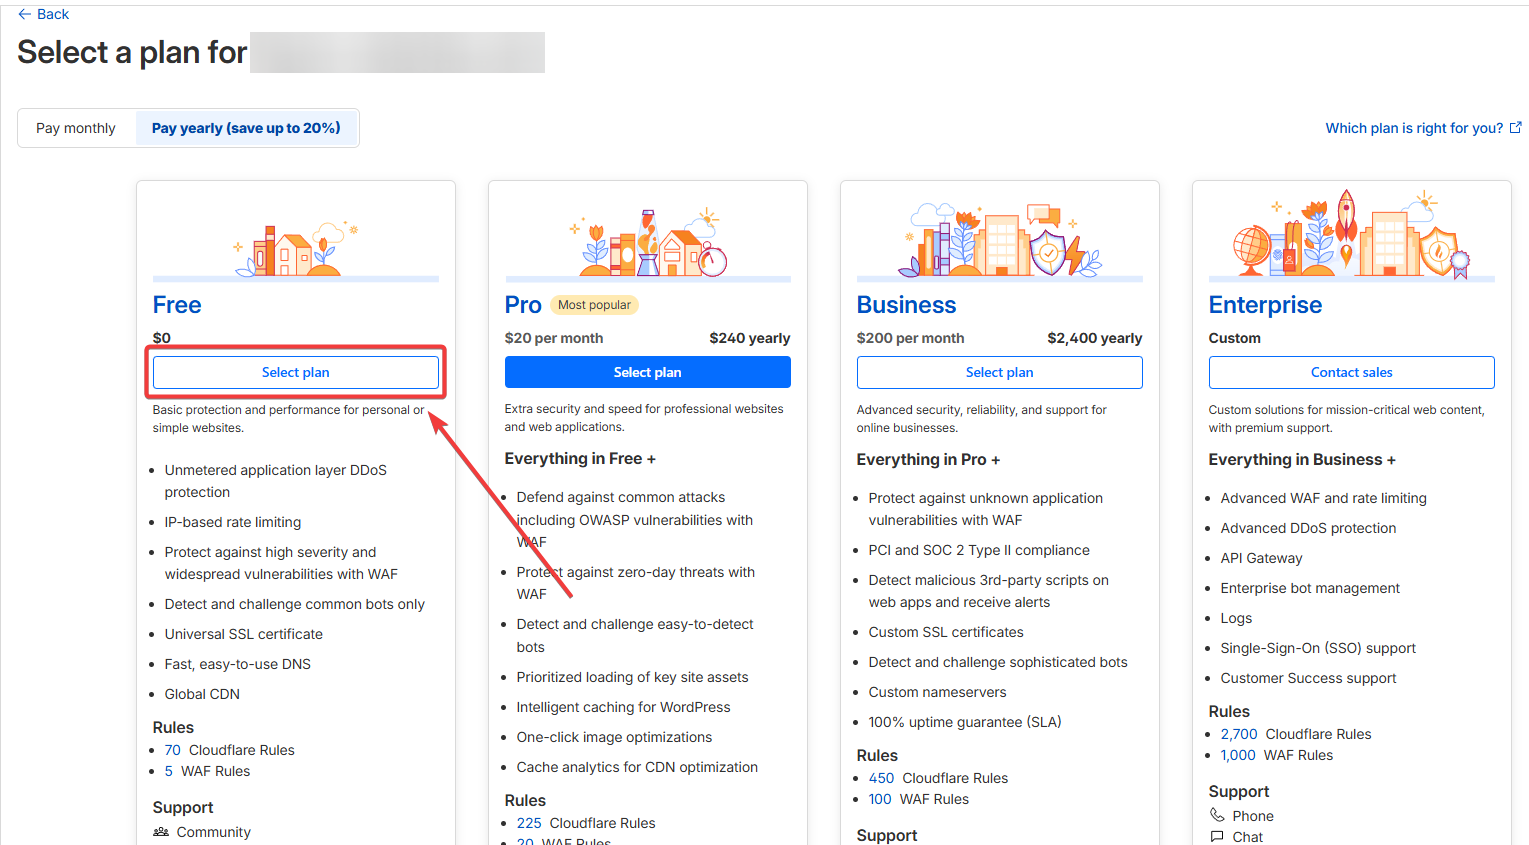
Choose a service plan for the domain Free will be sufficient for basic functions
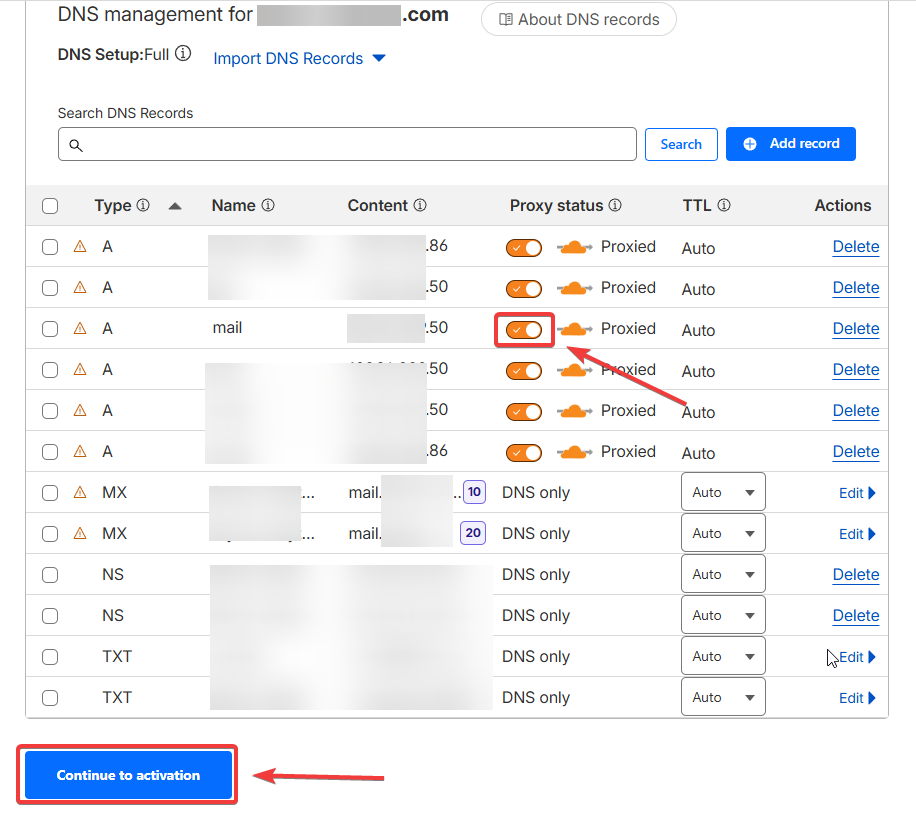
Cloudflare will scan the current resource records of the domain so that the site does not stop working during the NS change.
Important! Cloudflare proxies records. Redirects them.
This is good for web, but doesn't work at all for mail domains. A-record for MX should be directed without proxying. TXT records (DKIM, DMARC, SPF) may need to be manually copied from the hosting DNS. These settings are provided by the hosting server.
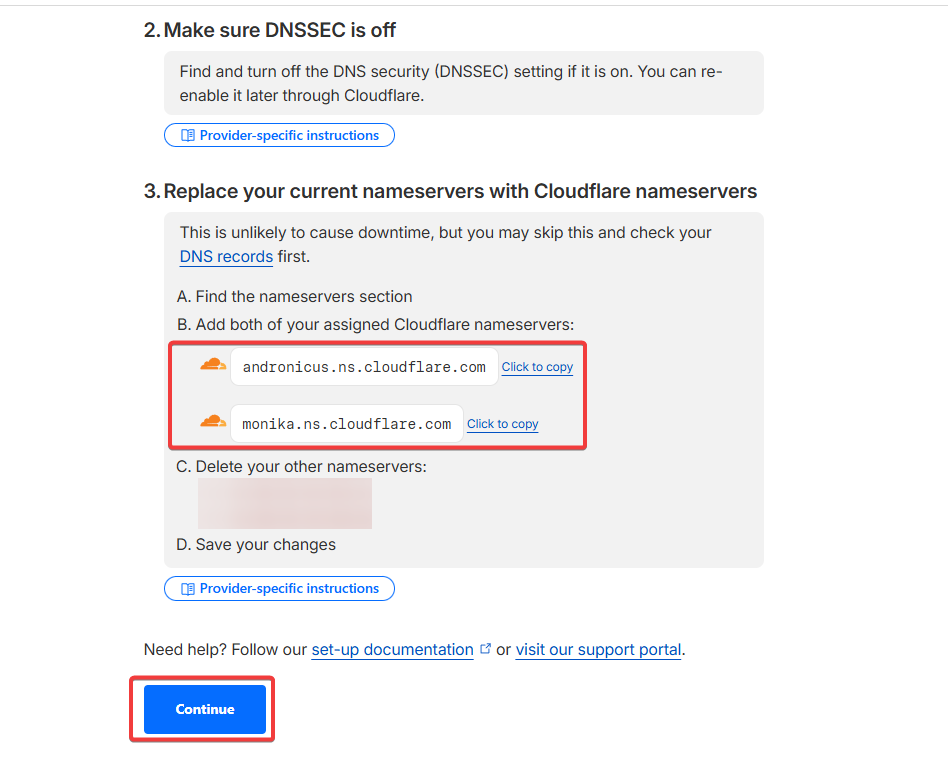
The last step is to change the NS records of the domain with the registrar. This is done on the website where you purchased the domain. If the domain was purchased from us - in the personal account, in the Domains menu.
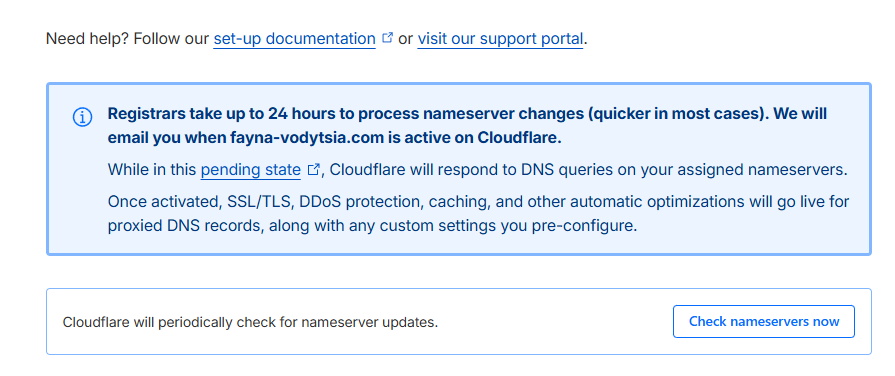
Important! Changing NS does not mean instant domain operation from new servers. NS update takes time 2-12 hours. The platform also states this.
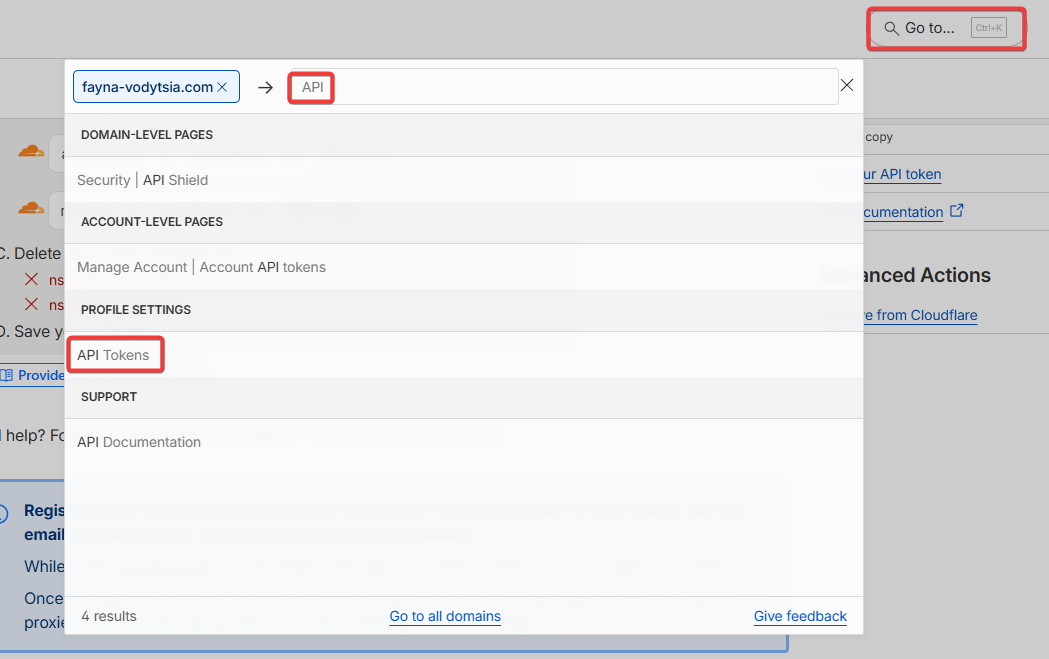
To connect Cloudflare via API on the hosting, you need to go to search and enter - API In the dropdown menu select API Tokens
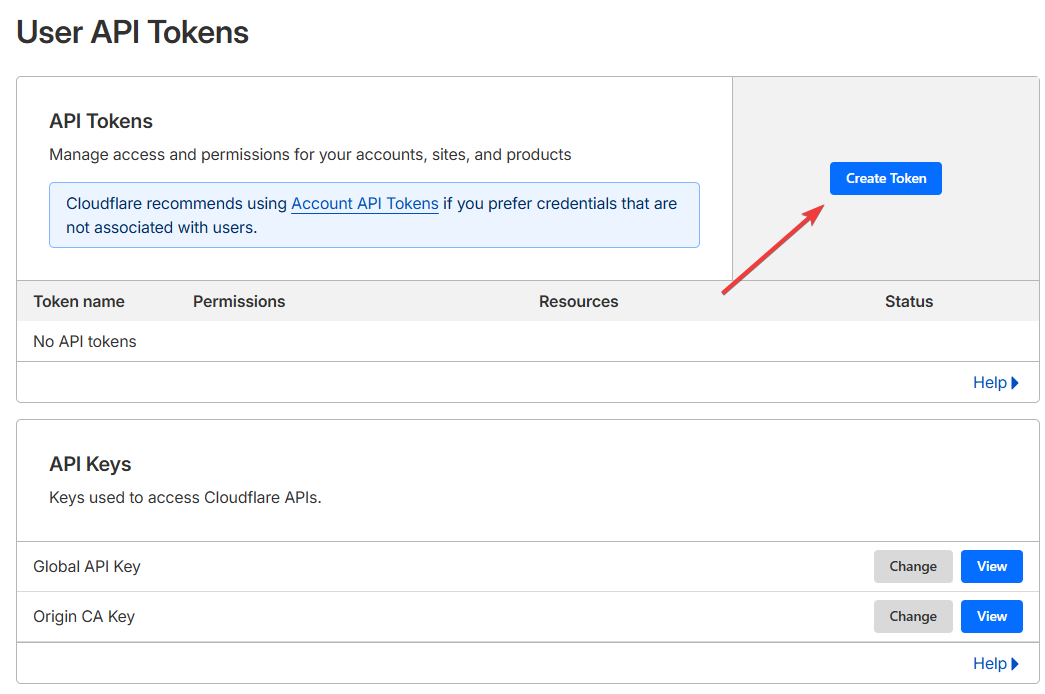
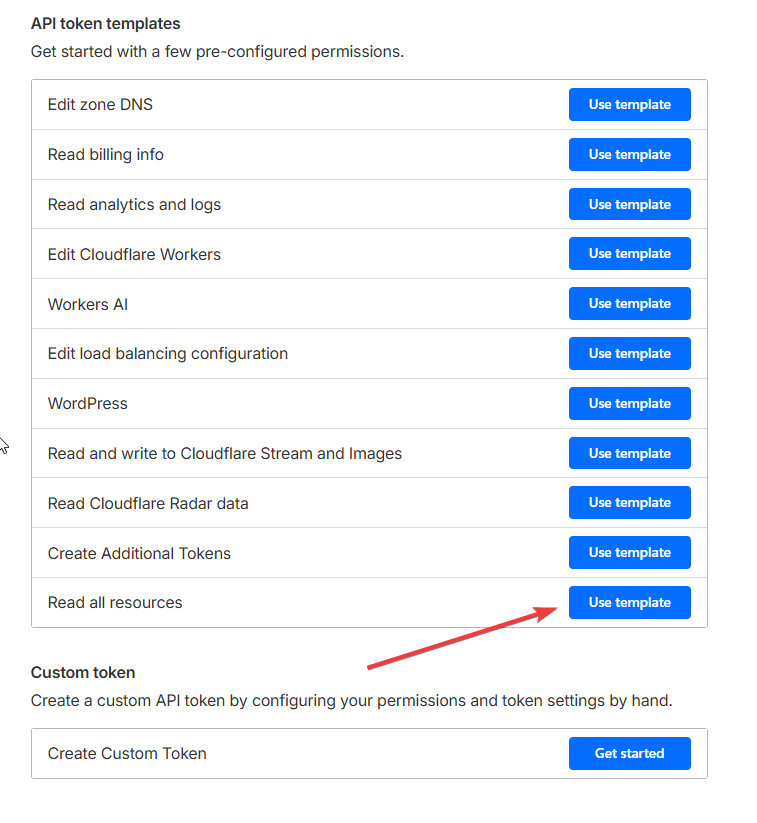
Create a new token
Select - All resources
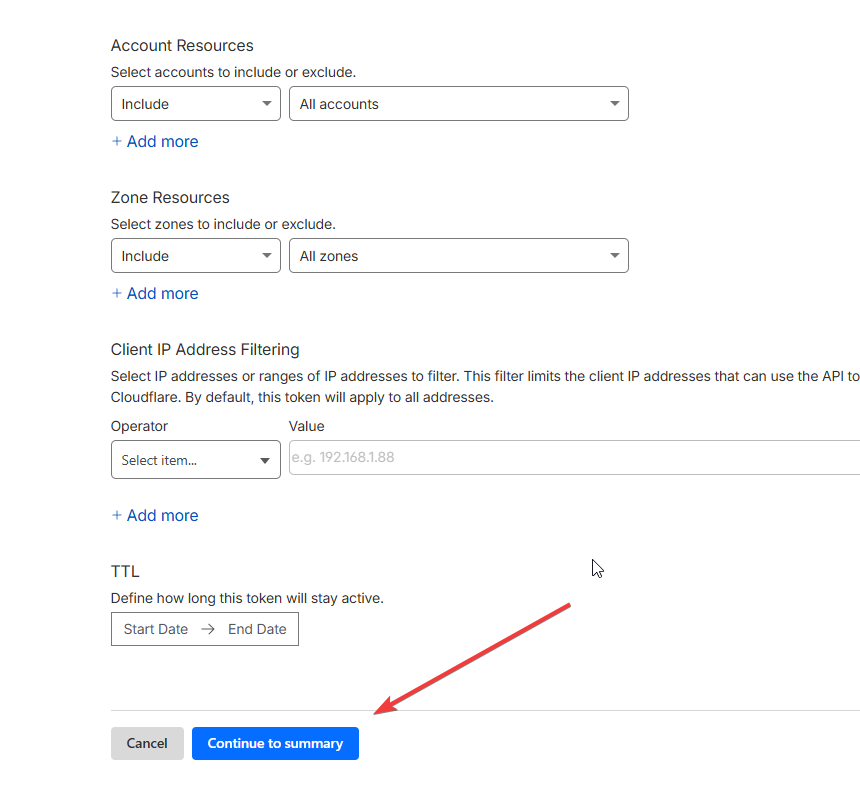
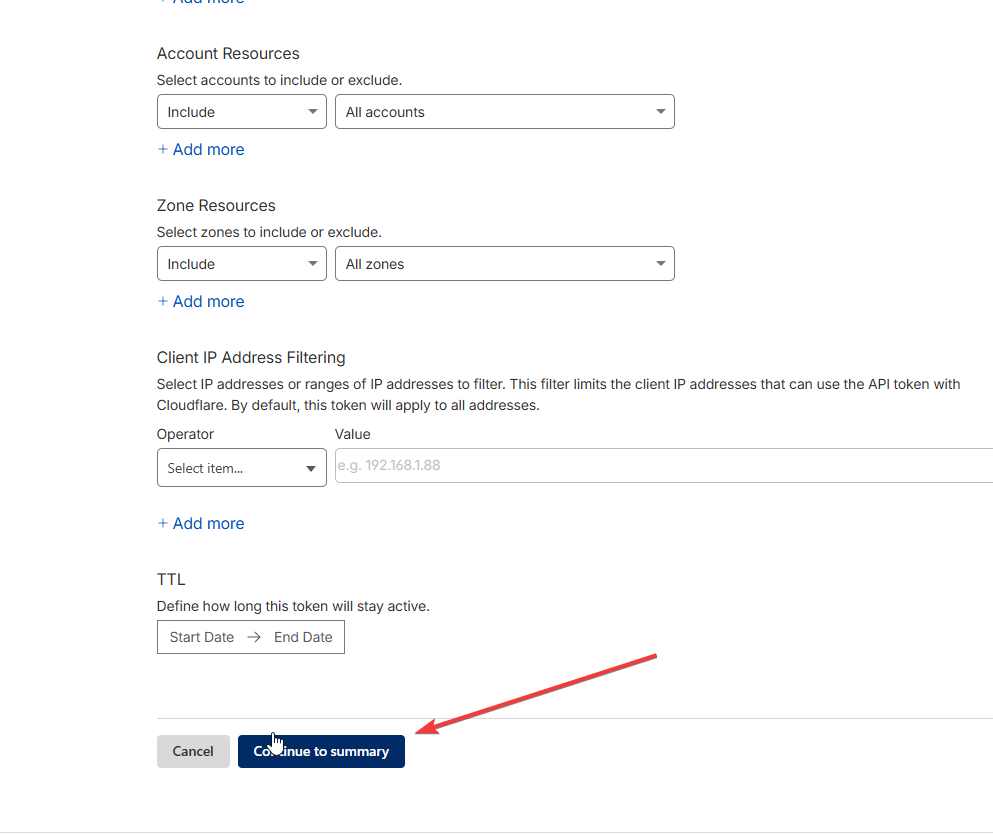
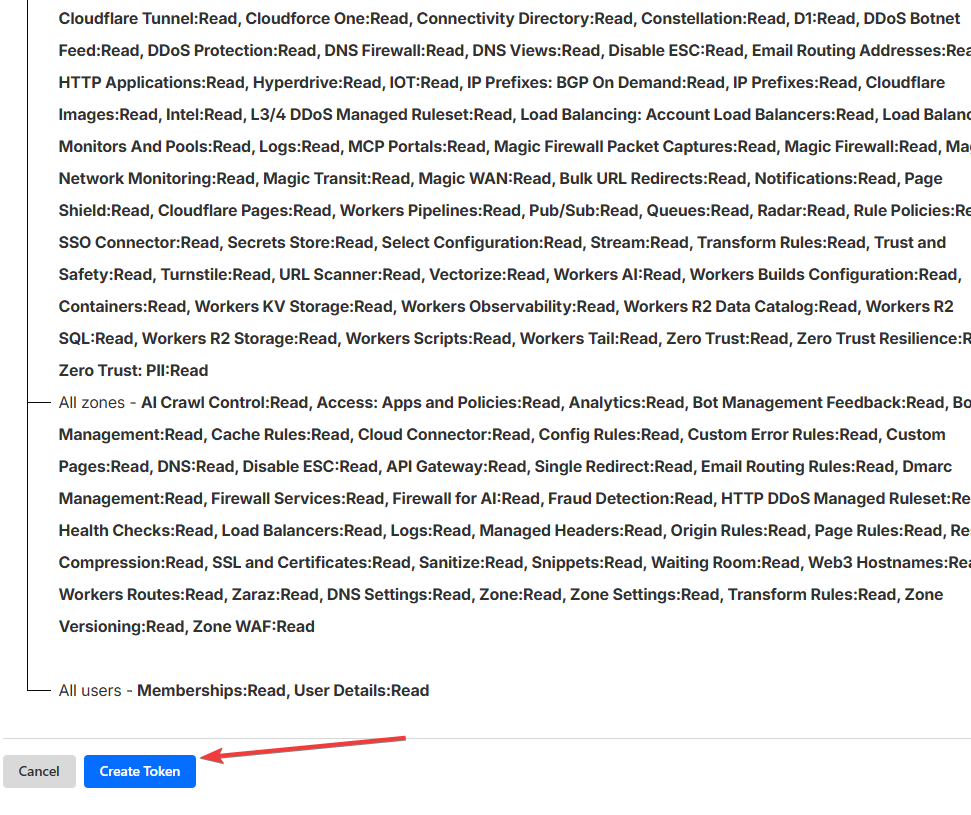
Confirm permissions, change token name if necessary, add allowed IP for token operation if necessary. Confirm actions
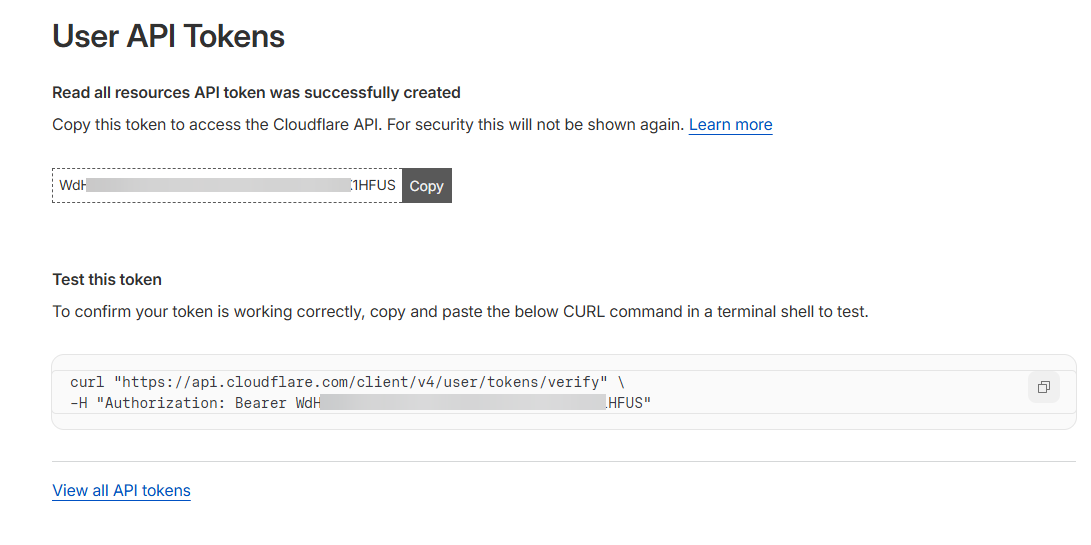
Key created.
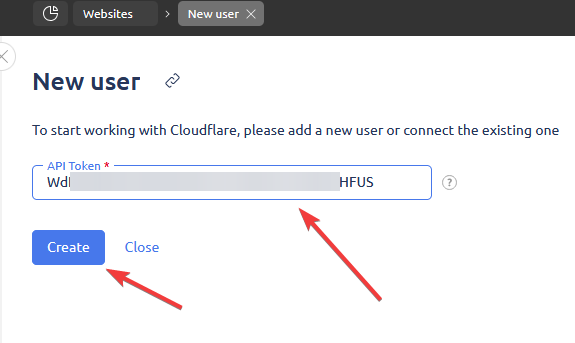
Copy the key and paste it in the site settings on the hosting.
Token successfully added to the site on hosting. Log in again to the sites menu and Cloudflare menu
After DNS update, you will get full domain management in Cloudflare directly from the hosting panel.

