Adding a 360° Panorama Image in WordPress
Panoramic images are gaining popularity as they help create interactive 3D tours and immersive user experiences on websites.
Here’s how you can add a panoramic image to your WordPress site.
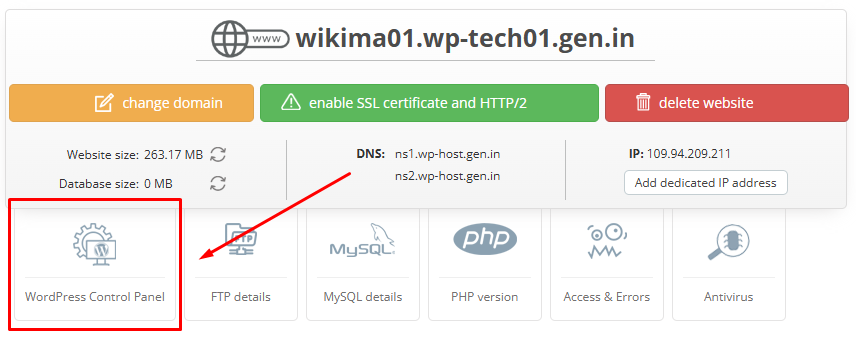
Log in to your WordPress admin panel by visiting Your_Domain/wp-admin/ or through your Client Area.
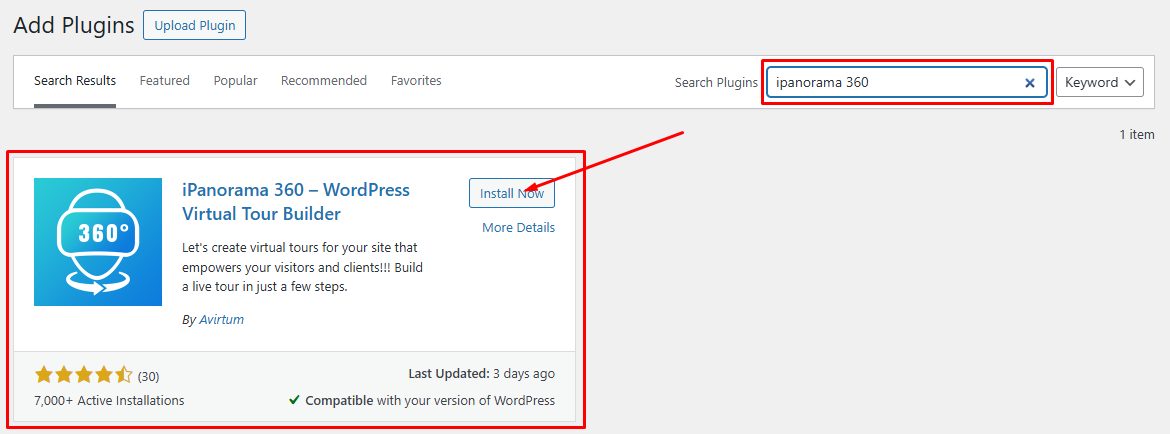
To display a panoramic image on your website, install the «iPanorama 360» plugin.
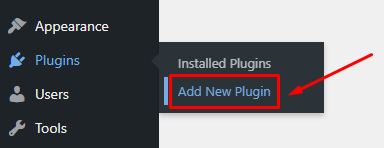
To do this, navigate to «Plugins» > «Add New Plugin» in your WordPress admin panel.
Search for «ipanorama 360» in the search bar. When the plugin appears in the results, click «Install Now».
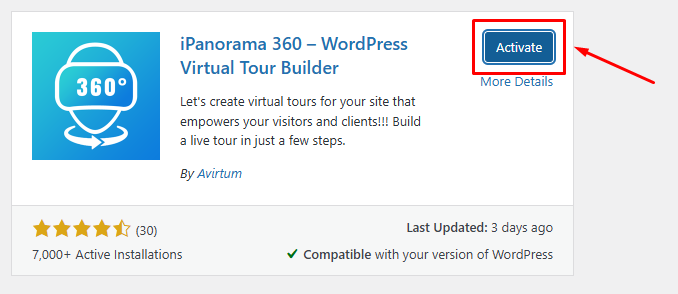
Click the «Activate».
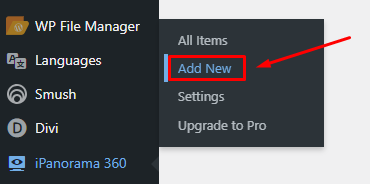
You’ll now notice a new menu item called «iPanorama 360» in your WordPress admin sidebar.
Navigate to «iPanorama 360» and select «Add New».
Enter a name for your Panorama.
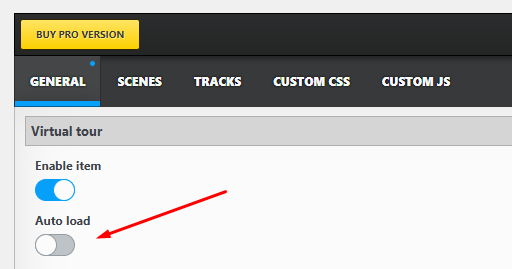
Turn on the «Auto Load» option.
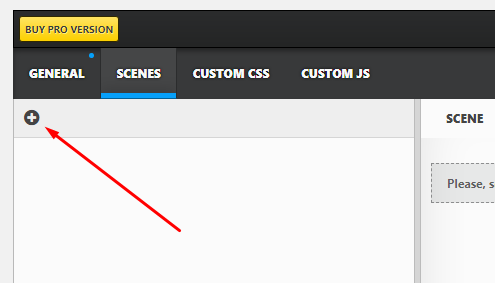
Navigate to the «Scenes» tab.
Click the «+» button to add a new scene to your panorama.
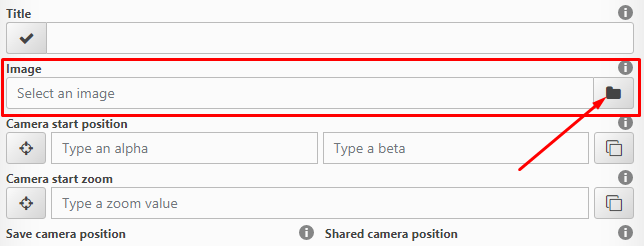
In the form on the right, locate the «Image» field to upload your panoramic image.
Click the folder icon to select and upload your file.
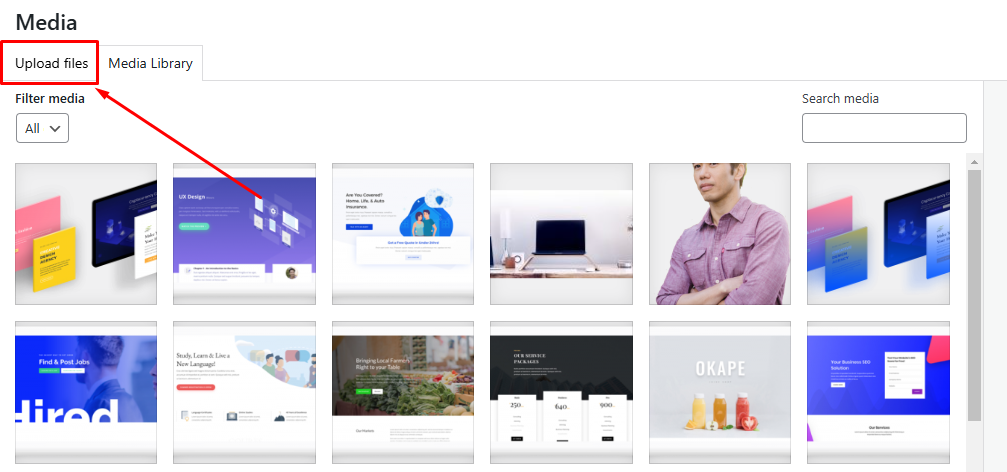
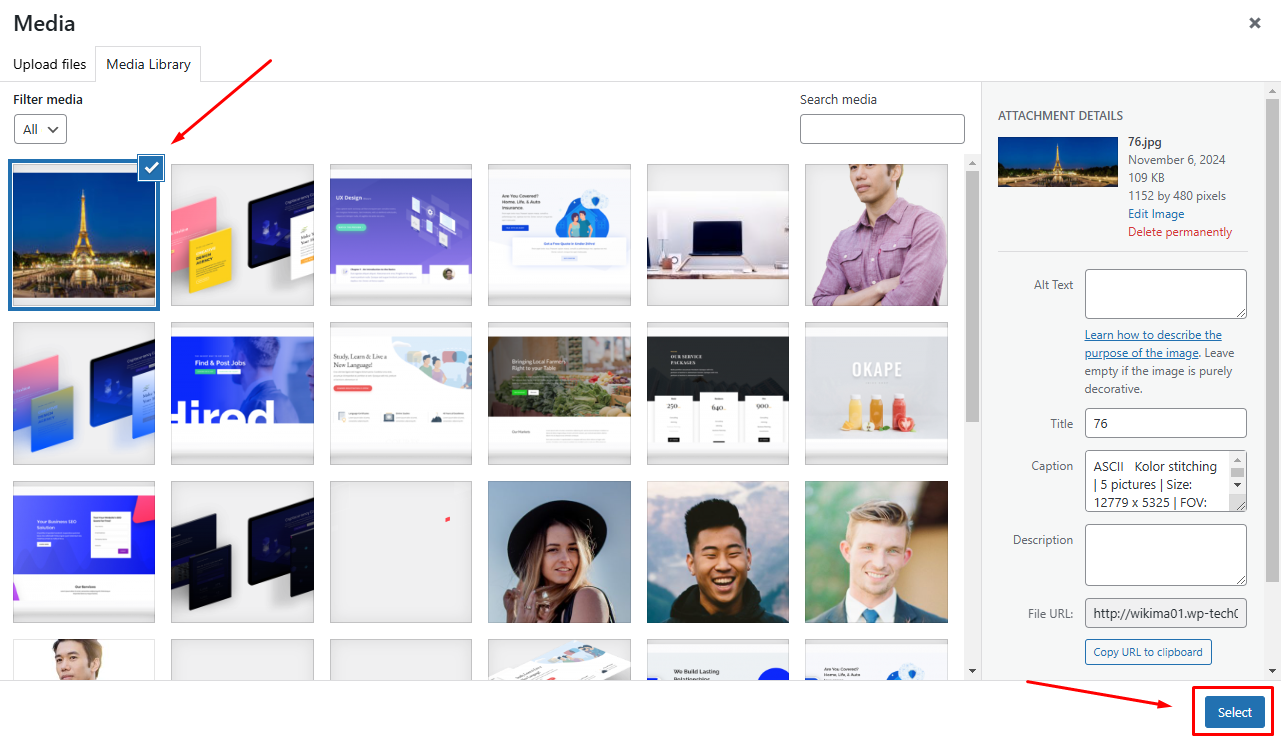
In the popup window, select an image from your Media Library or upload a new one from your computer.
In the popup window, you can either select an image from your Media Library or upload a new one by clicking on the «Upload Files» tab.
Click the «Choose».
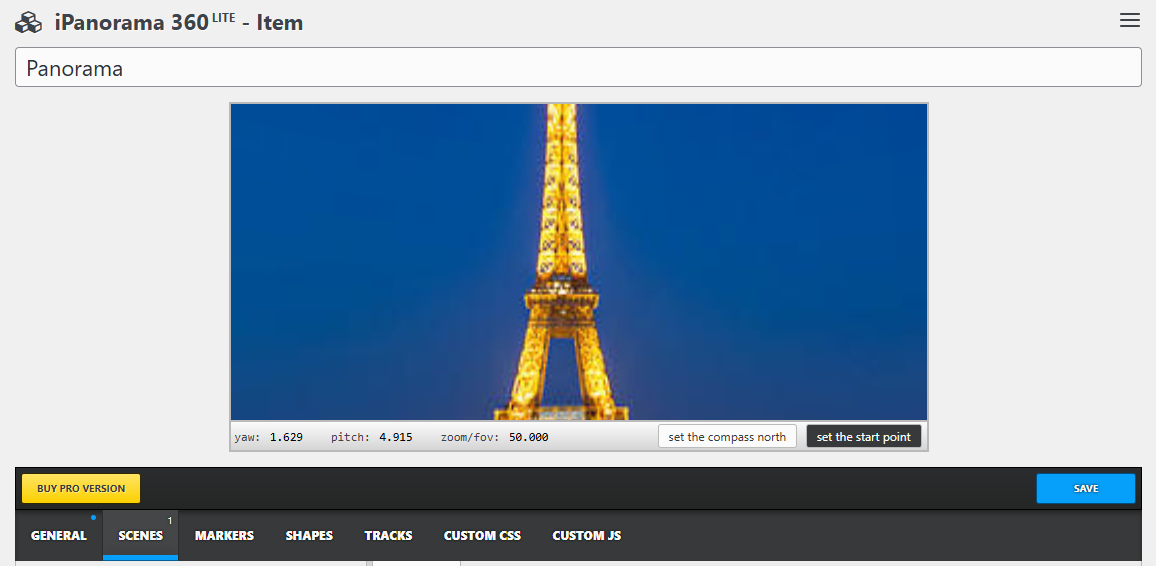
The uploaded image will appear at the top of the screen.
In the «Title» field, enter a name for the scene. This title will help you organize scenes in the left-hand panel and will also be displayed to users when they view the panorama on your website.
If you prefer not to show the title on your website, simply uncheck the «Title» option.
By default, the panorama image is displayed centered with no zoom applied.
If this setup works for you, no further adjustments are necessary.
However, if you'd like the image to start with a specific zoom level or a different position, you can customize it as follows:
- Adjust the image position by clicking and dragging it at the top of the screen.
- Use your mouse scroll wheel to set the desired zoom level.
- Once you’ve set the preferred position and zoom, click the copy icons next to «Camera Start Position» and «Camera Start Zoom» to save your settings.
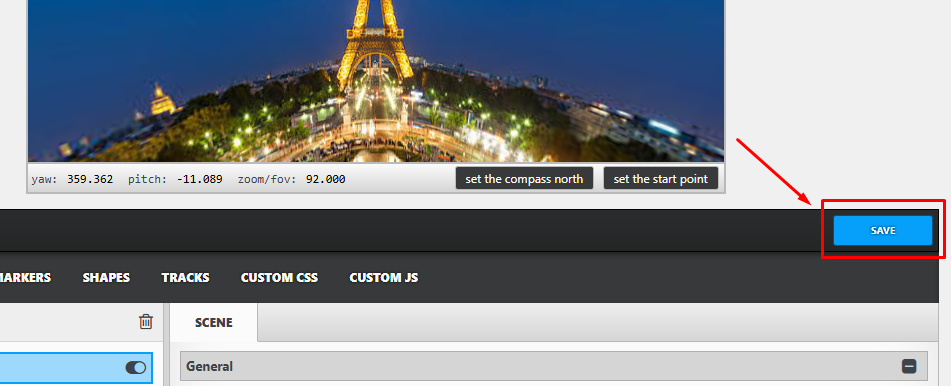
Click the «SAVE».
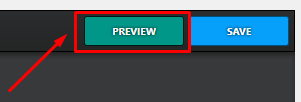
To preview your panorama, click the «PREVIEW» button.
The last step is to add the panorama to a page on your website. To do this, navigate to the «SHORTCODE» tab.
Copy the shortcode from the «Standard Shortcode» field.
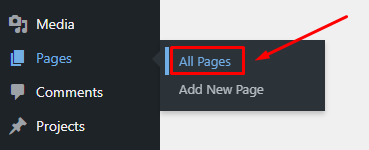
Now, navigate to «Pages» / «All Pages».
You can choose an existing page or create a new one.
For this example, let’s create a new page by clicking the «Add New Page» button.
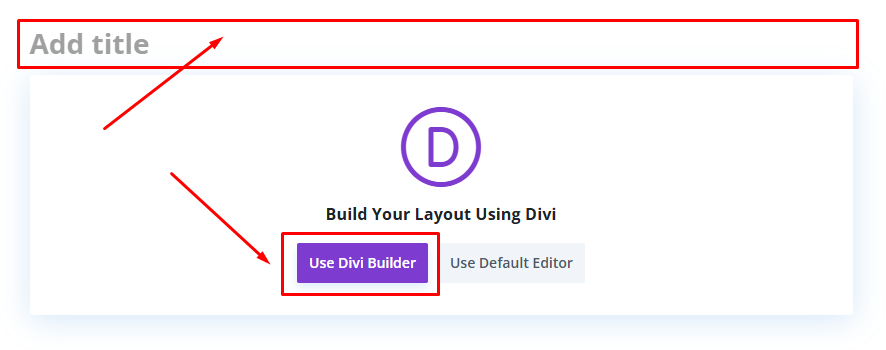
Enter a title for the page and click the «Use Divi Builder» button to start editing.
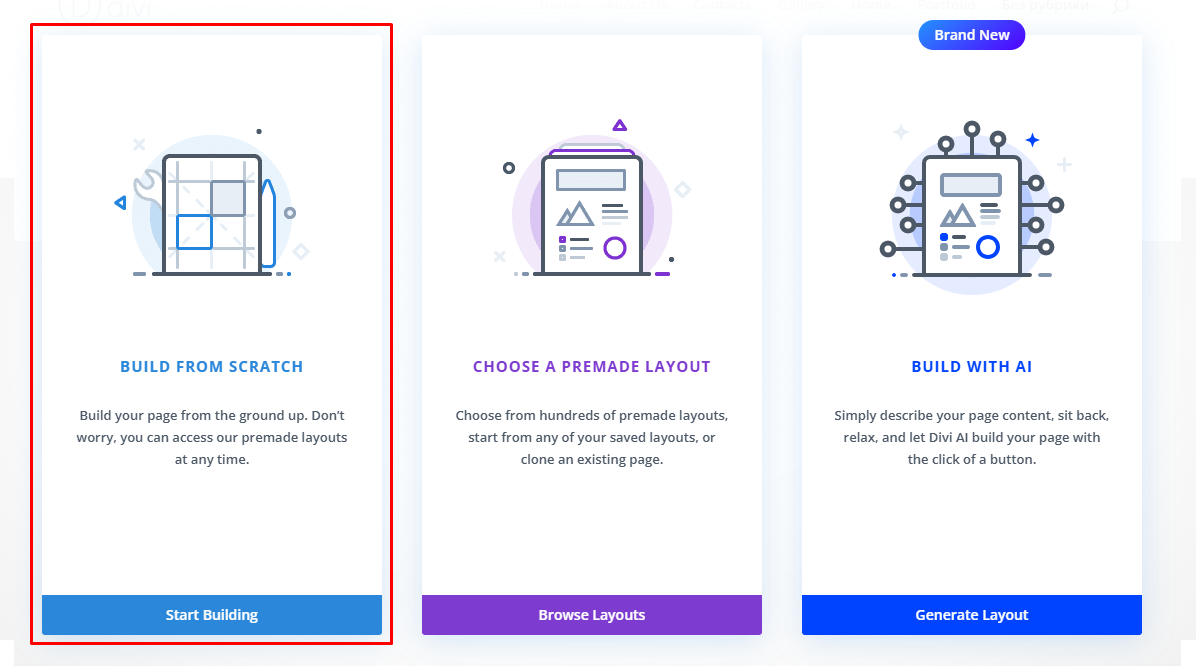
Select «Build From Scratch».
Choose a layout structure that matches your page design needs. For this example, we’ll select a single-column layout.
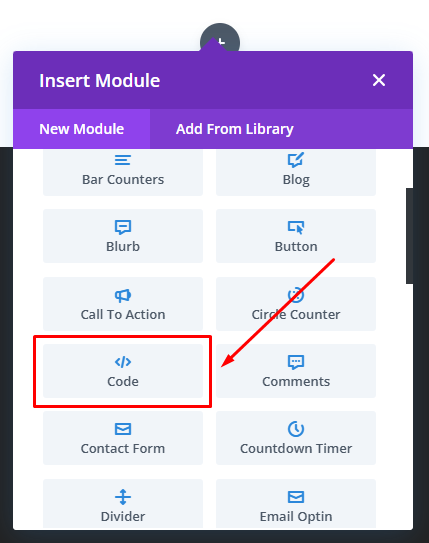
From the list of available modules, select «Code».
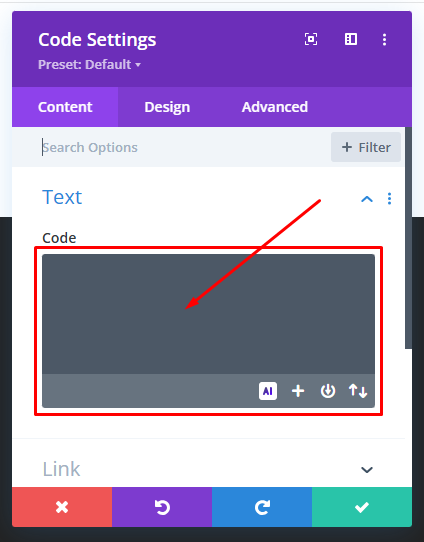
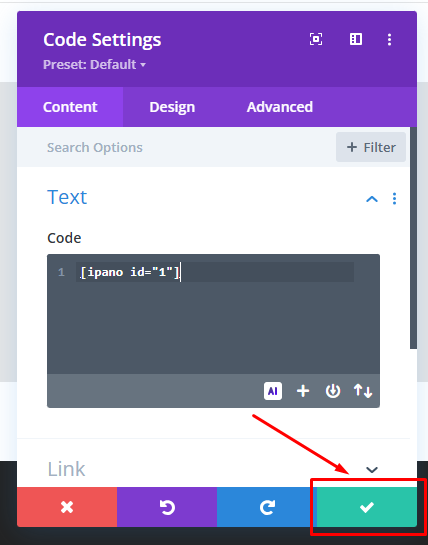
Paste the shortcode you copied earlier into the «Code» field.
Click the «Save».
Click the «...» button at the bottom of the screen.
Click the «Publish».
Click the «Save».
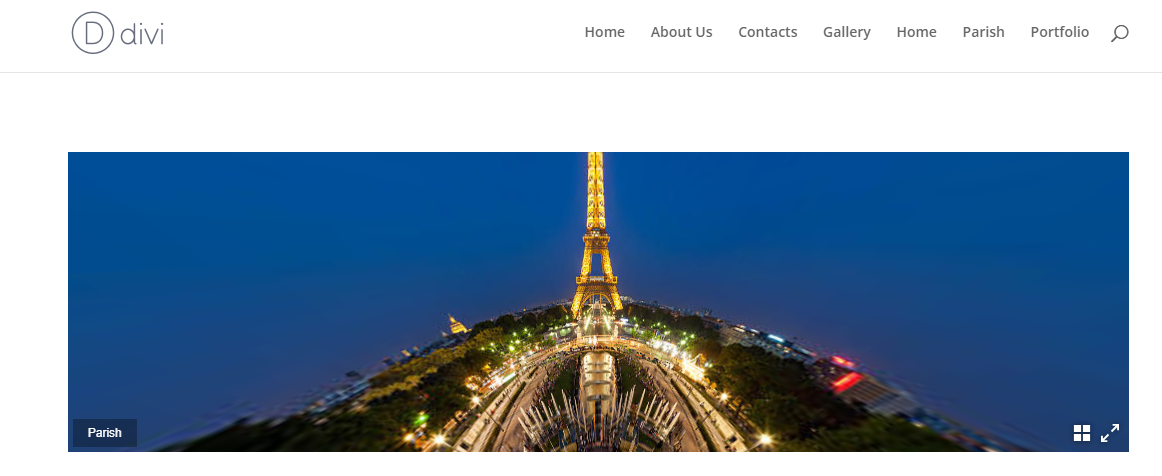
Preview your page to ensure the panorama displays and functions correctly on your website.

