Creating a Portfolio Section in WordPress
A portfolio section highlights your work and offers detailed descriptions of each project.
Let’s create a sample portfolio for a photographer.
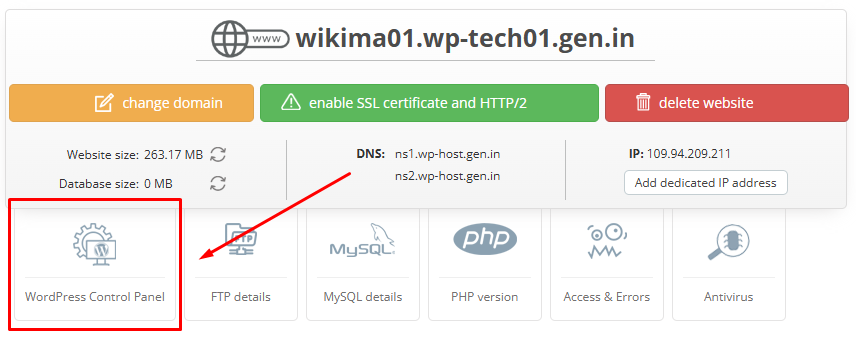
Log in to your WordPress admin panel at Your_Domain/wp-admin/ or access it through your Client Area.
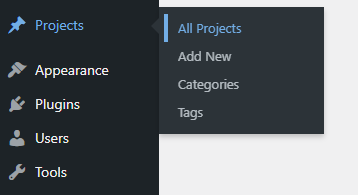
Go to «Projects» / «All Projects».
This is where you can create categories for your portfolio, such as different themes or topics.
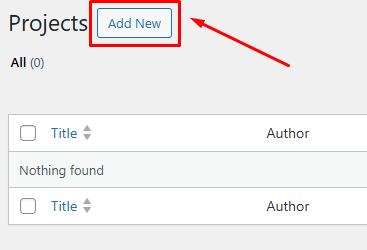
Click «Add New» to start.
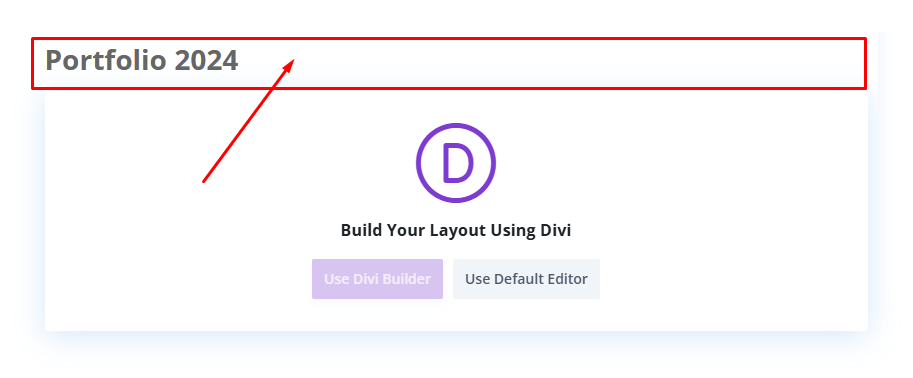
Give your new project a name, such as «Portfolio 2024», to keep your work organized.
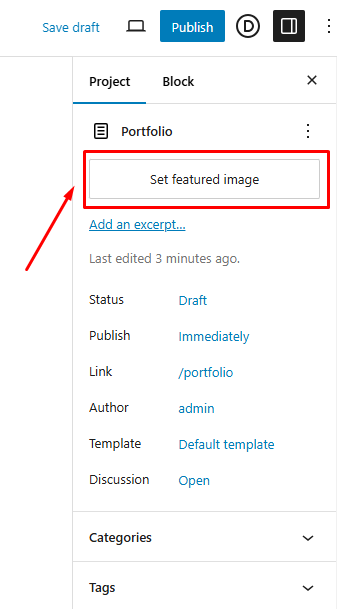
In the left-hand panel, click «Set featured image» to upload a preview image for your project.
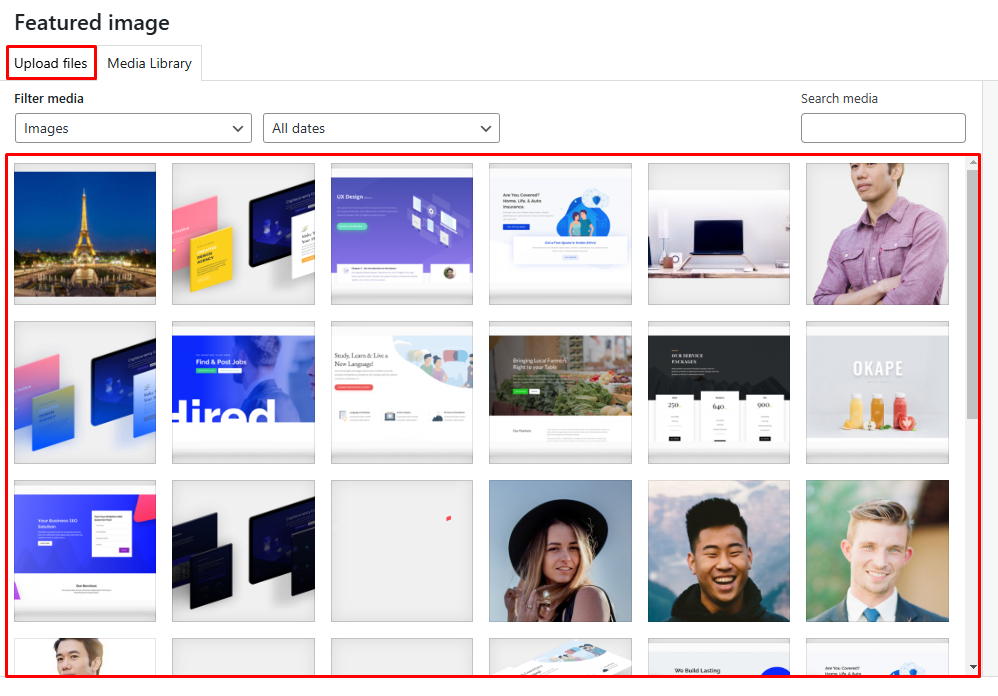
Choose an image from your Media Library or upload one from your computer.
Click the «Set featured image».
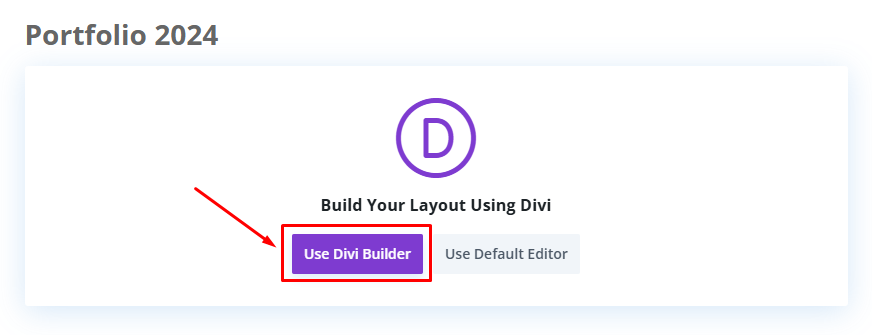
Click the «Use Divi Builder».
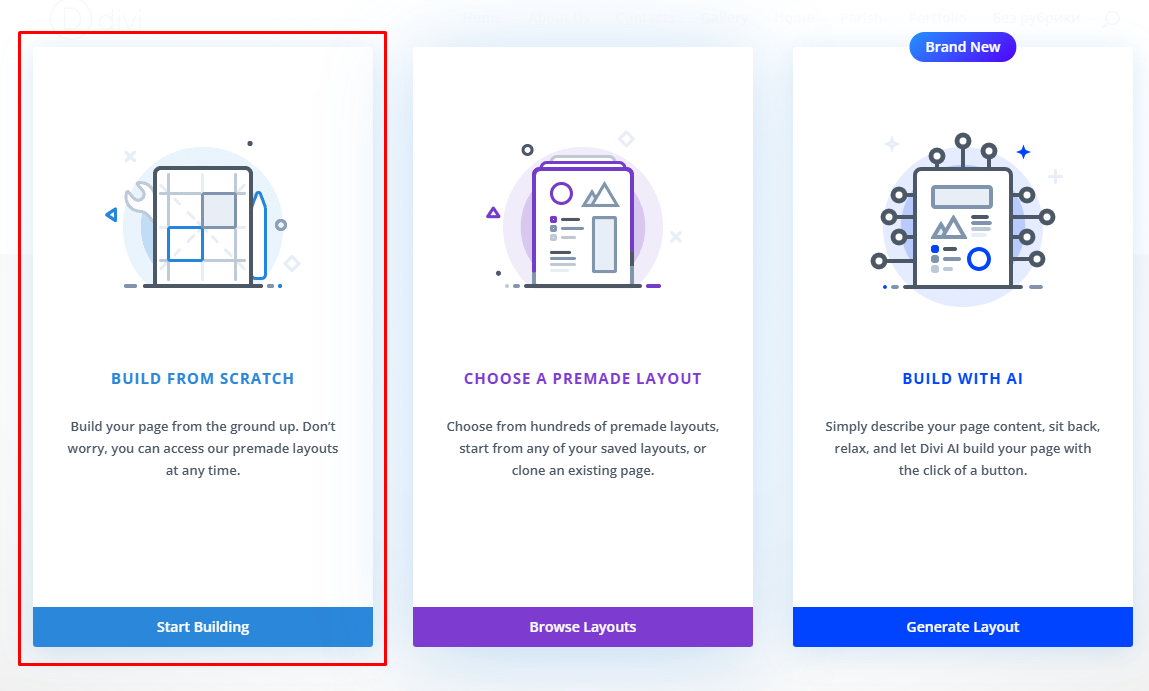
Select «Build From Scratch».
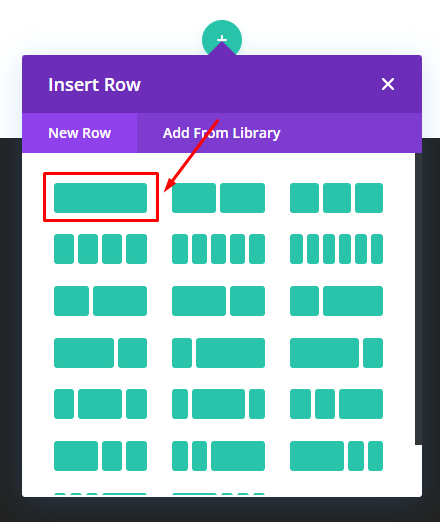
Choose a block structure that fits your page layout.
For a photo-focused portfolio, it's recommended to use a full-width block without subdivisions to highlight the images.
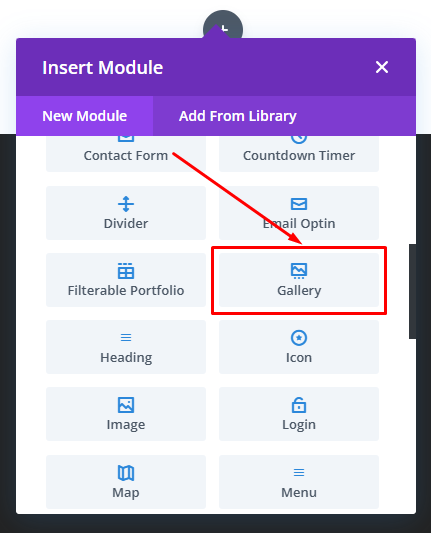
Select the «Gallery».
In the gallery settings, upload the images you want to display.
If you need more guidance on configuring the «Gallery» module, check out this detailed guide here.
After completing the gallery setup, click the «...» button at the bottom of the screen.
Click the «Publish».
Click the «Save».
Follow the steps outlined above to create all the necessary portfolio categories or themes.
Once your categories are set up, proceed to create the main «Portfolio» page.
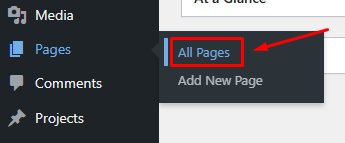
To do this, navigate to «Pages» / «All Pages» in your WordPress admin panel.
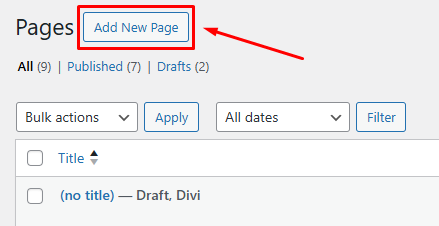
Click the «Add New Page».
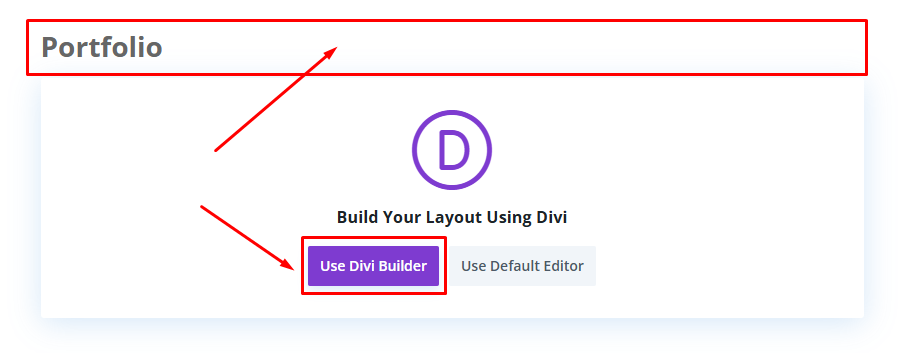
Name the page «Portfolio» and click the «Use Divi Builder».
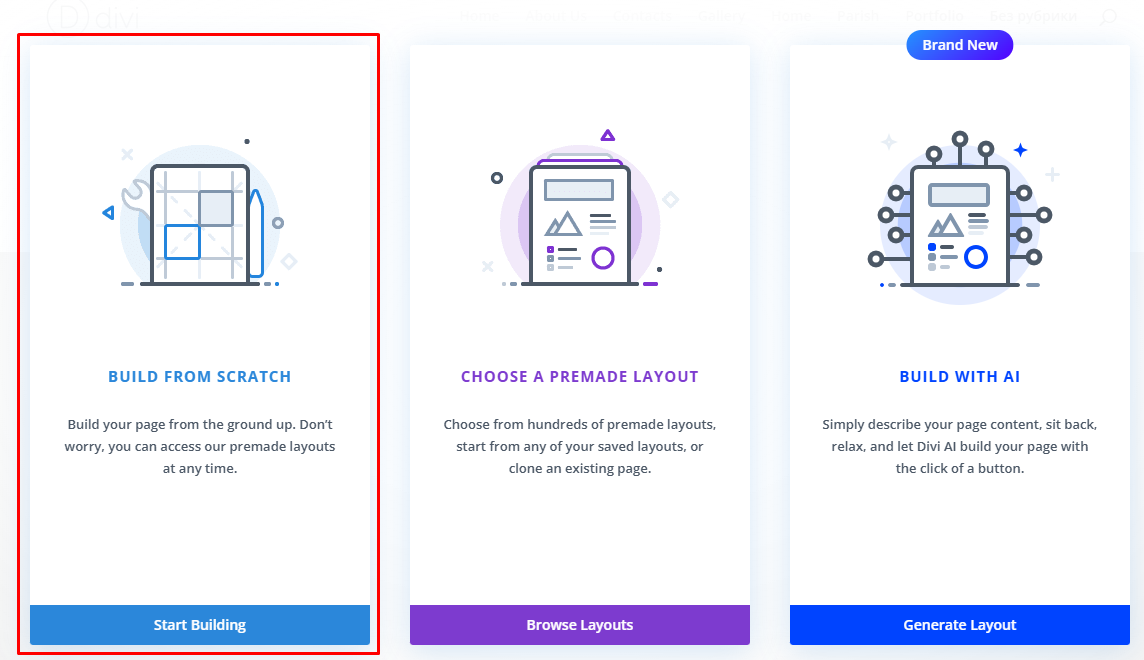
Select «Build From Scratch».
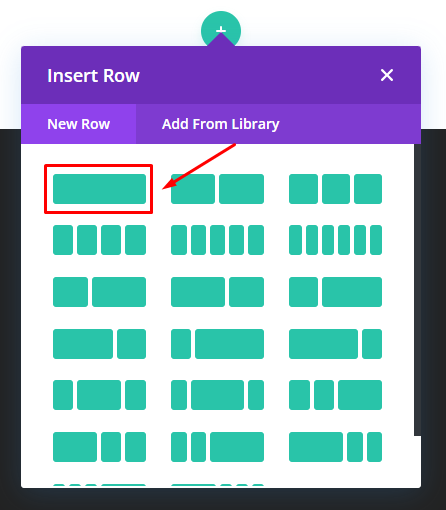
Choose a full-width block.
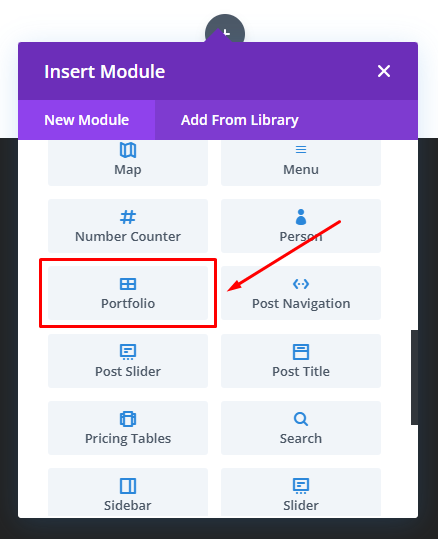
In the module selection window, choose «Portfolio».
Your previously created portfolio categories will automatically appear on the page.
Now, let's customize how these portfolio categories are displayed.
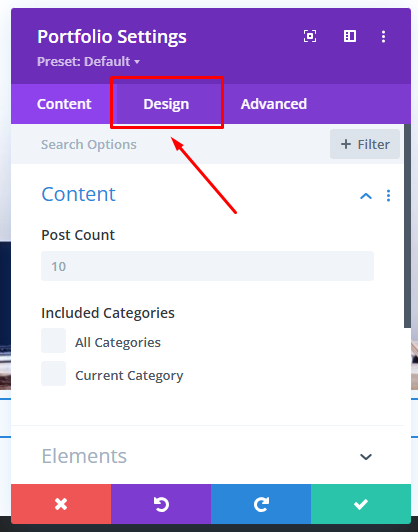
Click the «Design» tab to start adjusting the visual settings.
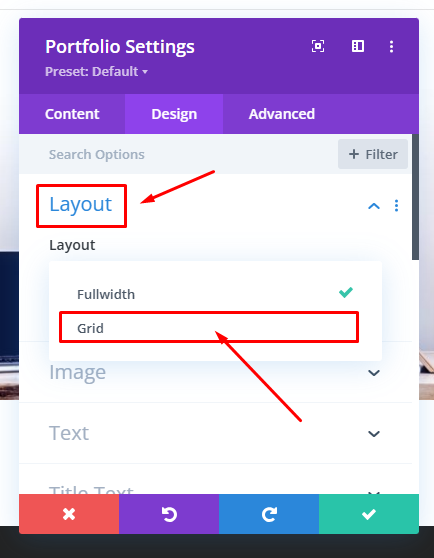
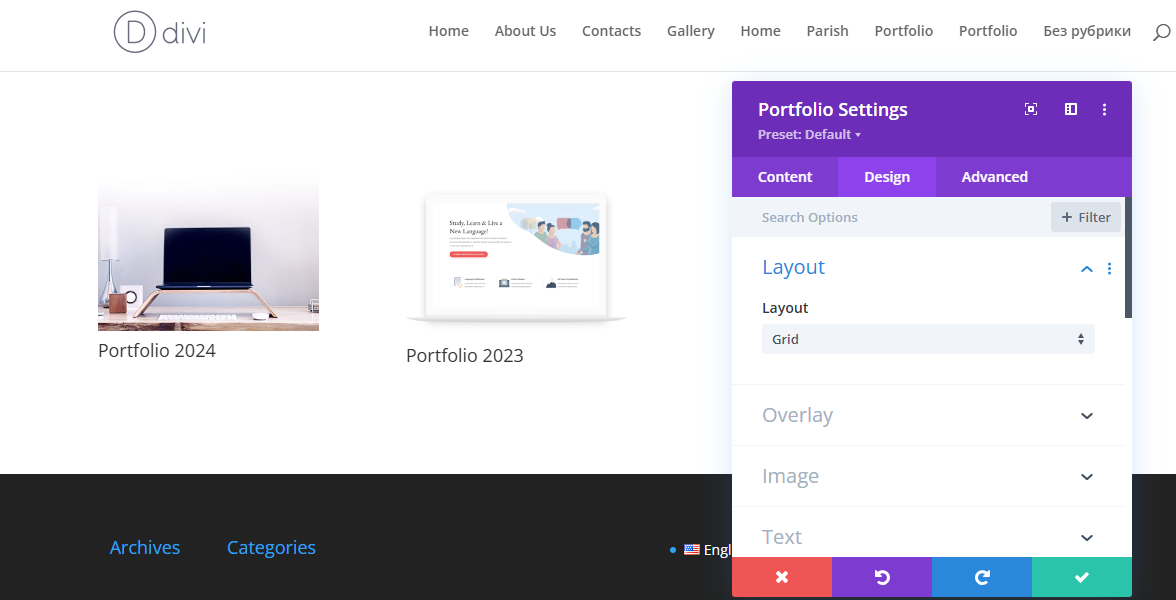
Open the «Layout» section and select «Grid».
Now, our portfolio categories are displayed in a grid layout.
Next, customize the design by adjusting text, layout, and other elements to fit your style.
When you're done, click «Publish» to save your changes.
Click the «Save».

