Creating a Database in the BrainyCP Control Panel
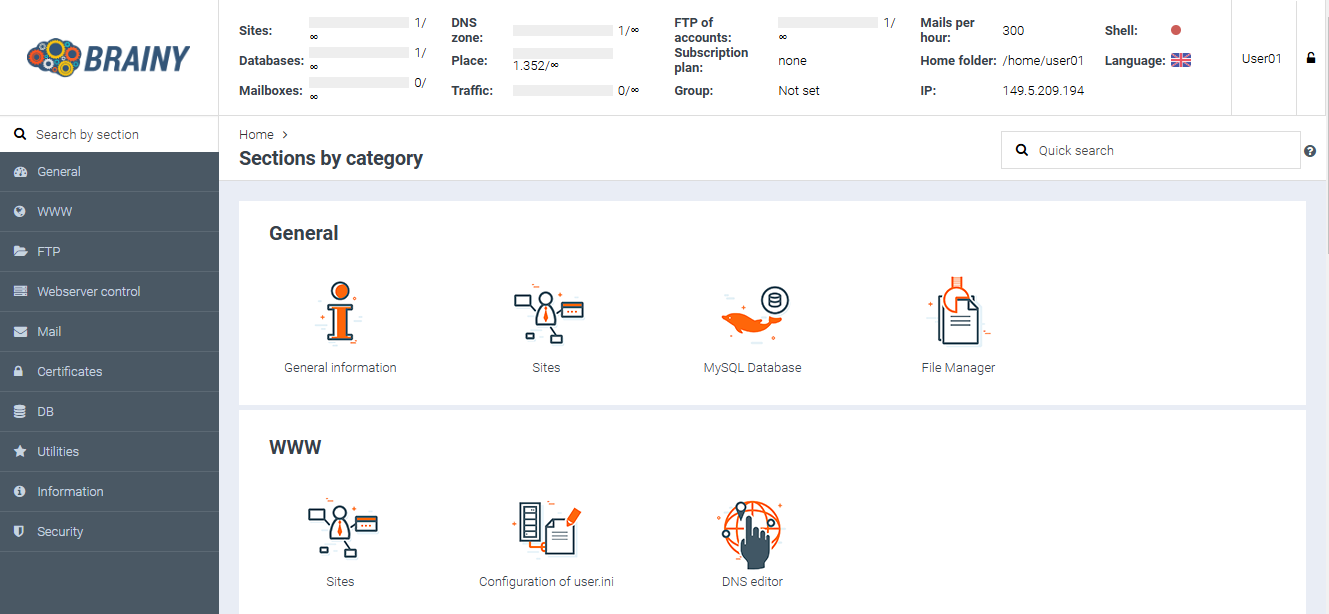
To create a database, log in to your BrainyCP control panel using the account under which the database will be created.
Navigate to the «MySQL Database» section
Creating a database involves three steps:
1. Create the database
2. Create a database user
3. Link the user to the database
Here’s how to do it:
To create a new database, enter the desired name in the «Add DB» field and click «Add database».
The database has been created.
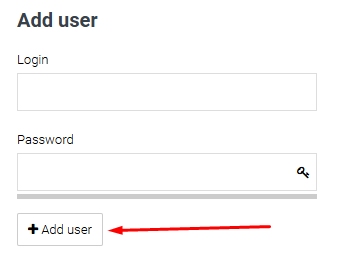
Next, create a database user.
Fill in the fields under «Add User» and click «Add User»
The user has been created
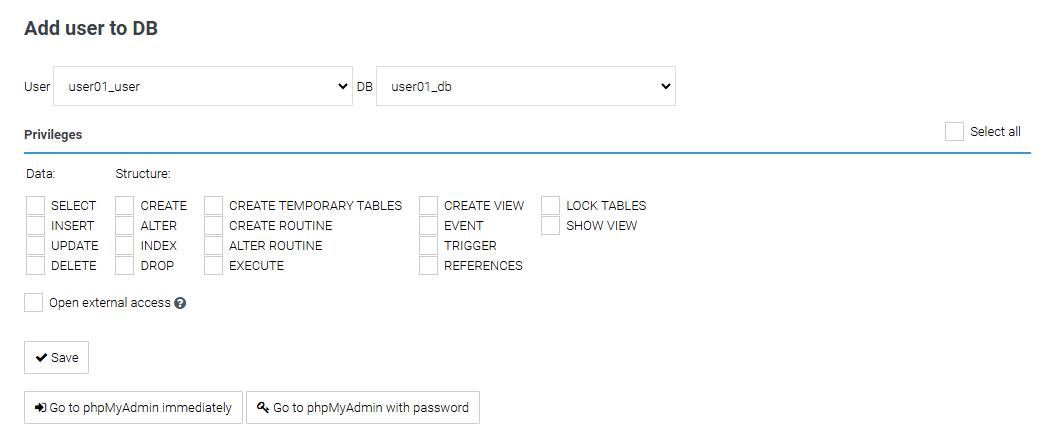
Finally, link the created user to the database by selecting the «Add User to DB» option.
Select the required database and user from the dropdown menus
Select the necessary privileges. To grant all permissions, choose «Select All», and then click «Save».
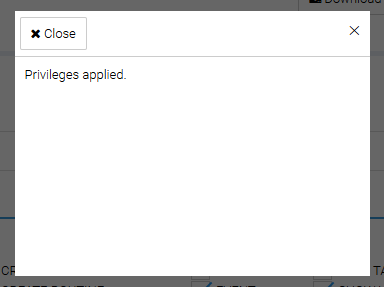
The privileges have been saved, and the database creation process is now complete.

