How to Create a Contact Page
Almost every website includes a contact page that allows users to send messages directly to the site administrator.
Let’s walk through the simple steps to create a similar contact form for your website.
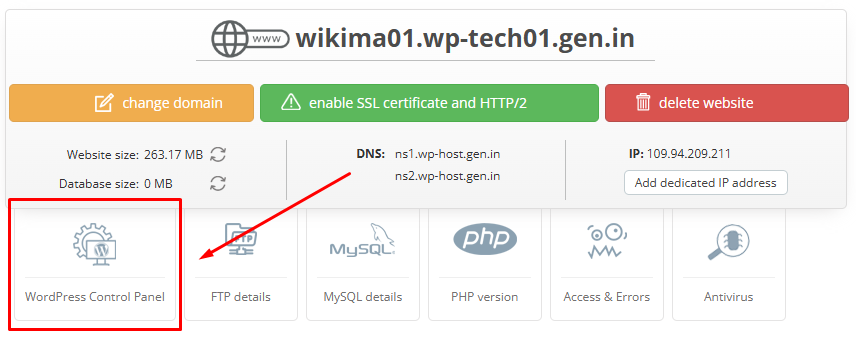
Start by logging in to your WordPress admin panel at Your_Domain/wp-admin/ or through your Client Area:
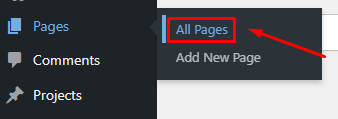
Let’s create a «Contact» page. Start by navigating to «Pages» / «All Pages».
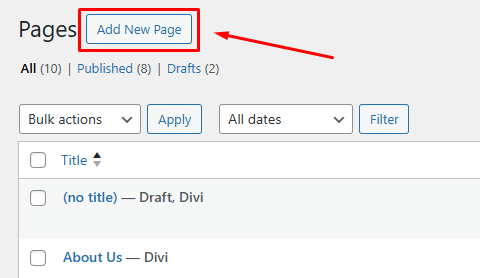
Click the «Add New Page».
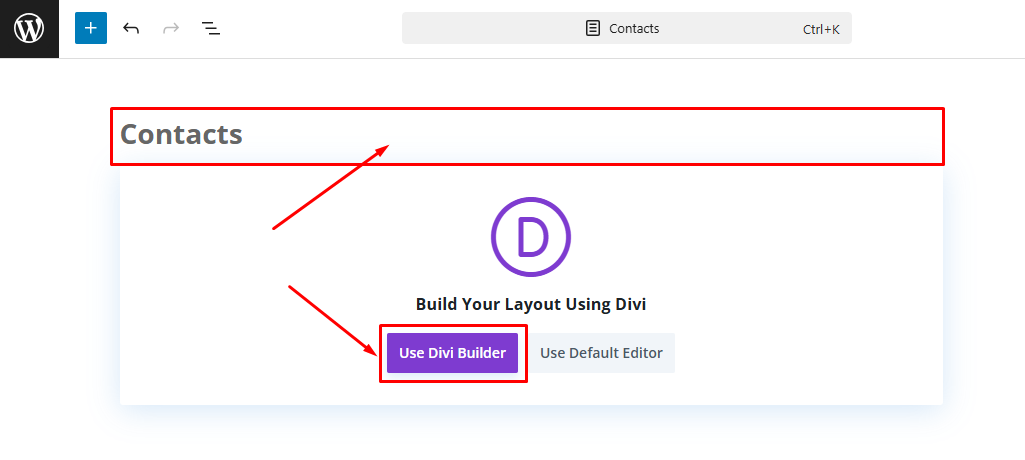
Enter a name for the page and click the «Use Divi Builder».
Select «Build From Scratch».
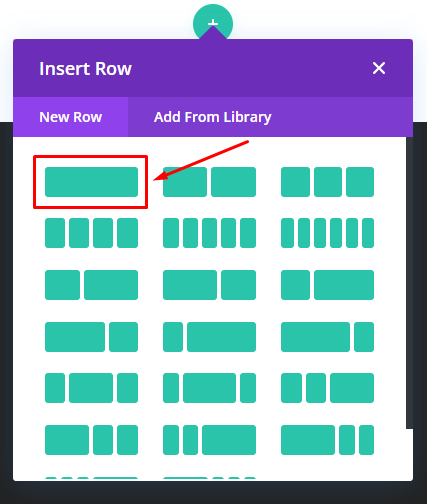
Choose a layout block that best suits your page design. In this example, we’ll use a full-width block.
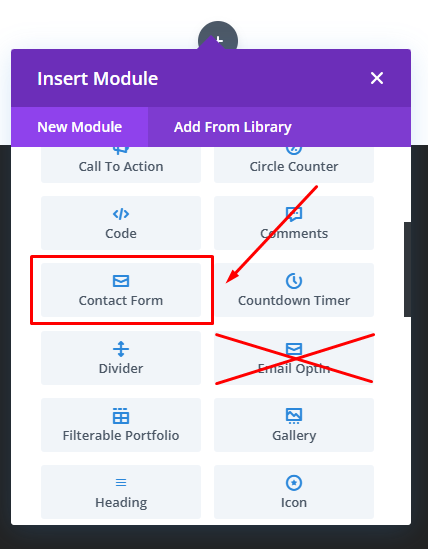
Select the «Contact Form» module (not to be confused with the «Email Opt-in» module).
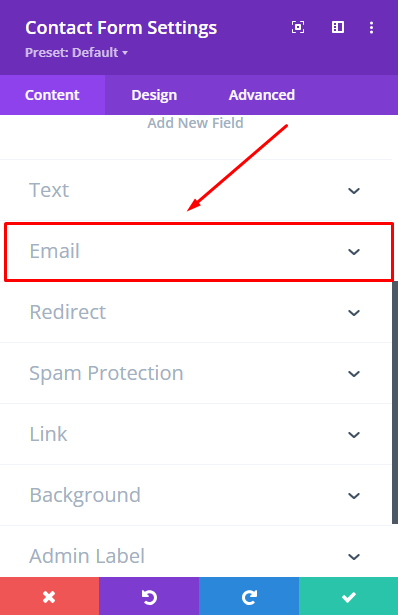
If the «Email» tab isn’t visible, check under the «Content» tab in the Contact Form module settings.
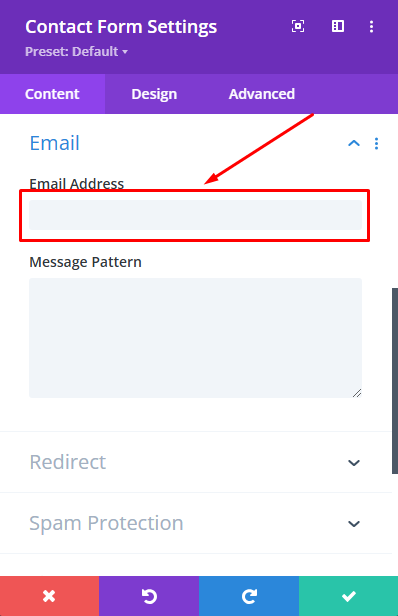
There, you’ll find a field labeled «Email», where you can enter the recipient’s address:
Enter the email address where you would like to receive messages submitted through the contact form.
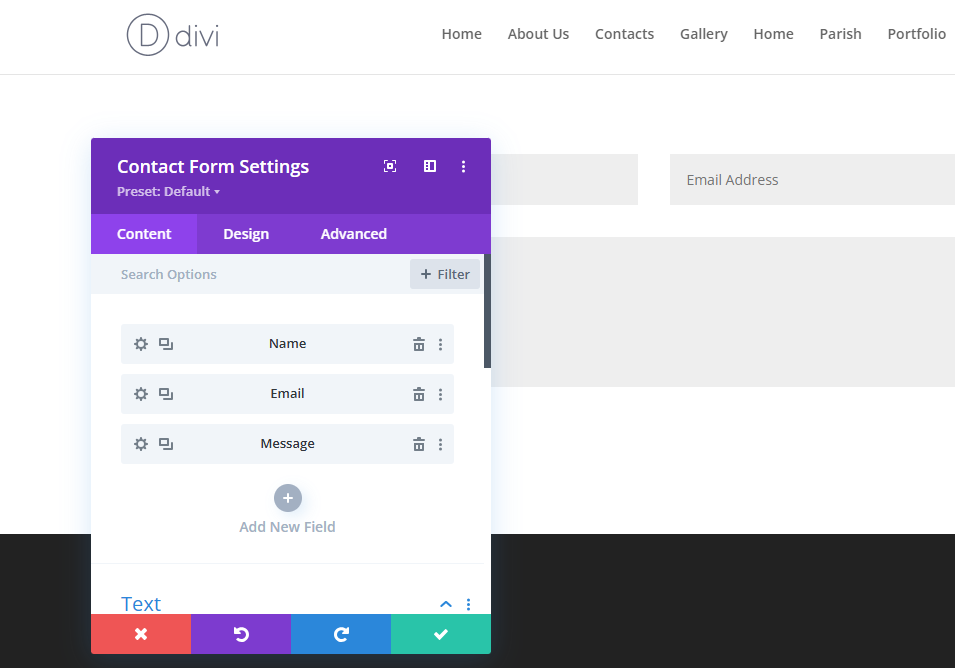
By default, the contact form includes the following fields:
- Name
- Message
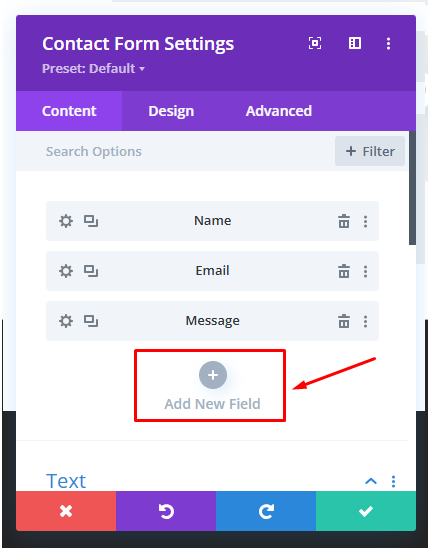
You can add additional fields if needed by clicking the «+» button:
For example, let’s add a field for entering a phone number.
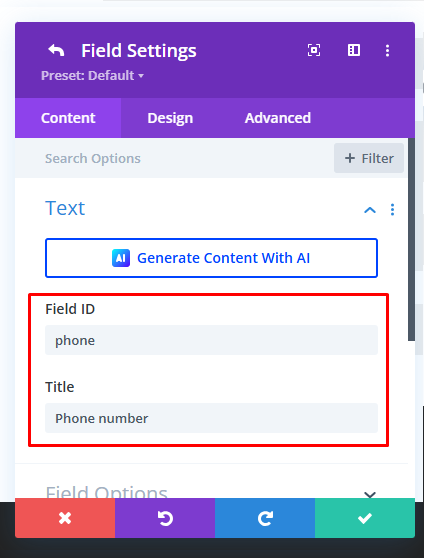
In the «Field ID» section, enter a name using Latin characters, such as «phone».
In the «Title» section, enter the label you want to display, for example, «Phone Number».
As an example, let’s add a field for entering a phone number.
- In the «Field ID» section, enter a name using Latin characters, such as «phone»
- In the «Title» section, enter the label, for example, «Phone number»
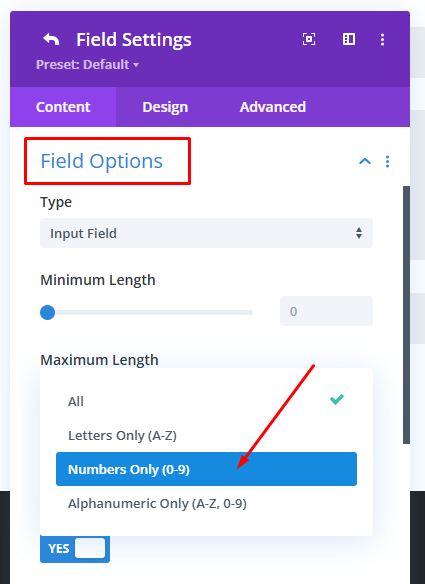
Since the phone number field should only accept numeric input, you can configure it accordingly.
Go to the «Field Options» tab, and under «Allowed Characters», select «Numbers Only (0-9)».
By default, all form fields are marked as required, meaning users will see an error message if they leave a field blank.
If you prefer to make the phone number field optional, you can easily adjust this setting.
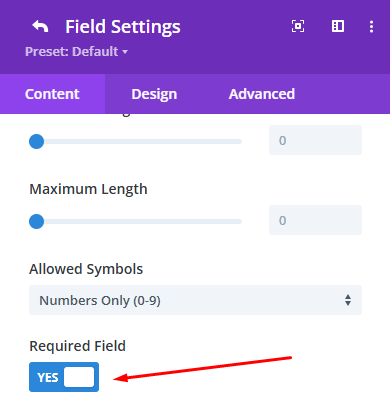
Go to the «Field Options» tab and switch off the «Required Field» option.
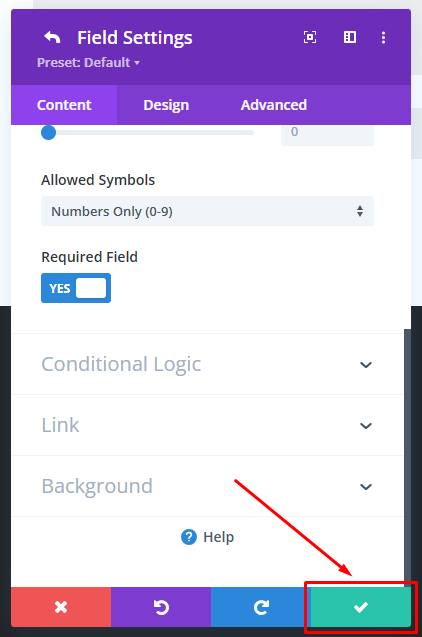
Click «Save».
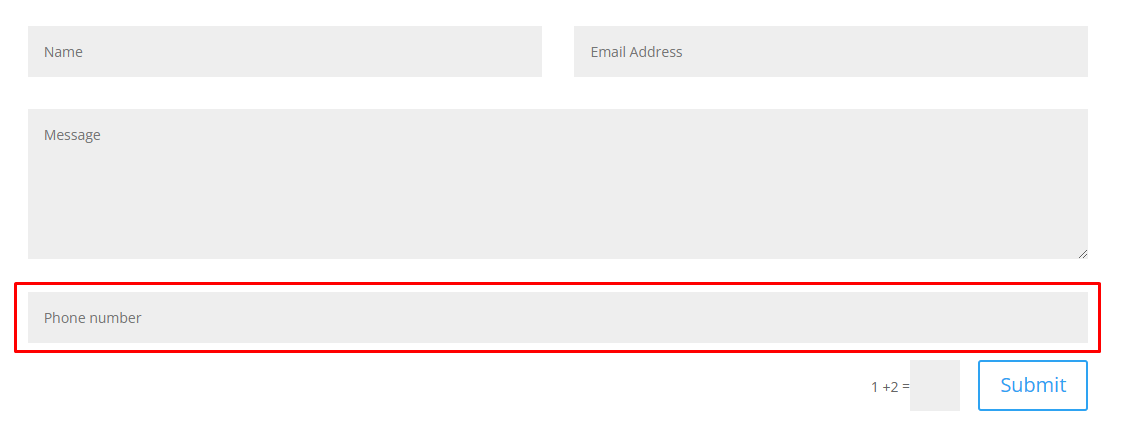
The phone number field has been successfully added and configured. However, it's currently positioned at the bottom of the form. To improve the layout, move it above the «Message» field.
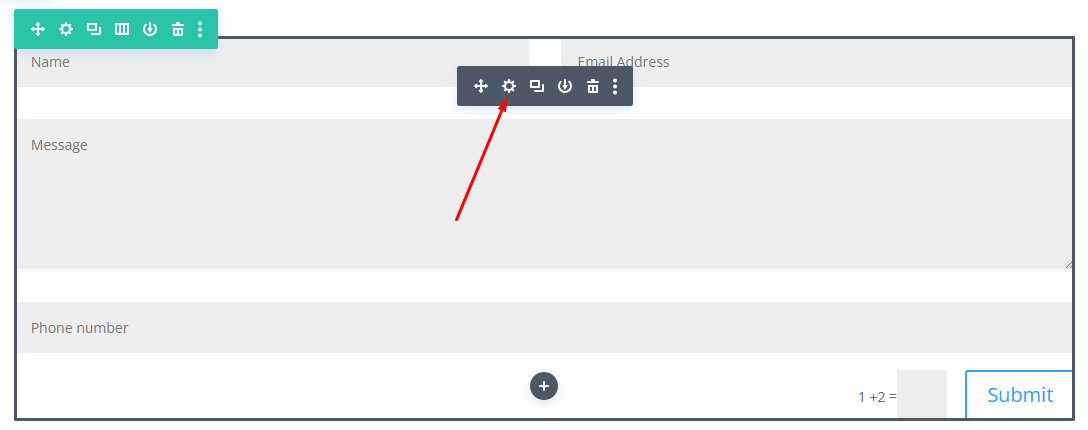
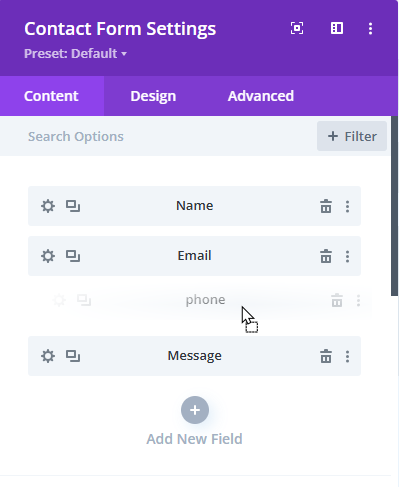
Reordering the fields is easy. Simply open the module settings to adjust their order.
Hover over the «Phone» field until the cursor changes.
Click and hold the left mouse button, then drag the field to the desired position in the list and release the button to drop it.
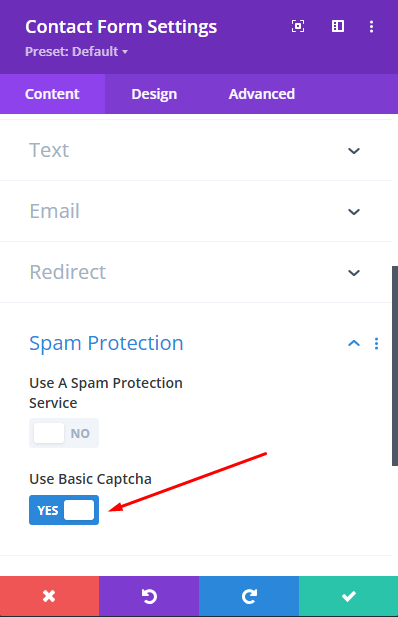
A Captcha is automatically enabled below the message field to protect your form from spam bots.
We recommend keeping it active, but if needed, you can disable it in the «Spam Protection» section.
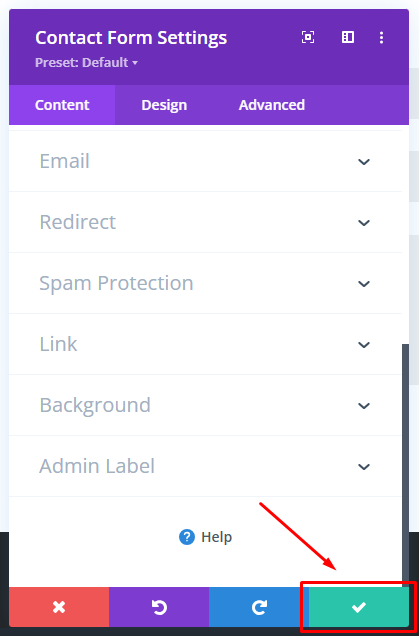
Save your settings.
Let’s save the changes for this page. Click the «...» button.
Click the «Publish».
Click the «Save».
Test your contact form to ensure it’s working correctly on your website.
