Creating and Launching a Telegram Bot
To configure the service, you need to:
- Establish an SSH connection to the server for configuration
- Set up an SFTP connection for file exchange on the server.
- Create a Telegram bot using Telegram's built-in features
- Run the bot script in a Docker container
1. SSH Connection
The server access credentials have been sent to your registered email address.
You can use any SSH client that is convenient for you (such as CMD, PuTTY, xShell, etc.).
Use the root credentials to connect to the server.
In this example, we will use the standard Windows CMD.
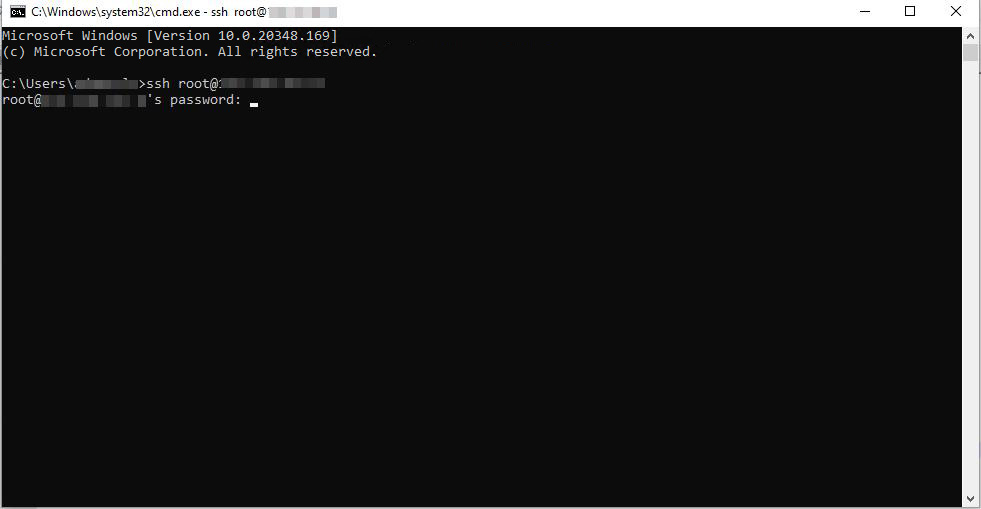
To connect, enter the following command:
ssh root@IP-server
Accept the key.
Enter the password.
Note that in Linux systems, password characters are not displayed during input.
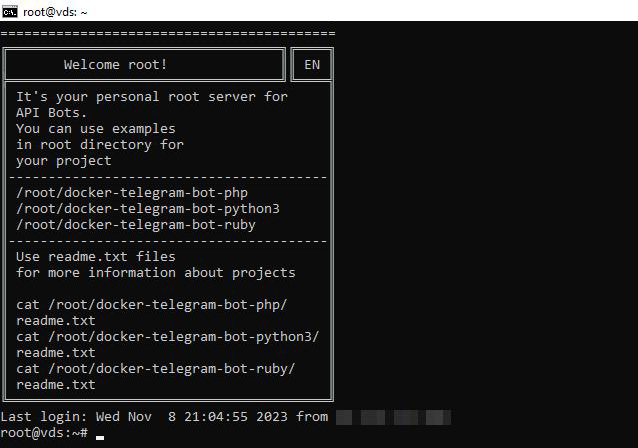
The connection is established when the greeting message is displayed.
2. SFTP
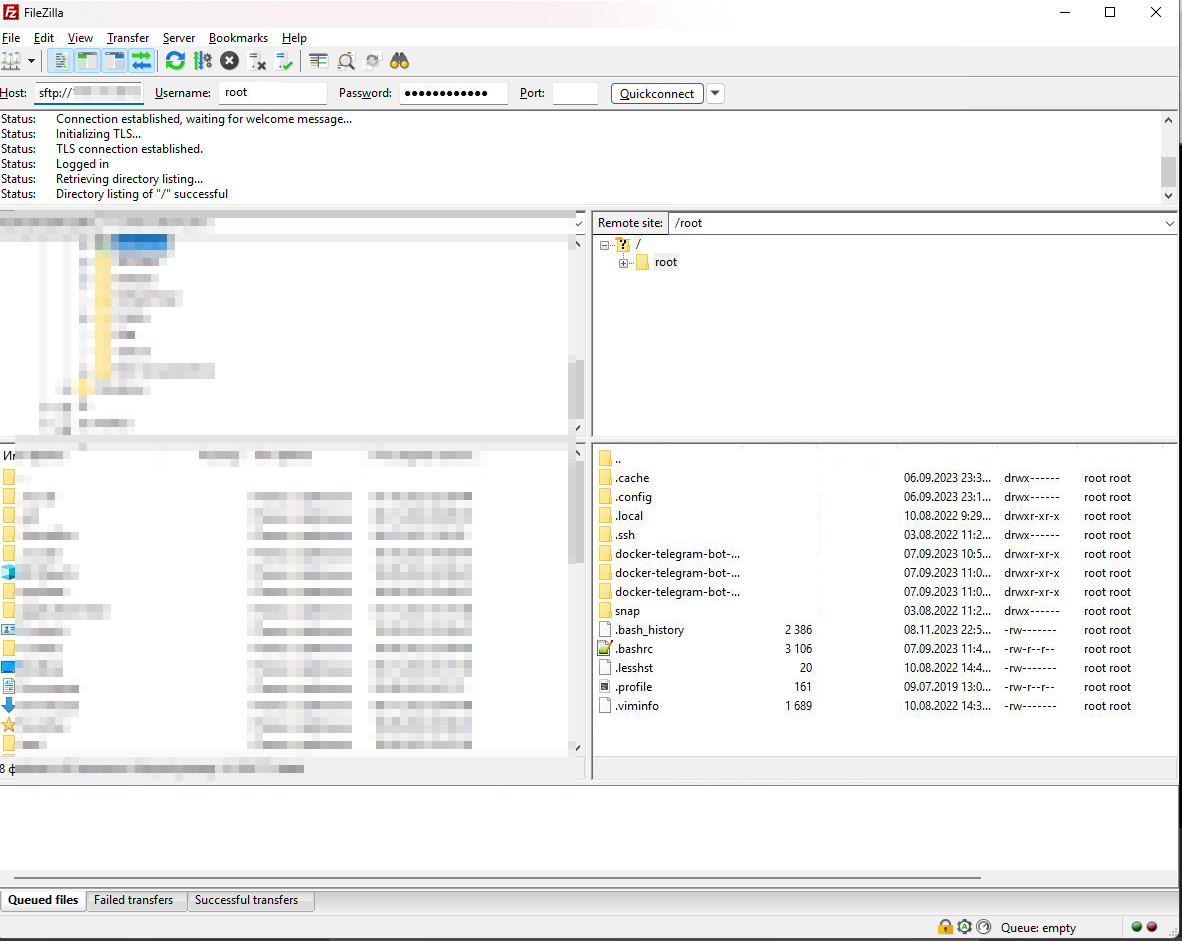
Use FileZilla for file exchange between your local PC and the server.
Host – sftp://IP_server
Login – root
Password – from the server.
Port – 22
3. Creating a Personal Bot: A Telegram Example.
Log in to Telegram and enter in the search - BotFather (https://telegram.me/BotFather),
Use the command - /newbot
Enter the bot identifier.
Enter the bot name without special characters and ending with _bot
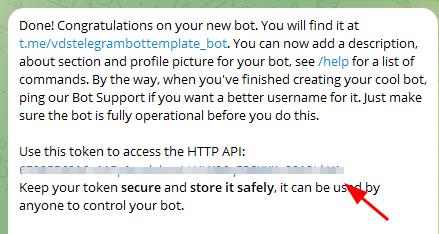
Save the token of the new bot.
4. Run Your Script in Docker on the Server.
It's time to put all the tools together and launch your bot.
Start by uploading your script to the container folder.
For this example, we'll use a Python script.
To run the script in a Docker container, you need to build a Docker image and create a container for your application.
Create a project directory named b>telegrambottemplate and place your script inside it (e.g., telegram_bot.py).
import telebot


# Your bot token, which you will receive from BotFather on Telegram


BOT_TOKEN = 'YOUR_BOT_TOKEN'


# Bot initialization


bot = telebot.TeleBot(BOT_TOKEN)


# /start command handler


@bot.message_handler(commands=['start'])


def handle_start(message):


bot.send_message(message.chat.id, "Hello, I am your Telegram bot!")


# Text message handler


@bot.message_handler(func=lambda message: True)


def handle_text(message):


bot.send_message(message.chat.id, f"You wrote: {message.text}")


if __name__ == "__main__":


bot.polling(none_stop=True)
Create a Dockerfile to build your Docker image.
Below is a simple example of a Dockerfile:
# Use the official Python image


FROM python:3.8


# Install the necessary libraries


RUN pip install pyTelegramBotAPI


# Copy the bot script to the container


COPY telegram_bot.py /app/telegram_bot.py


# Specify the command to run the bot


CMD ["python", "/app/telegram_bot.py"]
Now you can build the Docker image using the docker build command.
Navigate to the directory containing the Dockerfile and run the following command:
cd /root/telegrambottemplate


docker build -t my-telegram-bot .
my-telegram-bot is the name of your Docker image.
Run the Docker container using the created image by executing the following command:
docker run -d my-telegram-bot
As a result of this command, a container will be launched in which your PHP script will be executed. The container will run in the background (flag -d).
Now your Telegram bot will work inside the Docker container. You can set up a webhook and provide external access to the container if necessary.
Check the container status with the command:
docker ps -a
Output
The ЗUpИ status indicates that the container is running normally.
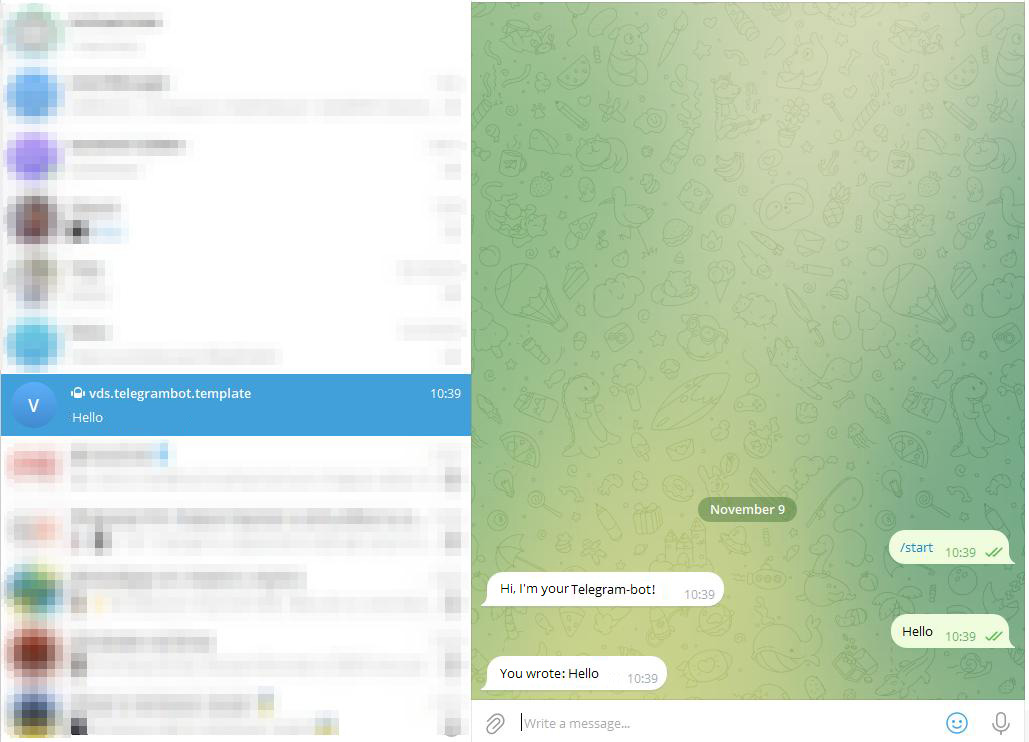
Now it's time to test your bot in Telegram.
Search for your bot by name in Telegram or use the link provided in the last message from BotFather.
Click the START button to activate the bot.
The bot receives commands and operates according to an algorithm.
You can use and modify existing solutions on the server to create a bot.
Install new, required packages for your project.
Thanks to Docker containerization, you can run multiple projects on one server.
It is also a good platform for testing applications without harming the main system.
If the container gives an error when starting, you can view the container log.
To do this, execute the command
docker logs ID
where ID is the container number.
When changing parameters in the script, the container should be stopped, removed, rebuilt with new data, and restarted.
To do this, execute the commands:
docker stop ID


docker rm ID


cd /root/telegrambottemplate


docker build -t my-telegram-bot .


docker run -d my-telegram-bot
More details:
https://docs.docker.com/

