Installing Moodle CMS
Instructions for Installing Moodle CMS in the Brainy Control Panel.
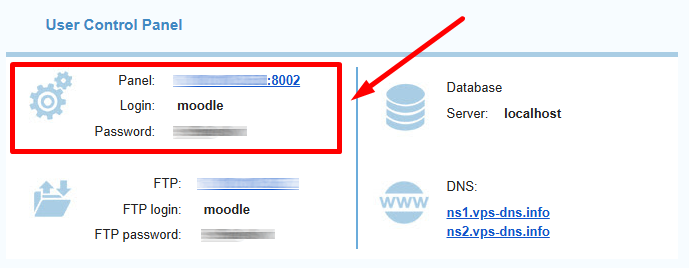
To install Moodle CMS, log in to your Brainy control panel using the credentials provided in your activation email.
Alternatively, you can use the login details from your Client Area.
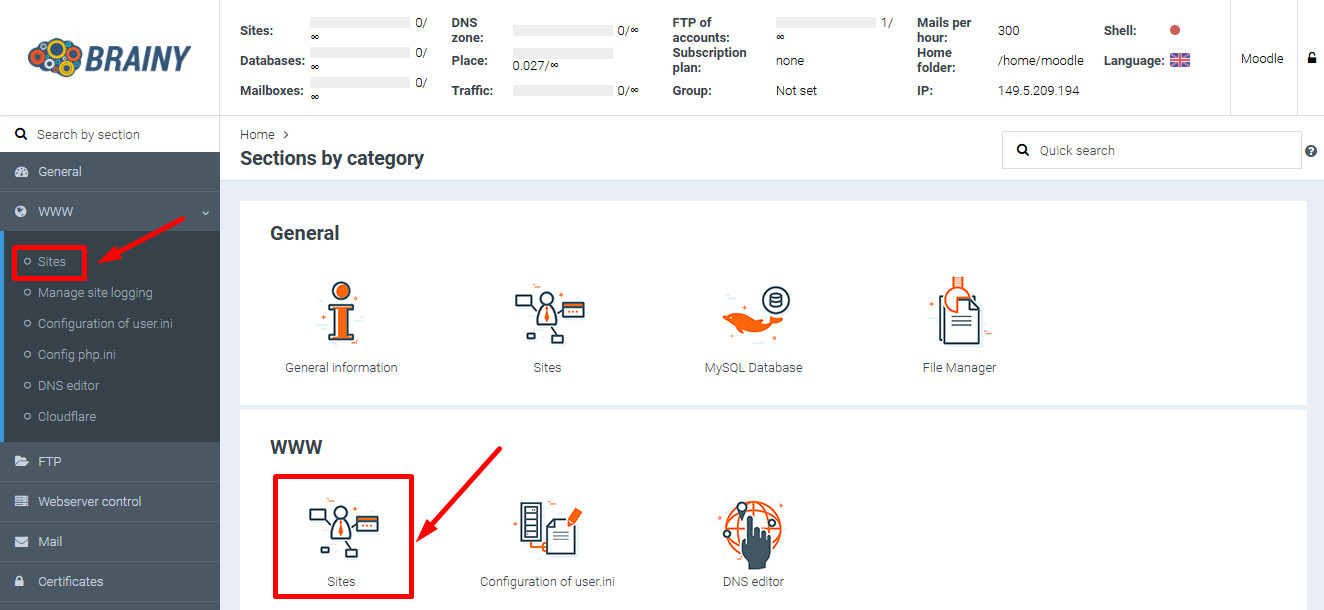
In the Brainy control panel, navigate to the «WWW / Sites» section to add your domain.
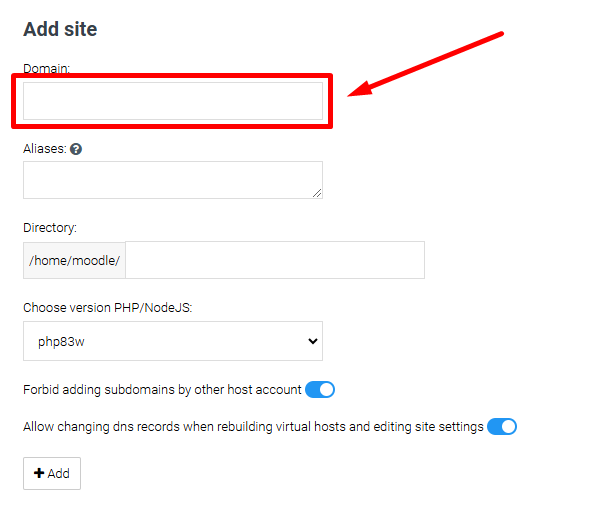
In the «Domain» field, enter your domain name.
The other fields will be filled in automatically and don’t need to be edited unless necessary. Click «Add».
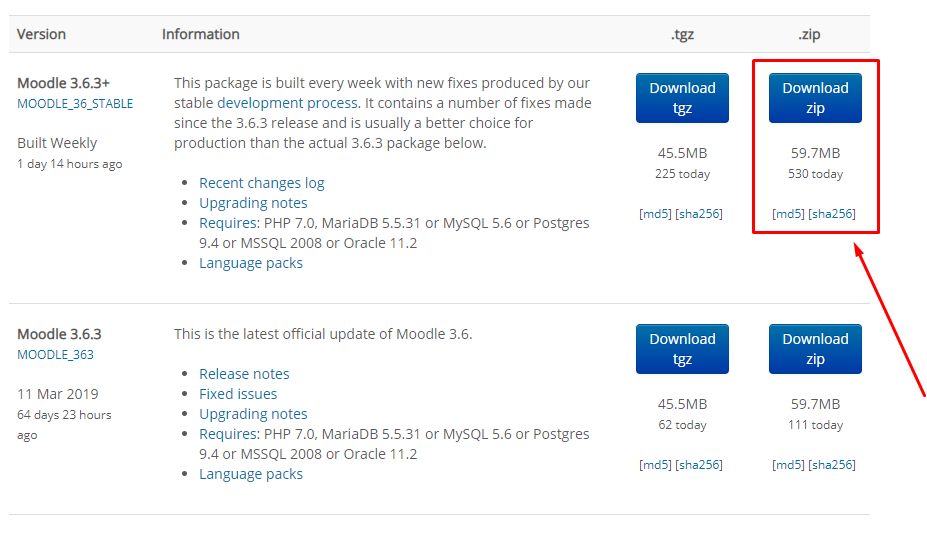
Now, we need to download Moodle. The best way is to get it from the official website:
https://download.moodle.org/releases/latest/
The downloaded archive needs to be uploaded to your account.
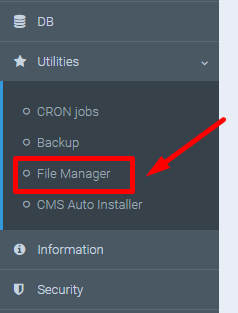
You can use any FTP client you prefer (e.g., FileZilla) or the File Manager in the Brainy control panel.
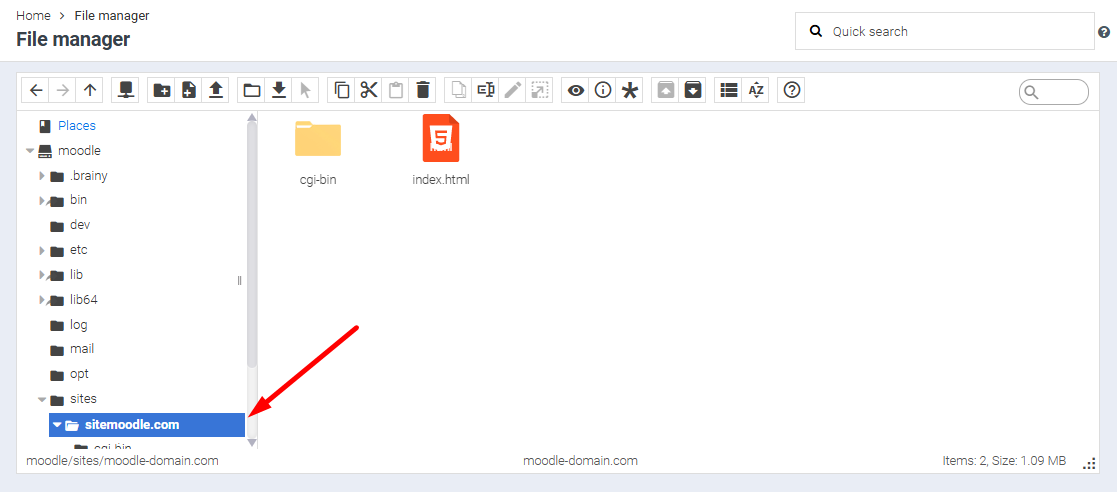
In the File Manager, navigate to the «sites / Domain_Name» folder.
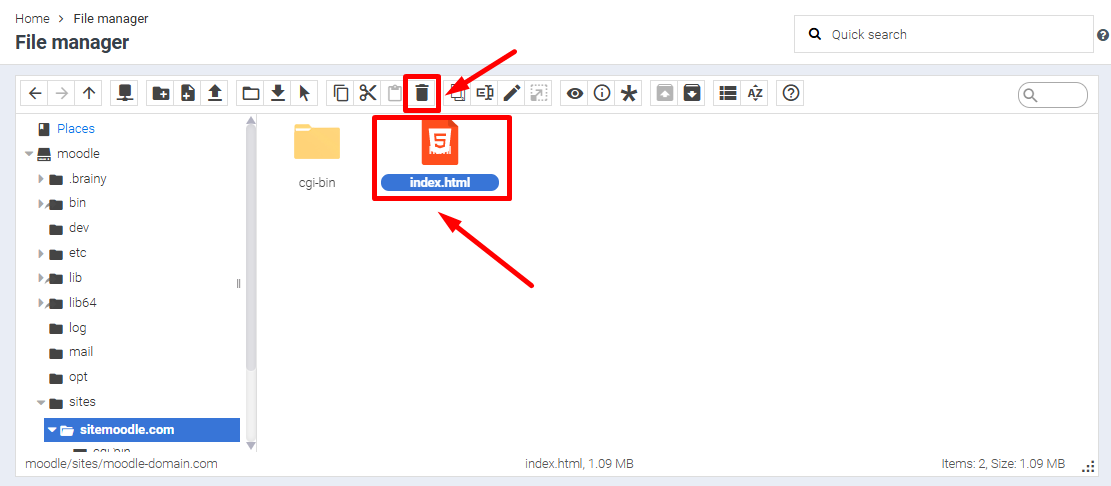
The default index.html file must be deleted.
Click the file to select it, then click the «Delete» icon.
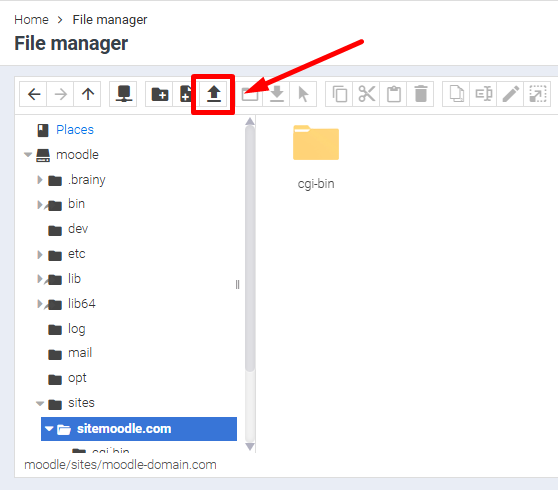
Click «Upload Files» to upload the downloaded archive.
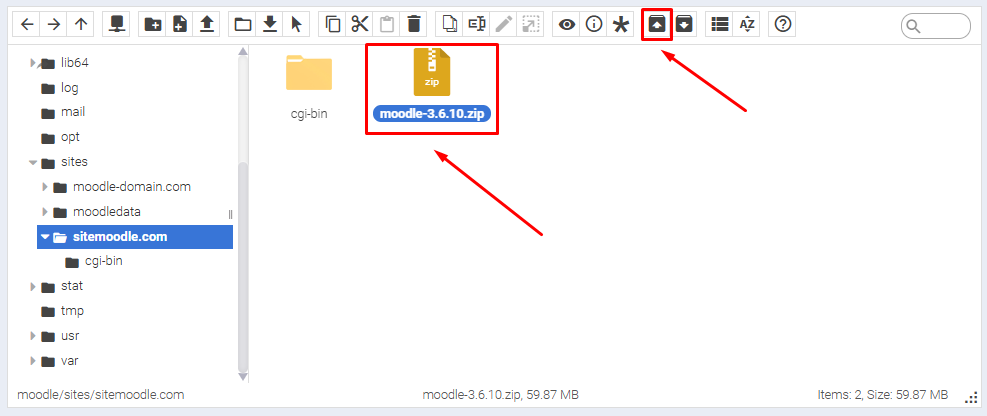
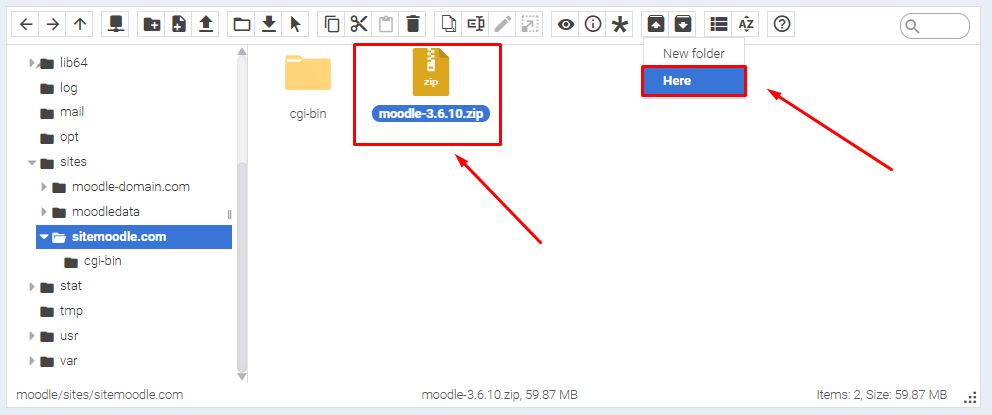
Once the upload is complete, extract the archive by selecting the file and clicking the «Extract archive» button.
In the pop-up window, select «Here»:
After extraction, you will see a folder named «moodle» with all the files.
Now, move all the files from this folder to the root directory of your website:
1. Open the «moodle» folder.
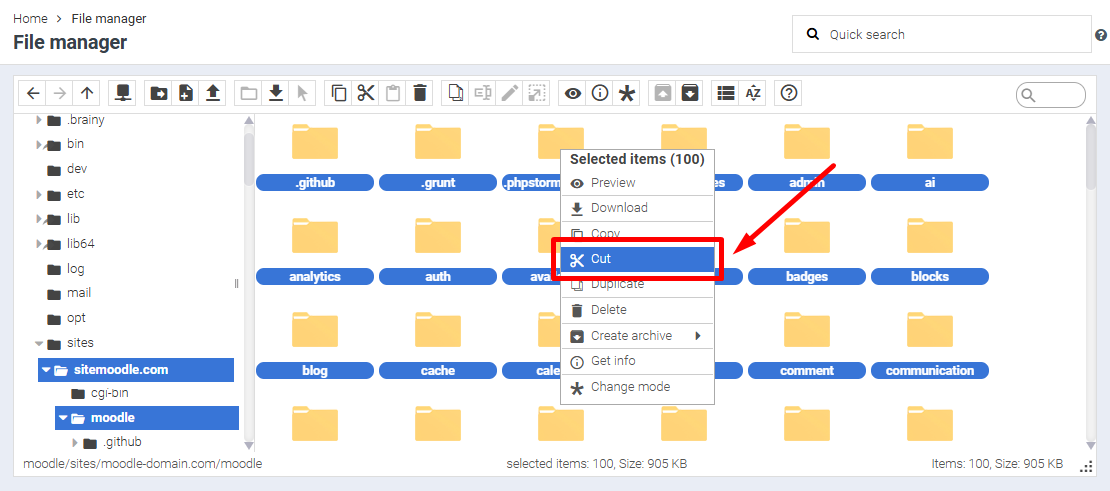
2. Click on any file, then press CTRL+A to select all files and folders.
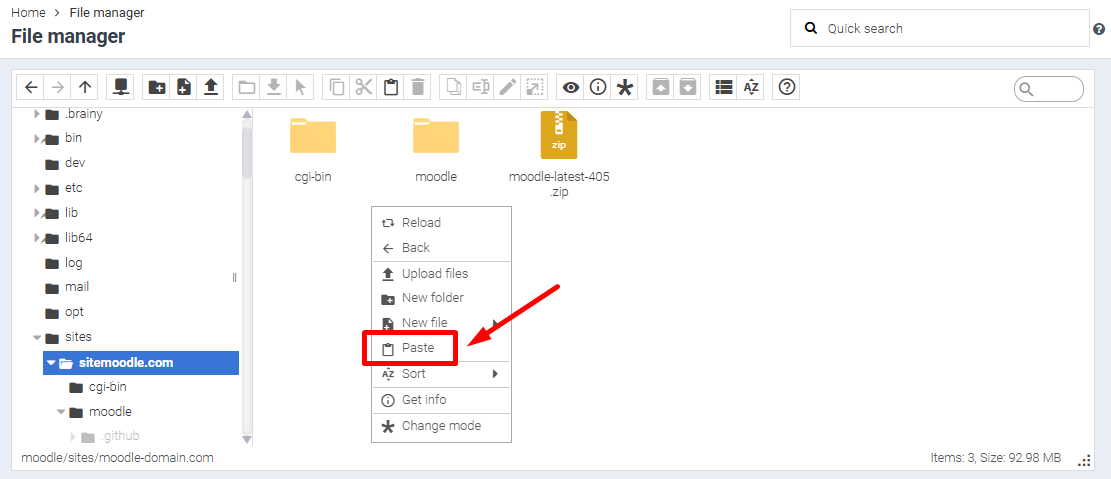
3. Right-click the selection and choose «Cut» from the context menu.
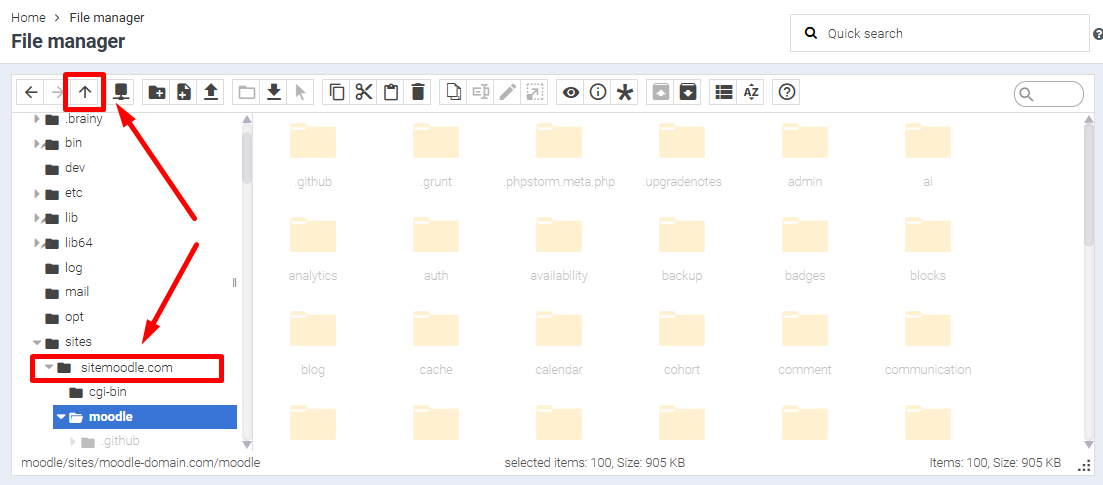
Next, go to the root folder of your website by clicking the folder name in the left-hand directory tree or by clicking the «Up» button.
In the right-hand file panel, right-click and select «Paste» from the context menu.
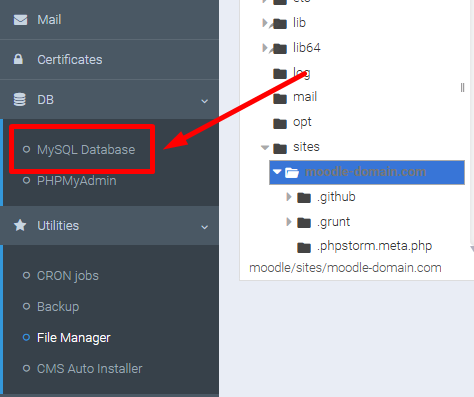
Now, to start the installation, you need to create a database. Navigate to the «DB / MySQL Database» section.
Enter a database name, such as «moodle», and click «Add Database».
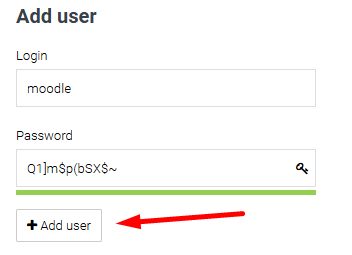
You also need to create a database user. Enter the «Login» and «Password», then click «Add User».
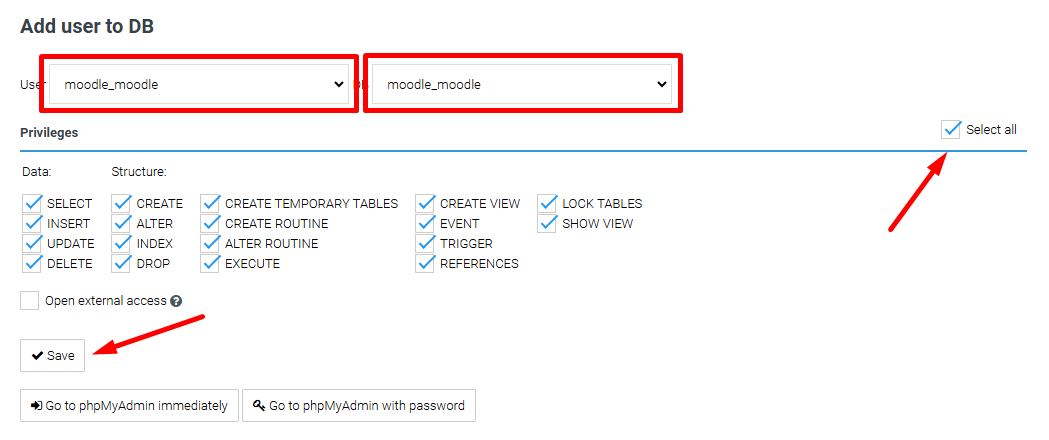
At the bottom of the page, link the created user to the database:
- Select the database user from the list (if multiple users were created).
- Select the appropriate database.
- Check the «Select all» option.
- Click «Save».
All preparatory steps are complete. Now, proceed with the installation.
Open your browser and go to your website, for example, «sitemoodle.com».
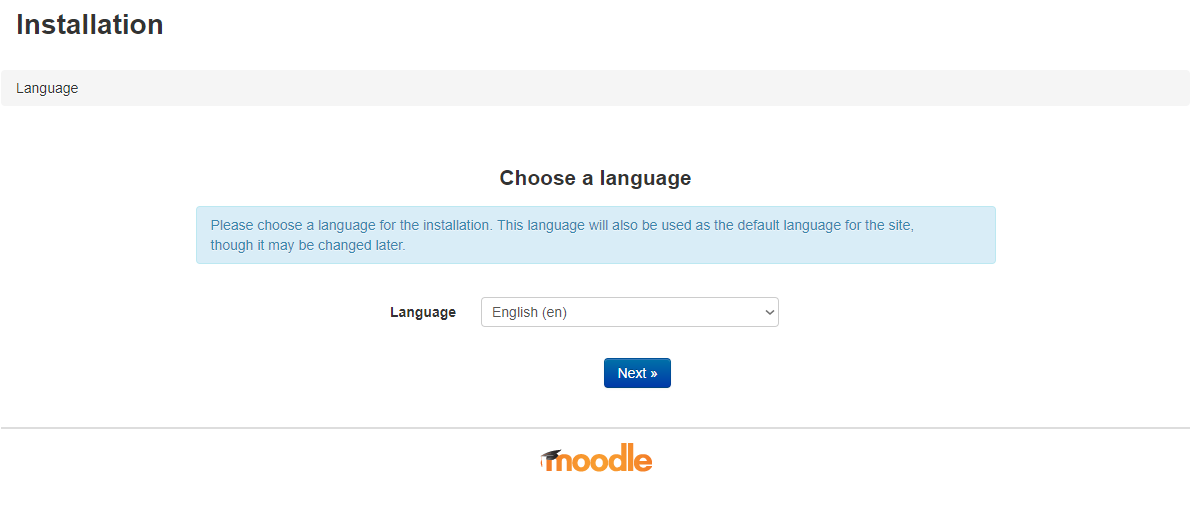
Choose your preferred interface language and click «Next».
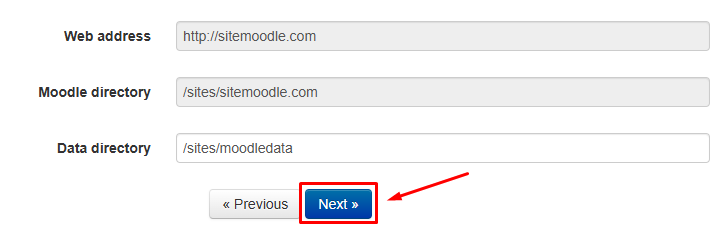
On the next page, no changes are needed. Simply click «Next»
On the next page, no changes are needed. Simply click «Next»
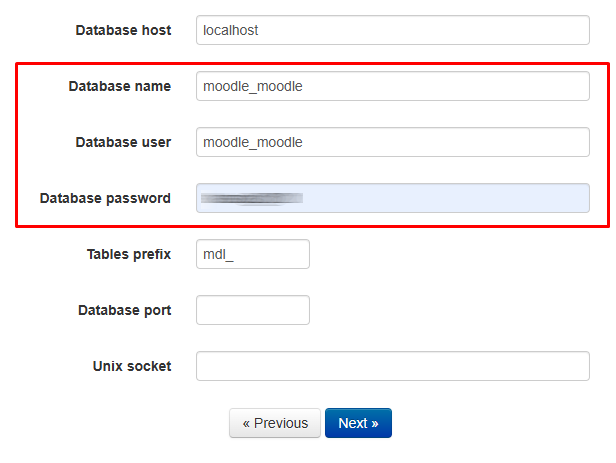
On the next page, enter the connection details for the database you created earlier.
Provide the database name, username, and database user’s password in the appropriate fields, then click «Next».
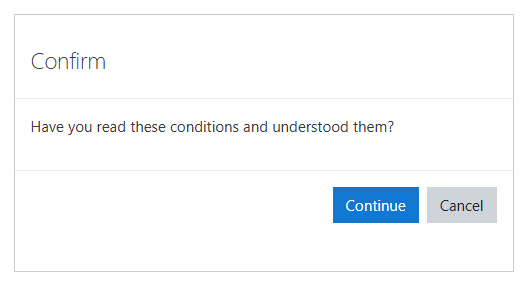
On the next page, click «Continue».
Return to the Moodle CMS installation page and refresh it by pressing F5.
If no errors are displayed, scroll to the bottom of the page and click «Continue».
On the next page, wait for the installation to finish, then scroll down and click «Continue».
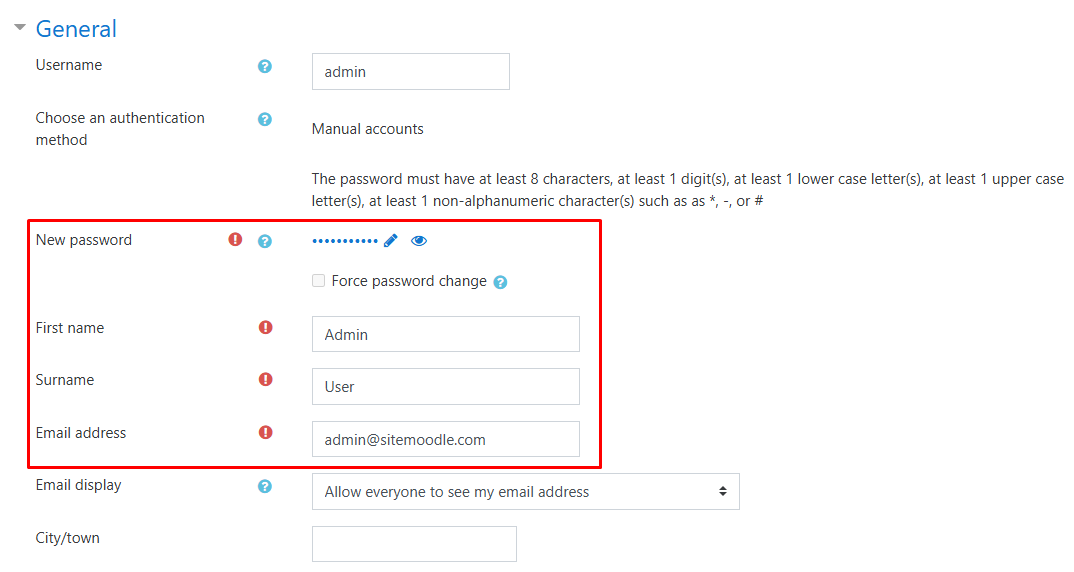
On the next page, complete all the required fields:
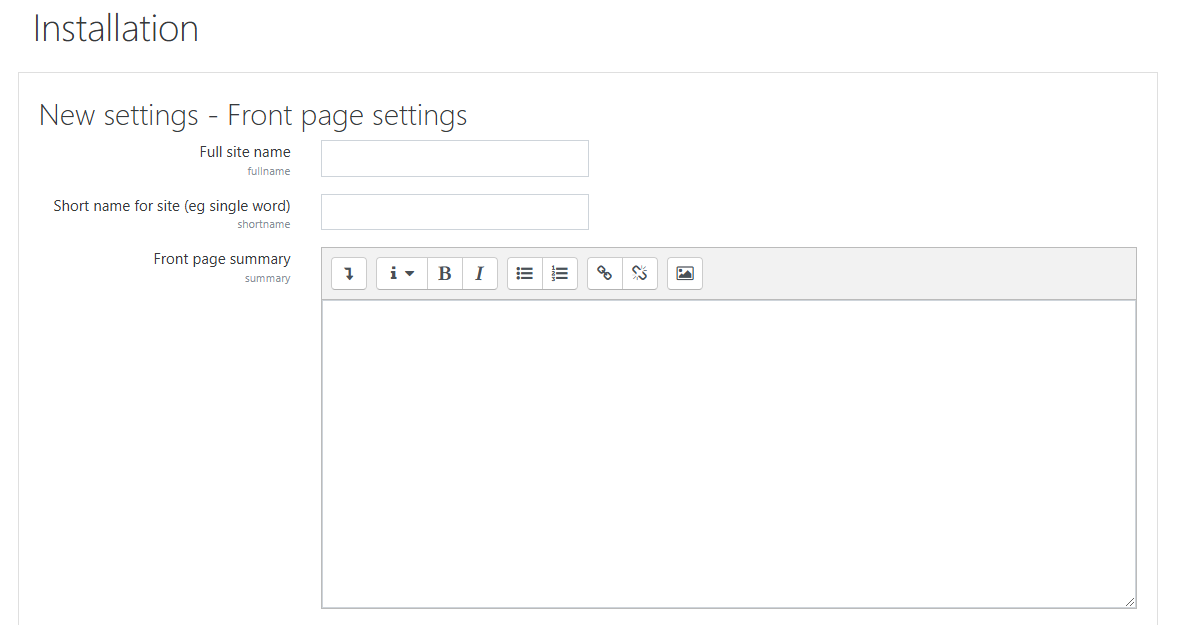
On the next page, configure the initial settings for your site and click «Save Changes».


